RV Solar Panels: How to Size and Install Your System
- What Are the Core Components of an RV Solar System?
- How Do You Calculate Your RV's Daily Power Usage?
- How Do You Size Your Solar Panels and Battery Bank?
- Which Charge Controller and Inverter Do You Need?
- How Do You Install Your RV Solar Panels?
- How Can Portable Solar Panels Simplify Your RV Setup?
- Frequently Asked Questions
- The Right Solar Setup Keeps Your RV Powered Reliably On and Off the Grid
Adding solar to your RV means fewer generator runs and more freedom to park wherever you like, but getting it right takes more than bolting panels to the roof. You need to size your system to your actual power usage, choose compatible components, and wire everything safely. Here's how to plan and install a setup that keeps your batteries charged.
What Are the Core Components of an RV Solar System?
Every RV solar system relies on four parts working together: solar panels to capture sunlight, a charge controller to regulate the incoming power, a battery bank to store it, and an inverter to convert stored DC power into the AC power your appliances use.
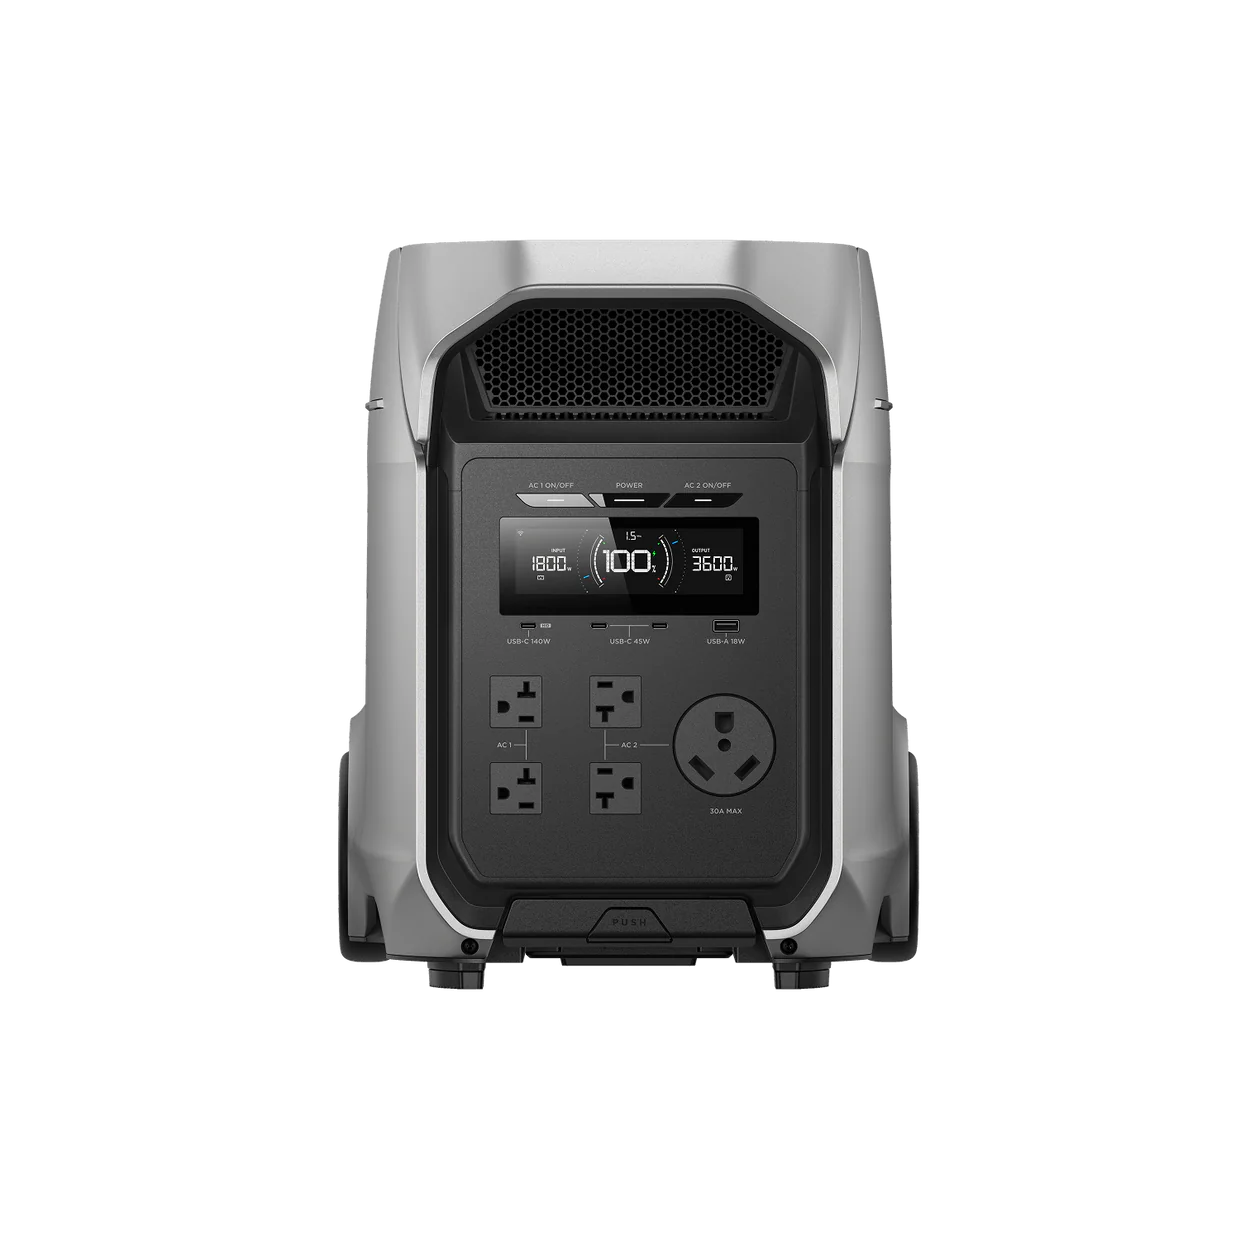
A portable power station like the EcoFlow DELTA 3 Ultra Plus (3072Wh) combines the battery bank, charge controller, and inverter into a single unit. This cuts down on the separate parts you'd otherwise need to mount, wire, and troubleshoot inside your RV, and it pairs directly with solar panels for charging while you drive or camp.
How Do You Calculate Your RV's Daily Power Usage?
Before buying anything, list every appliance you run regularly, note each one's wattage and daily hours of use, then multiply the two to get watt-hours (Wh) per device. Add up every device's watt-hours for your total daily consumption.
A small RV fridge that draws 60W while running, but cycles on and off throughout the day, uses roughly 700Wh a day on its own, so consumption adds up quickly once lighting and electronics enter the picture.
How Do You Size Your Solar Panels and Battery Bank?
Once you know your daily watt-hour usage, size your battery bank to cover at least one to two days of that usage, which gives you a buffer for cloudy weather or shaded campsites. For panels, divide your daily usage by the average peak sunlight hours in your typical camping locations, usually four to six hours, to estimate the wattage you need to fully recharge each day.
This calculation changes quickly based on climate, season, and how often you're plugged into shore power, so working through a detailed RV solar sizing walkthrough before you buy panels can save you from under- or oversizing your system.
Oversizing wastes money on panels you don't need; undersizing leaves you short on cloudy stretches.
Which Charge Controller and Inverter Do You Need?
Charge controllers regulate how power flows from your panels into your battery, and choosing between MPPT (Maximum Power Point Tracking) and PWM (Pulse Width Modulation) technology affects how much of that power actually reaches your battery bank.
Your inverter, meanwhile, determines which AC appliances you can run and how smoothly they run, since some inverters produce a cleaner sine wave than others.
Match your charge controller's amperage to your panel array's total output, and size your inverter to handle your highest simultaneous wattage draw, not just your average load.
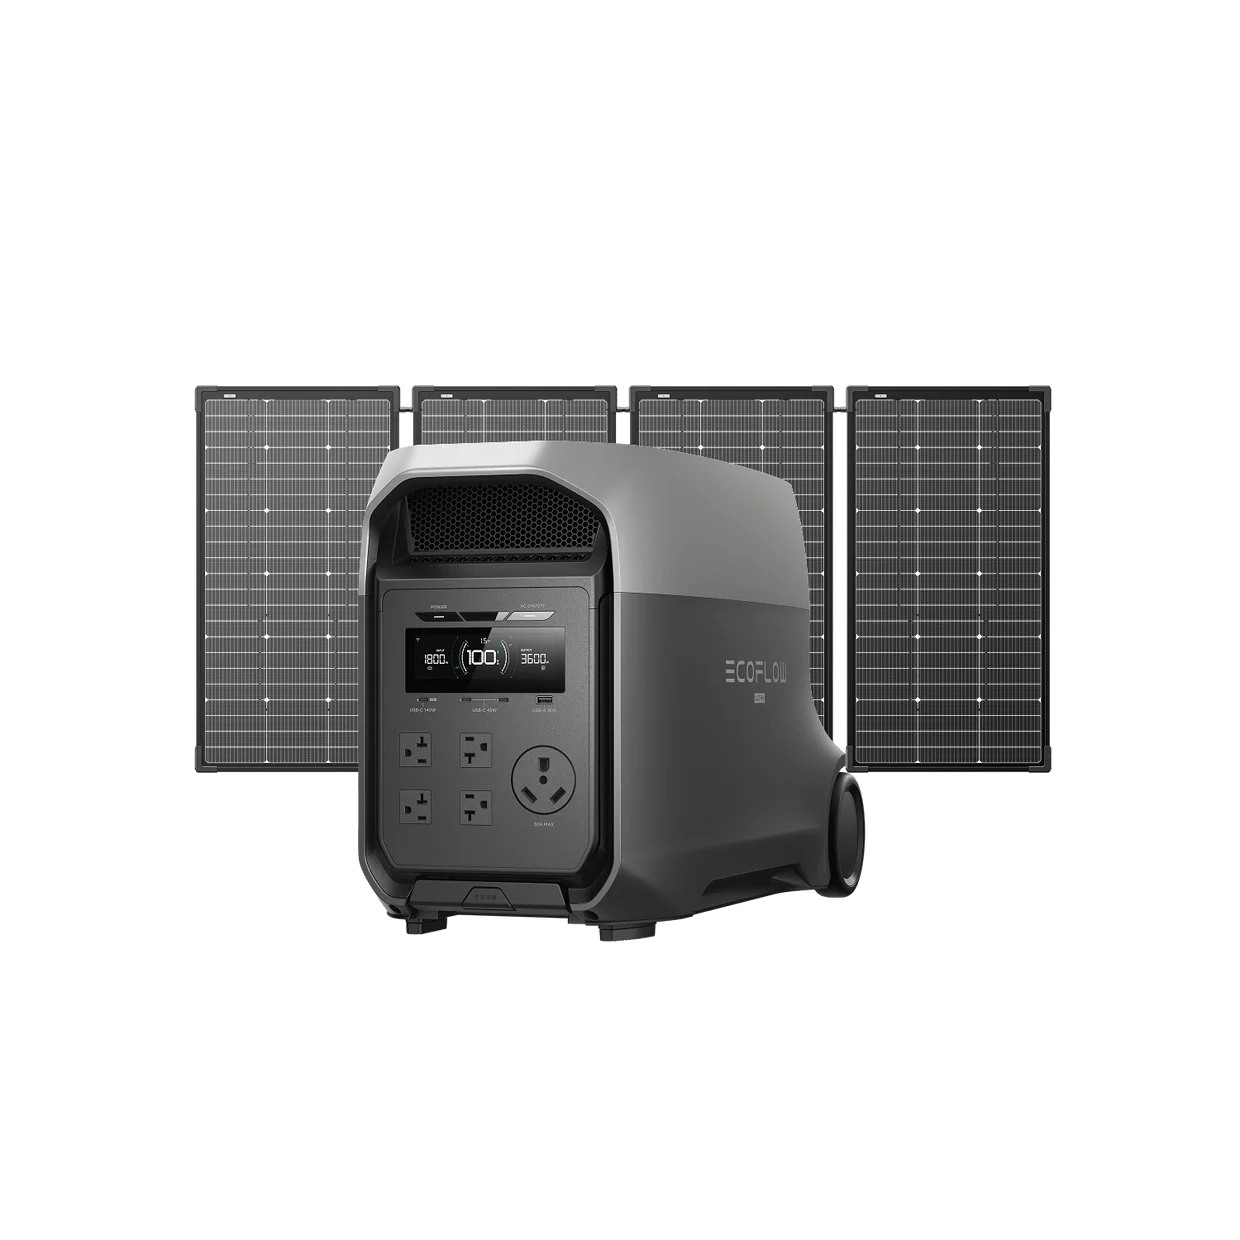
The EcoFlow DELTA 3 Ultra Series Portable Power Station (3072Wh) + 500W Solar Panel bundles these components and removes the guesswork of matching separate parts to each other.
How Do You Install Your RV Solar Panels?
Choose the Mounting Location
Pick a section of roof that's flat and structurally sound. Shading on even one panel in an array can drag down output for the whole string, so check your roof for shadows from air conditioners, vents, or antennas at a few different times of day, since a spot that's clear at noon may fall under shade by late afternoon.
Mount and Secure the Panels
Use mounting brackets rated for your panel's weight and your RV's roof material, and seal every screw hole with a compatible roofing sealant to prevent leaks.
Leave enough clearance around each panel for airflow underneath, as solar panels run more efficiently when they aren't trapping heat against the roof.
Wire the Charge Controller and Battery Bank
Run wiring from the panels through a roof entry gland into the interior, then connect it to your charge controller before wiring the controller to your battery bank. Keep wire runs as short as practical and use the gauge recommended for your system's amperage to avoid voltage drop.
Sealing every roof penetration properly is one of the most overlooked steps when installing RV solar panels, and skipping it is what leads to leaks months down the road.
Connect the Inverter and Test the System
Connect your inverter to the battery bank, then test the full system in daylight to confirm the panels are charging and the inverter is delivering clean power to your outlets.
Check your charge controller's display or app for voltage and amperage readings before loading the system with real appliances.
How Can Portable Solar Panels Simplify Your RV Setup?
Portable panels skip the roof mounting entirely. Set them on the ground or against your RV, angle them toward the sun, and move them throughout the day to chase better light, something fixed roof panels can't do. They also travel with you if you swap RVs.
Pairing portable panels with an all-in-one power station keeps the setup simple: no drilling, no roof penetrations, no permanent wiring. If budget is part of your decision, comparing RV solar system costs between portable and fixed setups can help you pick what fits your camping style.
Frequently Asked Questions
Do You Need an Electrician to Install RV Solar Panels?
Most RV solar installations don't require a licensed electrician, since the systems run on low-voltage DC power and are designed for owner installation. That said, if you're unfamiliar with wiring, sealing roof penetrations, or matching component ratings, hiring a professional or an RV solar installer reduces the risk of leaks, shorts, or mismatched parts.
How Many Solar Panels Does an RV Need?
The number depends entirely on your daily power usage and available roof space. A light user running a few lights and a phone charger might need just one 200W panel, while someone running a fridge, laptop, and CPAP machine could need 400W to 800W or more, split across multiple panels.
What Is the Difference Between MPPT and PWM Charge Controllers?
MPPT controllers adjust voltage to extract more usable power from your panels, especially in cooler or partly shaded conditions, while PWM controllers are simpler and less expensive but less efficient. Most modern RV solar setups use MPPT controllers for their higher energy yield.
The Right Solar Setup Keeps Your RV Powered Reliably On and Off the Grid
Sizing your system around your actual daily usage, matching your charge controller and inverter to your panels, and mounting everything securely are what separate a reliable RV solar setup from one that leaves you scrambling for shore power.
If you'd rather skip roof drilling and wiring altogether, pairing portable panels with the EcoFlow DELTA 3 Ultra Plus (3072Wh) gives you a system you can set up in minutes and take with you wherever you park next.
For press requests or interview opportunities, reach out to our media team
media.na@ecoflow.com