RV Home Solar Power 101: What You Actually Need to Go Off-Grid
Solar is now the most practical way to run RV homes off-grid. For full-time motorhomes and converted vans acting as primary residences, achieving reliable power requires correctly sizing four core components: solar panels, a charge controller, a lithium battery bank, and an inverter. Getting the capacity right across these parts is the only way to run daily appliances comfortably without relying on shore connections.
The Core Components Every RV Home Solar System Needs
A working solar setup in an RV home has four interdependent components. Skimp on any one of them and the whole system underperforms. This section breaks down what each part does and what to look for when sizing one for your rig.
Solar Panels
Assuming 4 to 5 peak sun hours and an 85% system efficiency factor, most RV homes need between 400W and 800W of panel capacity to run a 12V fridge, lights, and laptops for comfortable daily use. Monocrystalline panels are more efficient per square foot, which matters when roof space is limited. Rigid panels tolerate heat better over time. Flexible panels suit curved roofs but degrade faster. Shading from vents or AC units can cut output significantly if panels are wired in series.
Charge Controller
Based on standard manufacturer benchmarks comparing variable field conditions against fixed-voltage arrays, MPPT controllers can recover 20% to 30% more energy than older PWM models in sub-optimal conditions, especially on cloudy days or when panels and batteries are mismatched in voltage. For most RV home setups above 400W, MPPT is worth the extra cost. Given the narrowing price gap between standard and MPPT models, the improved energy harvest pays back the controller's price difference within one to two seasons of full-time use.
Battery Bank
Lithium iron phosphate (LiFePO4) batteries are now the standard choice for RV homes because they tolerate deep discharge, last 2,000 to 4,000 cycles (rated at 25°C operating temperature and 80% Depth of Discharge), and weigh roughly half what lead-acid equivalents weigh. A 200Ah 12V lithium bank gives about 2.4 kWh of usable energy (calculated as 200Ah multiplied by 12.8V nominal voltage, capped by a safe 95% discharge limit). Most full-time setups need at least 400Ah to handle cloudy stretches without shore power. The upfront cost is higher, but the cycle life and weight savings make LiFePO4 the clear long-term winner.
Inverter
A pure sine wave inverter converts DC battery power to the AC power that appliances expect. Size it to handle your largest simultaneous load, typically a microwave or air conditioner. A 2,000W inverter covers most RV home kitchens. Add an AC unit and you may need 3,000W or more. Modified sine wave inverters are cheaper but cause overheating and interference with sensitive electronics like laptops and CPAP machines.
These four components form the backbone of any off-grid RV home power system. Getting the sizing right across all four is more important than upgrading any single part.
How Much Power RV Homes Actually Use Each Day
Before sizing a solar system, you need a realistic daily energy budget. Power consumption varies widely between RV homes depending on appliances and climate, so the table below gives a practical reference for common loads.
Appliance | Typical Wattage | Daily Use (hours) | Daily kWh |
Refrigerator (12V compressor) | 45W average | 24 | ~1.1 kWh |
LED Lighting (6 fixtures) | 30W total | 5 | ~0.15 kWh |
Laptop + Phone Charging | 80W | 4 | ~0.32 kWh |
Roof Fan / Ventilation | 20W | 8 | ~0.16 kWh |
Coffee Maker (AC) | 1,000W | 0.15 | ~0.15 kWh |
Air Conditioner (small) | 1,200W | 3 | ~3.6 kWh |
Total Without AC | ~1.9 kWh/day | ||
Total With AC | ~5.5 kWh/day |
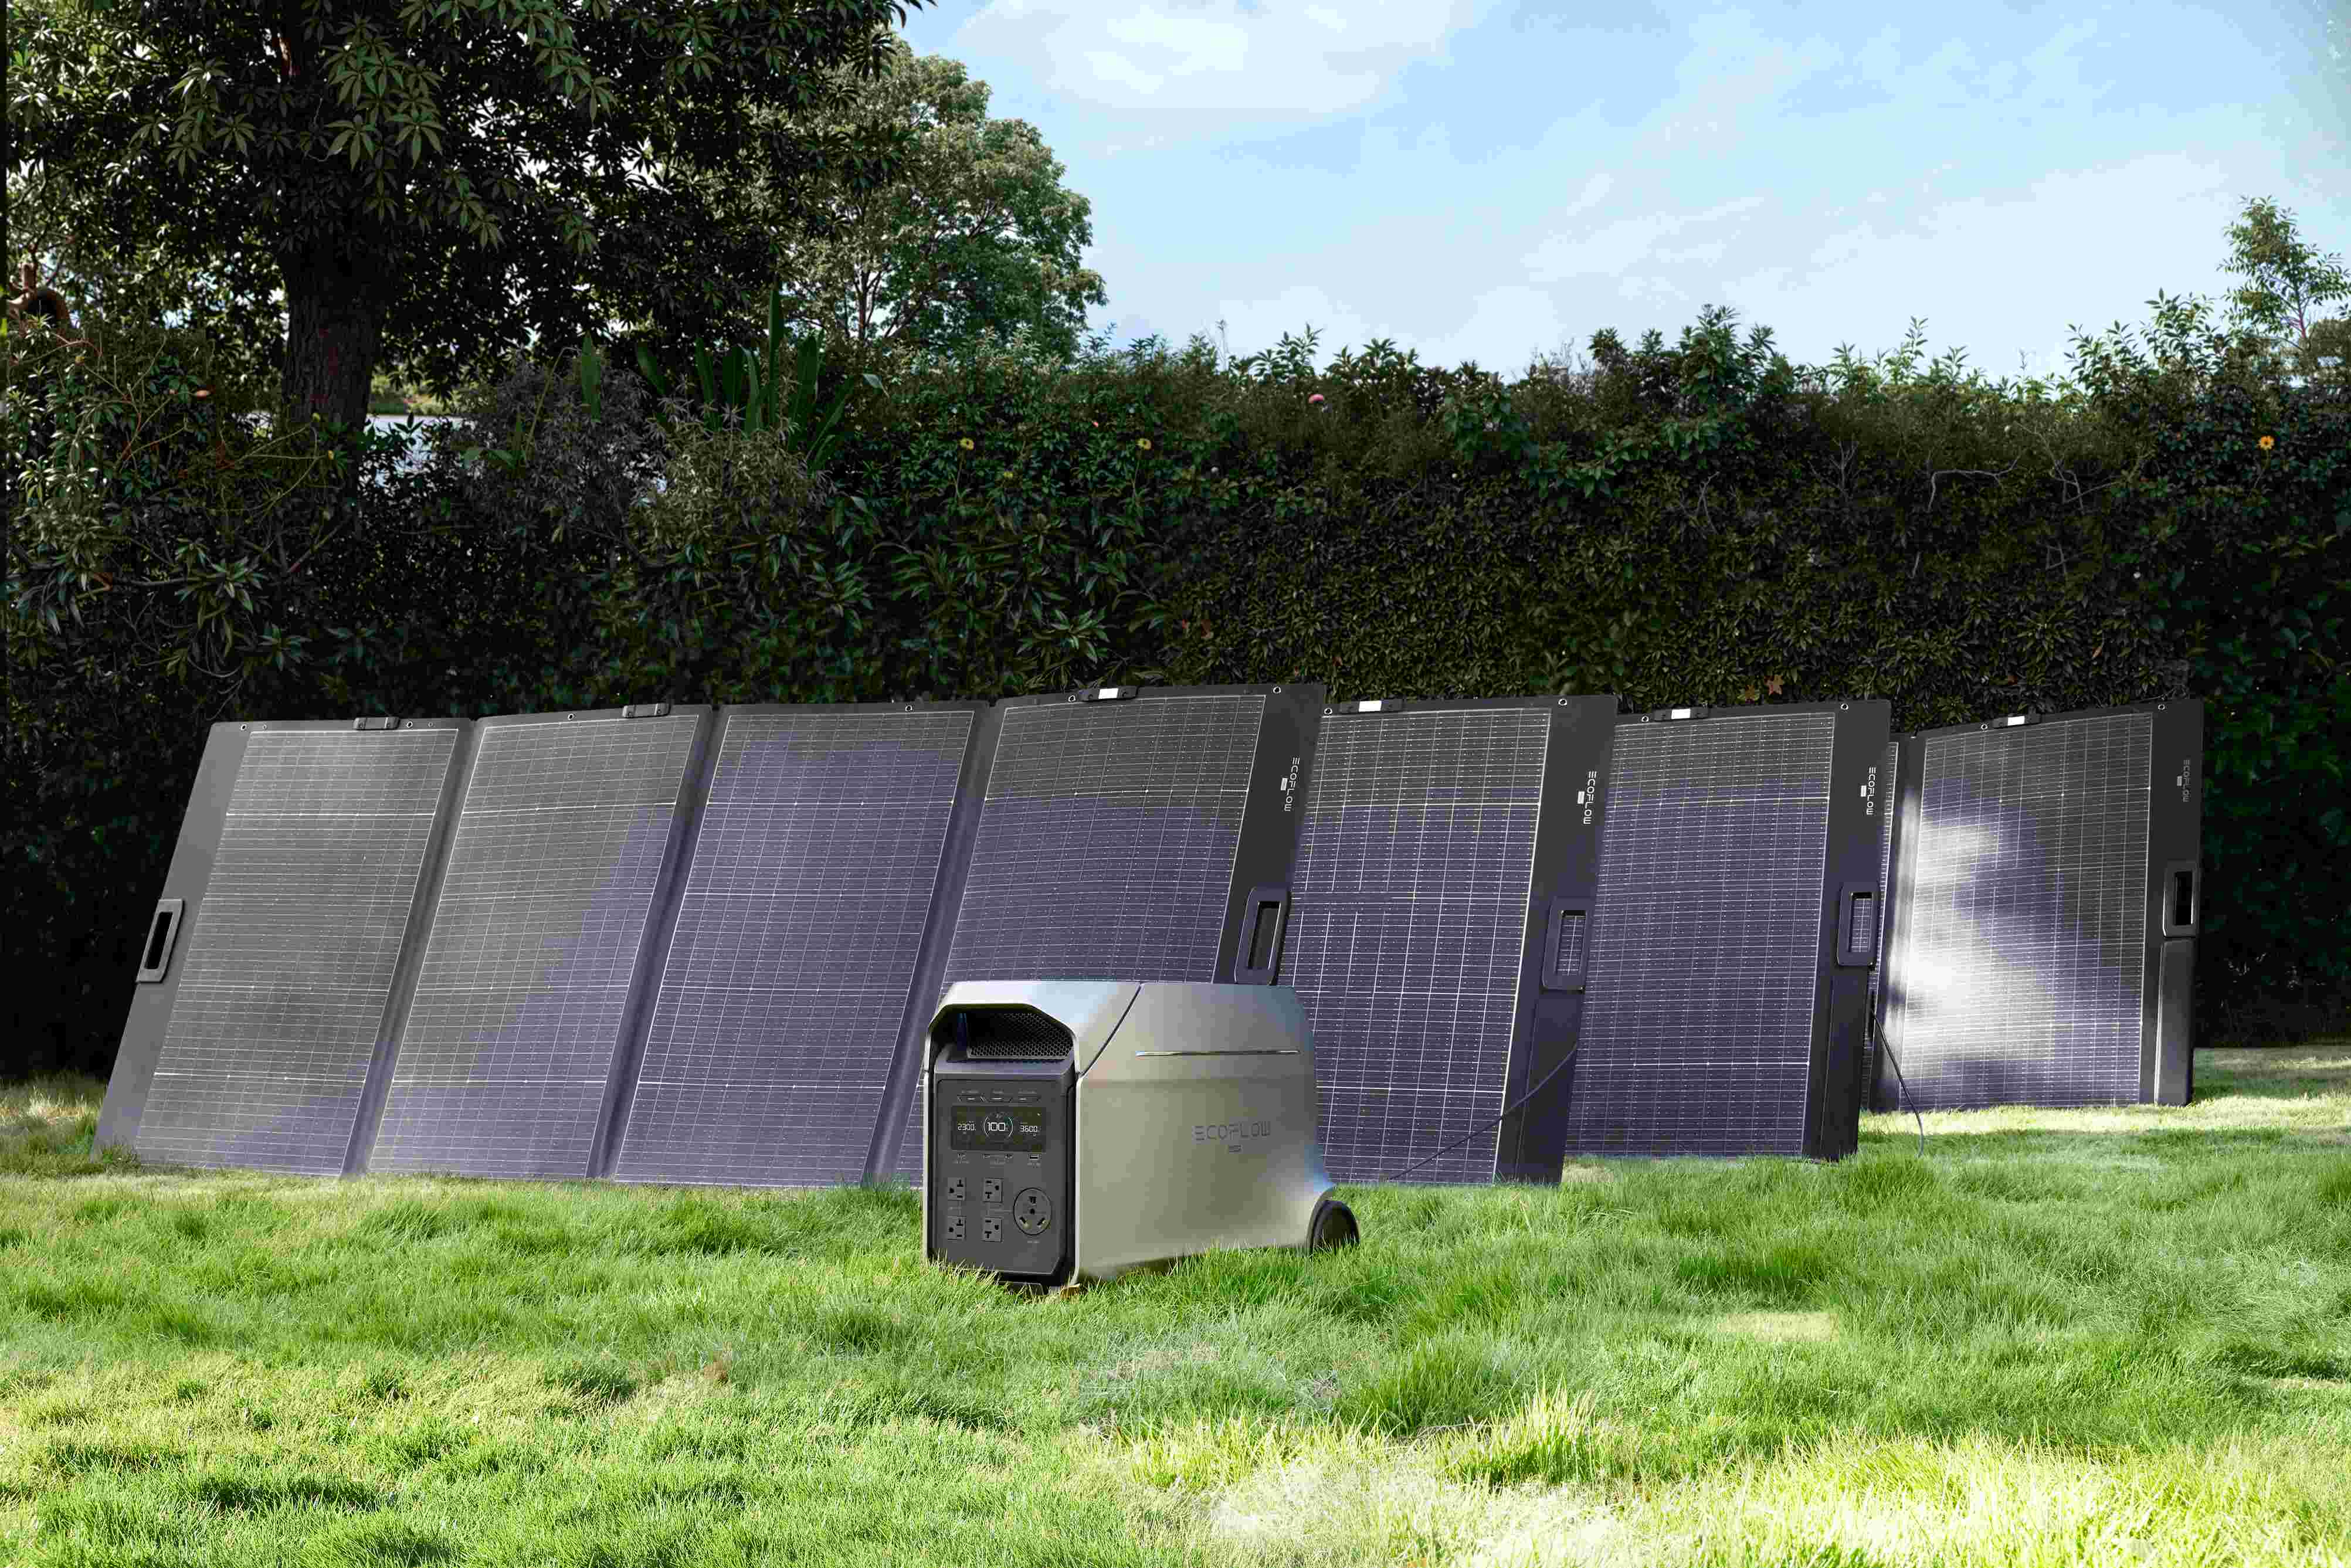
The table shows that lighting, refrigeration, and basic electronics account for a manageable 1.9 kWh per day. Air conditioning triples that demand in a single stroke. Most RV homes without air conditioning can run comfortably on a 400–600W solar array paired with a 200–400Ah lithium bank. Adding AC roughly triples the energy demand and pushes most setups toward 800W of panels or more. If you prefer to skip complex wiring, integrated all-in-one power stations like the DELTA 3 Ultra (3072Wh) paired with 2 × 220W solar panels to comfortably cover those standard daily loads.
The RV Solar Sizing Formula: Calculate Your Own Setup
To tailor a system to your specific rig, plug your daily energy budget into the standard sizing formulas below.
Step 1: Calculate Target Battery Capacity (Ah) Formula: (Daily Wh × Days of Autonomy) / (System Voltage × Depth of Discharge Limit) Example: (1,900Wh × 2 Days) / (12.8V × 0.8 DoD) = 371Ah required.
Step 2: Calculate Target Solar Array (Watts) Formula: Daily Wh / (Peak Sun Hours × System Efficiency) Example: 1,900Wh / (4.5 hours × 0.85 efficiency) = 496W of solar panels required.
Applying the exact formulas prevents costly undersizing and helps set realistic expectations for off-grid capabilities.
Wiring, Safety, and Installation Basics for RV Home Solar
Getting the components right is only half the job. How those components are wired together determines whether the system is safe, efficient, and easy to maintain. These are the most important installation decisions for any RV home solar build.
Series vs. Parallel Wiring
Wiring panels in series raises voltage and reduces current, which works well with MPPT controllers but makes the system more vulnerable to partial shading. Parallel wiring keeps voltage low and is more shade-tolerant but requires thicker wire. Many RV homes use a series-parallel combination to balance both concerns. A common configuration is two pairs of panels wired in series, then those pairs connected in parallel at the controller input.
Fuses and Circuit Breakers
Every conductor between the battery and a load needs overcurrent protection sized to the wire, not the device. A 200Ah lithium battery can discharge thousands of amps into a short circuit. Place a fuse or breaker within 18 inches of each battery terminal. This single step prevents most RV home electrical fires. Fuse the solar panel output, the charge controller output, and every inverter input independently.
Professional vs. DIY Boundaries
Solar installations carry severe shock and fire risks. Knowing which tasks require certified intervention protects both your rig and your life.
DIY-Approved Tasks: Mounting panels to the roof, routing low-voltage PV wire, and connecting waterproof MC4 plugs.
Professional Electrician Required: Fabricating high-amperage battery busbars, installing main distribution panel breakers, grounding the inverter chassis to the vehicle frame, and any 120V AC wiring.
Before touching any terminal, verify zero voltage across the circuit using a calibrated digital multimeter. Wear Class 0 electrical insulating gloves when tightening connections on battery banks capable of discharging high currents.

Cable Sizing
Undersized cables create voltage drop and heat. For a 12V system, a 2,000W inverter draws around 167 amps at full load. Following ABYC (American Boat and Yacht Council) and NEC safety guidelines, that requires 2/0 AWG cable or larger for runs under 4 feet. Use a voltage drop calculator and aim for under 3% loss on any run. A 5% drop wastes energy and can trigger inverter low-voltage shutdowns under load, even when the battery is charged.
Proper wiring protects your investment and your safety. Correct fusing and cable sizing are non-negotiable steps, regardless of system size.
When Solar Alone Is Not Enough for RV Homes
Solar works exceptionally well for RV homes in most conditions, but there are real situations where it falls short. Knowing these limits helps you plan backup power before you need it.
Extended cloudy or rainy weather can drop solar output to 10–20% of rated capacity for days at a time, draining even a well-sized battery bank before panels can recover the deficit.
Full-time air conditioning in hot climates demands more energy than rooftop panels can typically replace in a single day, especially on a standard RV roof footprint limited to 200–400 square feet of usable space.
High-draw appliances like electric induction cooktops, hair dryers, or space heaters consume 1,000–1,800W continuously, which depletes a battery bank faster than solar can replenish it during short winter daylight windows.
Dense forest camping and mountain canyon sites block direct sunlight for most of the day, making panel output unreliable regardless of system size or panel efficiency ratings.
Winter travel at high latitudes reduces usable sunlight hours to 3–4 per day, cutting effective charging time nearly in half compared to summer and forcing you to ration power or seek alternative charging sources.
A solar-plus-battery setup handles most RV home energy needs well. For the edge cases above, a backup generator, a DC-DC charger that pulls from the vehicle alternator while driving, or occasional shore power access fills the gap reliably.
Power Up Your RV Home With Solar Today
Size your panel and battery capacity to your actual daily load. Prioritize a LiFePO4 battery bank and MPPT controller for the best performance and longevity. Wire everything safely with proper fusing and correct cable gauge. Calculate your daily energy budget as the first concrete action step before buying any components. EcoFlow offers integrated solar power solutions designed specifically for RV homes that simplify the entire installation and operation process.
Frequently Asked Questions
Q1: How Many Solar Panels Does an RV Home Need to Run Off-Grid?
Most RV homes need 400W to 800W of solar panels for comfortable off-grid living without air conditioning. Add a small rooftop AC unit and that jumps to 800W or more. The exact number depends on your daily energy budget, roof space, and how many sunlight hours your travel region averages each day.
Q2: What Is the Difference Between an RV Home and an RV Mobile Home?
An RV home typically refers to a motorhome or converted van used as a full-time or long-term residence. An RV mobile home more often describes a park model or towable unit placed semi-permanently at a site. Both can run solar, but energy needs and installation options differ significantly between the two setups.
Q3: Can a Solar System Power an Air Conditioner in an RV Home?
Yes, but it requires a large setup. A standard 13,500 BTU rooftop AC draws around 1,200W continuously. Running it three hours a day adds roughly 3.6 kWh to your daily load. That typically requires 800W or more of panels, a 400Ah lithium battery bank, and a 2,000W or larger pure sine wave inverter.
Q4: How Long Do Lithium Batteries Last in an RV Home Solar System?
LiFePO4 lithium batteries last 2,000 to 4,000 full charge cycles under normal conditions, which translates to over 10 years of typical use. Longevity depends on keeping them within their recommended charge range, avoiding sustained high temperatures, and not regularly discharging below 10% capacity. Proper thermal management extends life significantly.
Q5: What Backup Power Options Work Best for RV Mobile Homes With Solar?
A portable generator rated 2,000W or more is the most flexible backup for RV mobile homes on solar. A DC-DC charger that draws from the vehicle alternator while driving is a quieter alternative. Some setups also use a small shore power connection at campgrounds as a low-cost emergency top-up option when solar production falls short.
Disclaimer: The information provided in the guide is for educational and informational purposes only. Modifying or installing RV electrical and solar systems involves inherent risks, including fire hazards and electric shock. Always consult with a certified RV technician or licensed electrician before undertaking any electrical work. Confirm all installations and component sizings comply with the safety standards set by the RV Industry Association (RVIA) ANSI Standards and the National Electrical Code (NEC) Article 690: Solar Photovoltaic Systems.
For press requests or interview opportunities, reach out to our media team
media.na@ecoflow.com