How to Build an Emergency Shelter Outdoors With a Tarp
Picture a day hike that runs long. Light fades fast. Rain starts, and the temperature drops. The trail is no longer the plan. Shelter is.
The National Park Service lists emergency shelter among its Ten Essentials. A simple tarp and some cord cover most situations. This article covers how to build an emergency shelter outdoors with three tarp setups worth learning, the knots that hold them, and ways to stay warm and easy to find until help arrives.
It also looks at a different case. After a storm, home is often the better shelter.
Why Emergency Shelter Comes First When You're Stuck Outside
Shelter keeps rain, wind and cold ground off the body. Those three things drive hypothermia in the backcountry. Food and water matter, but heat loss can turn dangerous first.
The National Park Service includes emergency shelter in its Ten Essentials. It describes shelter as "one of the most important elements during an emergency survival situation." The NPS Guadalupe Mountains essentials page lists a tent, tarp, bivy sack or emergency space blanket as lightweight options.
Cold Risk Is Not Just a Winter Problem
The CDC and the USDA Forest Service both note that hypothermia can set in above 40°F. Rain, sweat or cold water can chill a person fast, even on a mild day. A wet hiker standing in a breeze loses heat quickly.
Stay Put First
The NPS Outdoor Emergency Plan says to stay where you are. Moving makes a lost person harder to find. The one exception is an immediate threat to life, such as rising water or a leaning tree.
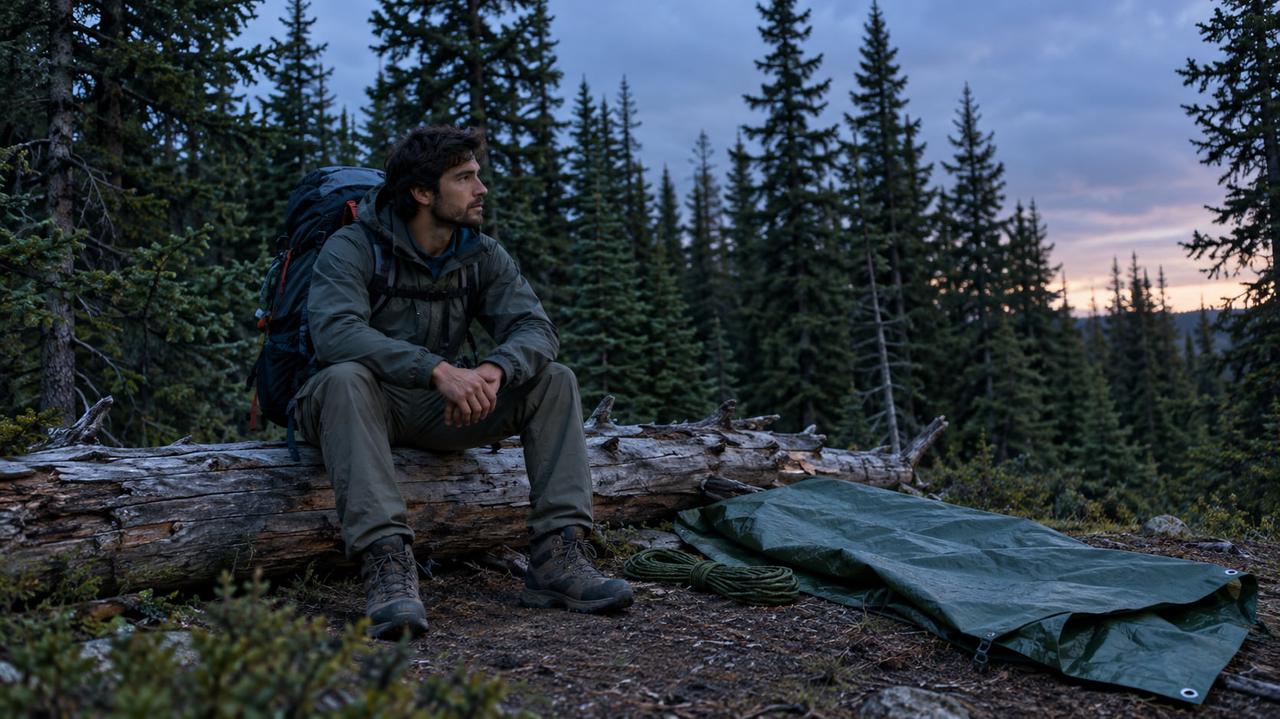
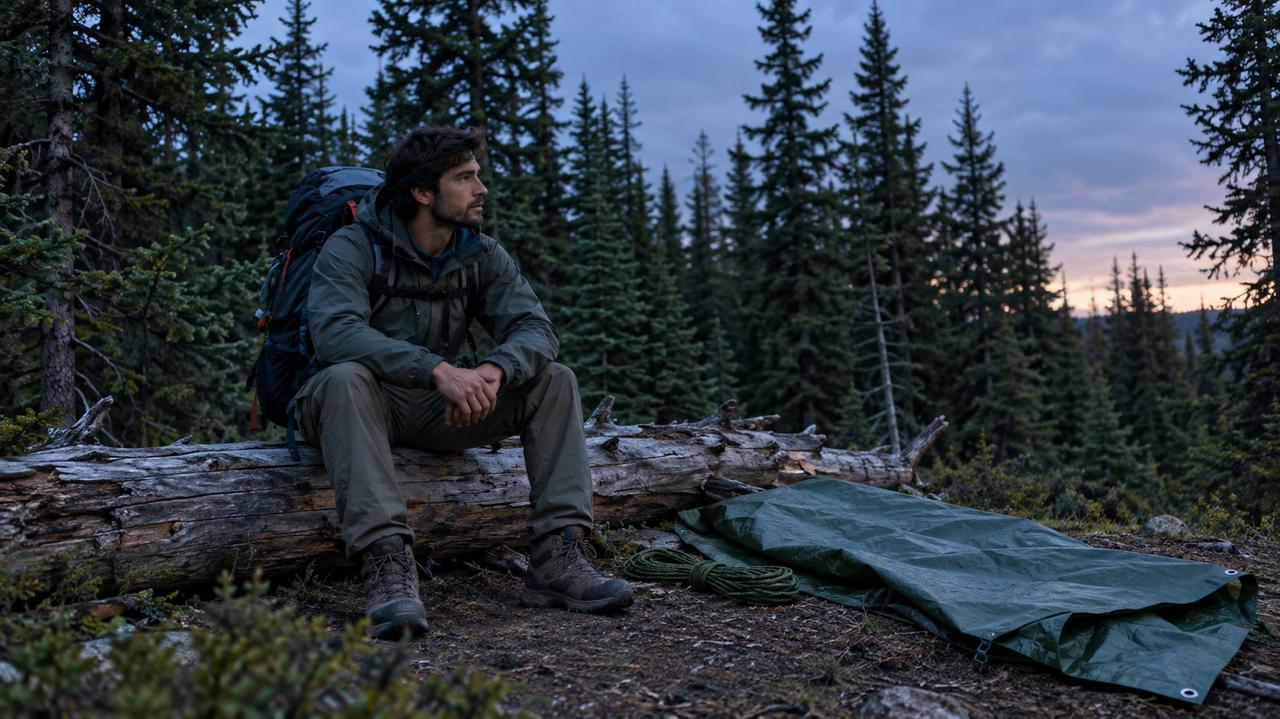
The USDA Forest Service teaches the STOP method to keep a small problem from growing:
Stop. Sit down and take a breath. A short pause helps calm the mind before any decision.
Think. Review what happened and what supplies are on hand. Small details, like an extra layer or a lighter, matter now.
Observe. Look at the weather, the terrain and the time of day. Note where wind and runoff are coming from.
Plan. Pick one clear next step, usually building shelter. Act on it before light and body heat run low.
Packing a tarp, cord and a warm layer is part of smart hiking trip preparation, even on plans to be home by dinner.
Once the decision is to stay put, the job becomes turning a plain tarp into a roof that sheds rain and blocks wind.
How to Build a Tarp Shelter Step by Step
A basic setup needs only a tarp, cord and two anchor points. Site choice matters as much as the rigging. Here is how to make shelter with a tarp when daylight is short: pick the spot first, then build the roof.
Pick a Safe Spot
Level, slightly raised ground works best. It will not collect runoff when rain picks up. Look up before settling in, because dead branches overhead can drop in wind. Put the low side toward the wind to cut drafts.
Lightning changes the plan. The National Weather Service says a tent or open shelter gives no protection from lightning. If thunder is close and a vehicle or building is reachable, go there instead. Then wait 30 minutes after the last thunder before heading back out.
Three Tarp Shelters Worth Learning
Each layout suits a different situation. Choose a tarp big enough to lie under with room to spare.
Tarp shelter configurations
Shelter | Best for | Anchors needed | Trade-off |
A-frame | Rain from both sides | Ridgeline between two trees | Less wind protection at the open ends |
Lean-to | Wind from one direction, or facing a heat source where fires are allowed | Ridgeline plus stakes on one edge | Open on one side |
Diamond (one corner raised on a tree or pole) | Fastest setup with one anchor | One tree or pole plus stakes | Tight space for one person |
Knots That Hold a Tarp
A few knots handle almost every job. Each one has a clear purpose.
Bowline: Forms a fixed loop around a tree or pole. It resists slipping and stays easy to untie after a load.
Taut-line hitch: Creates an adjustable guy line. Slide it to tighten the line as wet cord stretches.
Clove hitch or trucker's hitch: Both help tension a ridgeline. The trucker's hitch adds leverage for a tighter pull.
Slip knot: Gives a quick release. It helps when gear needs to come down fast.
Insulate From the Ground
A sleeping pad, a pack, dry leaves or pine boughs under the body slow heat loss. Cold ground keeps pulling warmth away for hours. Since hypothermia can set in above 40°F, ground insulation matters even in mild weather.
These steps show how to make a tarp shelter in the basic A-frame style:
Tie the ridgeline. Run cord between two anchors at about chest height. Pull it snug with a taut-line hitch or trucker's hitch.
Drape the tarp. Center it over the cord so both sides hang evenly. Leave a little slack at each end.
Stake the corners. Angle each stake away from the shelter. Use sticks or rocks if stakes are missing.
Tension the guy lines. Tie a line to each corner and pull outward. The tarp should look tight, not saggy.
Check runoff. Look at where water will flow if rain returns. Shift the tarp or dig a shallow channel if water heads toward the sleeping spot.
The same ridgeline tricks help when camping in the rain and a dry spot is needed to cook and sit.
Tarp skills matter most in the backcountry. After a tornado or hurricane, though, the emergency shelter question often starts in your own yard.
When Your Home Can Stay the Safer Shelter After a Storm
After a storm, some families end up rigging tarps over a damaged roof or camping in the yard. Building tarp cover is a stopgap, though. A house with power for its essential circuits is usually a warmer, safer place to wait.
Shelter in Place or Leave?
DisasterAssistance.gov explains that leaving can raise the risk in some events. In those cases, the advice is to shelter in place. Local radio or TV tells residents which applies. A mandatory evacuation order always comes first.
Ready.gov ties tarp skills to home prep. Its basic kit lists plastic sheeting, scissors and duct tape for sheltering in place. It also lists a whistle to signal for help.
Safety Lines Worth Keeping
Power outages bring their own hazards. The CDC gives these limits:
Generators: Never run a gas generator inside a home, basement or garage. Keep it at least 20 feet from any window, door or vent so exhaust does not drift indoors.
Stoves, lanterns and grills: Never use a camp stove, lantern or grill inside a home, tent or camper. These burn fuel and can release carbon monoxide.
Food: A refrigerator keeps food safe for up to 4 hours without power if the door stays shut.
What Battery Power Can Do
Quiet battery power avoids the fume problem. Here is a labeled estimate for the EcoFlow DELTA 3 Max, using 2,048Wh × 0.85 ÷ load in watts:
A ResMed AirSense 11 CPAP at its typical 56.1W draw: about 31 hours.
A 50W laptop: about 35 hours.
Real runtime shifts with settings, temperature and battery age. Modest loads, such as lights and a refrigerator, are the best fit.
For the house itself, the EcoFlow DELTA Pro Ultra X takes a different approach. The standard bundle is one inverter plus two Smart Extra Batteries, for 12kWh of capacity and 12kW of output. It pairs with the Smart Home Panel 3 or Smart Gateway. A licensed electrician installs it, and automatic switchover takes about 20ms. Which heavy loads it can carry depends on configuration and battery count. Renters and mobile home owners need landlord or park approval first.
When the grid drops in a storm, staying home is often the safer call, as long as the essentials stay on. The EcoFlow DELTA Pro Ultra X is built for that job. With Smart Home Panel 3 and a licensed electrician, it can back up selected circuits, such as lights and a refrigerator.
Not every outage happens at home. At a yard setup, a campsite or a relative's place, a portable unit can run a lantern, a phone or a CPAP with no exhaust fumes. The EcoFlow DELTA 3 Max weighs about 44.8 lb (20.3 kg), which makes it easy to carry there.
The two units divide the job. The EcoFlow DELTA Pro Ultra X keeps chosen home circuits running, so the house stays the main shelter. The EcoFlow DELTA 3 Max is the portable unit to carry to a yard setup, a campsite or a relative's place.
Deciding between essential circuits and wider coverage shapes which rooms stay livable after a storm. Whether in the woods or the backyard, a shelter only works if the people inside stay warm and rescuers can find them.
Staying Warm, Dry and Easy to Find in Your Shelter
Knowing how to build an emergency shelter outdoors is only half the plan. The other half is managing body heat and making the site easy to spot. Both start the moment the roof is up.
Keep the Body Warm
The NPS Outdoor Emergency Plan advises adding layers as soon as the chill starts. Waiting until shivering begins costs heat. Change out of wet clothes, and eat and drink to fuel the body.
Know the Signs of Hypothermia
The CDC lists these warning signs:
Shivering and exhaustion
Confusion, fumbling hands and memory loss
Slurred speech and drowsiness
A body temperature below 95°F needs immediate medical care. The USDA Forest Service says to warm the center of the body first, meaning the chest, neck, head and groin. Warm, non-alcoholic drinks help. Direct heat sources, like a fire pressed close to the skin, should be avoided.
Signal for Help


The NPS Outdoor Emergency Plan recommends a whistle over yelling. Blow three times, pause, and repeat. Shouting wears out the voice, while a whistle carries farther with less effort.
The West Virginia Division of Natural Resources notes that signals repeated in threes are the universal distress signal. Bright clothing or a flashlight adds visibility.
Leave a Trip Plan
Before heading out, share the route and return time with a trusted contact who is not on the trip. The NPS recommends this step. It gives searchers a starting point if plans go wrong.
Emergency Shelter Kit
A compact kit covers most needs. Each item has a job:
Tarp: The roof. Pick one big enough to lie under with room to spare.
Cord: Bring enough for a ridgeline and guy lines.
Stakes: These anchor corners on open ground.
Emergency blanket: It reflects body heat back and packs small.
Whistle: It signals rescuers using the three-blast pattern.
Headlamp: It frees both hands for rigging in the dark.
Extra layer: A dry layer helps once the wet one comes off.
Sleeping pad: It cuts heat loss to the cold ground.
A small tarp and whistle belong on any bug out bag checklist, alongside water and first aid.
Conclusion
Staying put, getting out of wind and rain, and insulating from the ground turn a tarp into a real emergency shelter. Those three moves matter more than any fancy gear.
Practice an A-frame and a lean-to at home. Learn the bowline and taut-line hitch, and pack a whistle and trip plan every time. Knowing how to build an emergency shelter outdoors takes a little practice, but the skills stay useful for years.
For the near-home side of emergencies, the EcoFlow DELTA Pro Ultra X can keep selected circuits running, and the EcoFlow DELTA 3 Max brings quiet portable power outdoors. Explore both on the EcoFlow US site.
FAQs
What is the easiest shelter to build with a tarp?
The A-frame or the diamond. Each needs only one or two anchors and a few stakes. Both go up quickly, even in fading light.
How do you make a shelter with a tarp and no trees?
Trekking poles, sticks or a vehicle can serve as anchors. Stake the edges down and angle the tarp so wind hits the low side. Rocks can hold corners on hard ground.
What knots do you need to hold up a tarp roof?
Three cover most needs: the bowline, the taut-line hitch and the trucker's hitch. The bowline makes a fixed loop, the taut-line hitch adjusts guy lines, and the trucker's hitch tensions a ridgeline.
Should you stay put or walk out if you're lost?
Stay put unless there is an immediate threat, according to the NPS. Moving makes searchers' work harder. A shelter and a whistle help rescuers find the spot.
Can you use a heater or stove inside a tarped area or tent?
No. The CDC says never to use a fuel-burning stove, lantern or grill inside a tent, because of carbon monoxide risk. Battery-powered lights and devices avoid those fumes.
For press requests or interview opportunities, reach out to our media team
media.na@ecoflow.com