How to DIY a Portable Power Station
When the power goes out or you want power on the go, a portable power station can help. But what if you could build one yourself? Today, we'll show you how to DIY a portable power station.
It Is Possible to DIY a Portable Power Station
Many people think portable power stations come only from stores. But with a little know-how, you can build one at home. It takes some tools, supplies, and a plan. You can use your power station for camping, backup at home, or to power small tools.
Building one yourself lets you pick the parts you want. You can control the size, the battery type, and the number of outputs. Plus, it can be cheaper than buying a ready-made power station.
How to DIY a Portable Power Station
Whether it’s for camping, emergency use, or working outside, a DIY portable power station can be the perfect solution. Instead of spending a lot on a store-bought model, you can build one yourself with the right tools and a little time. Let’s look at what you need and how to do it!
Tools & Supplies
You will need some basic tools and supplies.
A battery pack (like LiFePO4 or lead-acid).
A battery management system (BMS) protects the battery.
An inverter to change battery power to AC (for plugs).
A DC-to-DC converter for USB or other DC outputs.
A case to hold everything (like a toolbox or a plastic box).
Wires and connectors.
A fuse or breaker for safety.
A simple display to show voltage and capacity (optional).
Tools: wire cutters, screwdrivers, and a drill.
8 Steps to DIY a Portable Power Station
Plan Your Design
Write down the devices you want to power (for example: lamp, phone, laptop).
Check the power rating for each device (look for watts or amps).
Add up the total power for all devices.
Decide how long you want to use the power station (for example: 4 hours).
Calculate the total energy needed
Get the Right Battery
Choose a battery with enough capacity to meet the total energy you calculated.
Look for batteries marked with watt-hours (Wh) or amp-hours (Ah).
For example, a 12V 100Ah battery provides about 1200Wh (12V × 100Ah).
Pick a battery type that’s safe for this use, such as LiFePO4 or sealed lead-acid.
Install the Battery Management System (BMS)
Identify the positive and negative terminals of the battery.
Find the BMS input connections (positive and negative).
Connect the BMS positive wire to the battery positive terminal.
Connect the BMS negative wire to the battery negative terminal.
Double-check the connections for tightness and security.
Connect the Inverter
Identify the inverter’s input wires (positive is usually red, negative is usually black).
Use thick wires (at least 10 AWG) for the connections.
Connect the inverter’s positive input wire to the battery's positive terminal.
Connect the inverter’s negative input wire to the battery negative terminal.
Tighten all connections to avoid loose wires.
Add the DC-to-DC Converter
Identify the input terminals on the DC-to-DC converter.
Connect the converter’s positive input wire to the battery's positive terminal.
Connect the converter’s negative input wire to the battery negative terminal.
Label wires to keep track of connections and avoid mistakes.
Secure the converter in the case with screws or brackets.
Connect Safety Devices
Choose a fuse or breaker with the correct amperage for your system (check inverter specifications).
Connect one side of the fuse or breaker to the battery positive terminal.
Connect the other side of the fuse or breaker to the inverter’s positive input wire.
Make sure the fuse or breaker is firmly in place.
Check that it works properly before using the system.
Put Everything Into the Case
Choose a sturdy case (like a toolbox or plastic container).
Drill holes for wires and outlets, and smooth any sharp edges.
Place the battery at the bottom of the case and secure it with straps or foam padding.
Mount the inverter and converter inside the case using screws or brackets.
Keep all components separate to prevent contact or short circuits.
Connect Wires and Test the System
Double-check every connection: battery to BMS, inverter, converter, fuse.
Use a multimeter to check the voltage at the inverter and DC converter outputs.
Turn on the inverter switch.
Plug a small device (like a lamp or fan) into the inverter to test AC power.
Test the DC outputs (like USB ports) by charging a phone or small device.
Listen for any strange noises and check if anything feels hot.
If everything works as expected, your DIY portable power station is ready for use.
How Much Does It Cost to DIY a Portable Power Station
The cost of building your own portable power station depends on the parts you choose and how much power you want. Here’s a rough idea of the costs for common items:
- Battery (LiFePO4 or lead-acid): $150 to $400, depending on capacity
- Battery Management System (BMS): $20 to $60
- Inverter (for AC power): $50 to $150 based on wattage
- DC-to-DC converter (for USB and DC outputs): $10 to $30
- Wires, connectors, and safety parts (like a fuse or a breaker): $20 to $50
- Case or toolbox: $10 to $50, depending on size and material
- Optional display meter: $10 to $30
If you buy everything new, a simple setup can cost $300 to $700 or more, depending on the battery capacity and inverter size you pick.
If you already have some parts (like an old toolbox or spare wires), you can save money. Larger batteries and higher power inverters will increase the price.
Possible Risks of DIYing a Portable Power Station
DIY portable power stations can be useful, but they also have risks:
Electric shock from exposed wires or terminals
Touching live wires or battery terminals can cause an electric shock. Even low-voltage systems can give painful shocks or cause muscle spasms.
Short circuit from wrong wiring or loose connections
Incorrectly connecting wires or leaving them loose can create a direct path for current, which can damage components, cause sparks, or even lead to a fire.
Fire from overheating components
Overloading the system or using parts not designed for high power can generate excess heat. This heat can ignite nearby materials, including wires or the case.
Battery explosion from physical damage or misuse
Dropping, puncturing, or shorting a battery can cause an explosion. Certain batteries, like lithium-ion, can catch fire or explode if damaged or improperly handled.
Toxic fumes are released from overheating or damaged batteries
If a battery is damaged, leaking, or overheats, it can release harmful gases. These fumes can irritate the eyes, throat, and lungs, and in some cases, can be poisonous.
Incorrect output voltage or current damaging devices
Using the wrong type of inverter or DC converter can result in unstable or incorrect power output. This can damage plugged-in devices or cause them to malfunction.
Lack of warranty or professional support
DIY power stations don’t come with a warranty or technical support. If a component fails or malfunctions, you must repair or replace it yourself, which can be difficult and costly.
Burn injuries from hot surfaces or overloaded wires
Overloaded wires or connectors can become extremely hot. Touching them can cause burns, and in severe cases, they may ignite surrounding materials.
Wire melting or insulation breakdown from poor current handling
If wires are too thin for the amount of current flowing through them, they can overheat. This can cause the insulation to melt, exposing bare wire and increasing the risk of shorts or fires.
Damage to sensitive electronics from the unstable power supply
Some DIY setups may provide fluctuating or “dirty” power. Sensitive devices like laptops or medical equipment can be damaged or have reduced lifespans when connected to unstable power.
Considering all these possible risks, you'd better buy a portable power station if you are not one of those:
People with basic electrical knowledge who understand how batteries, inverters, and circuits work.
Hobbyists or DIYers who have experience with wiring and soldering.
Campers or travelers with a good sense of practical problem-solving.
Homeowners who have worked with small solar systems or battery backups before.
Tech-savvy individuals who are comfortable reading manuals and following technical steps.
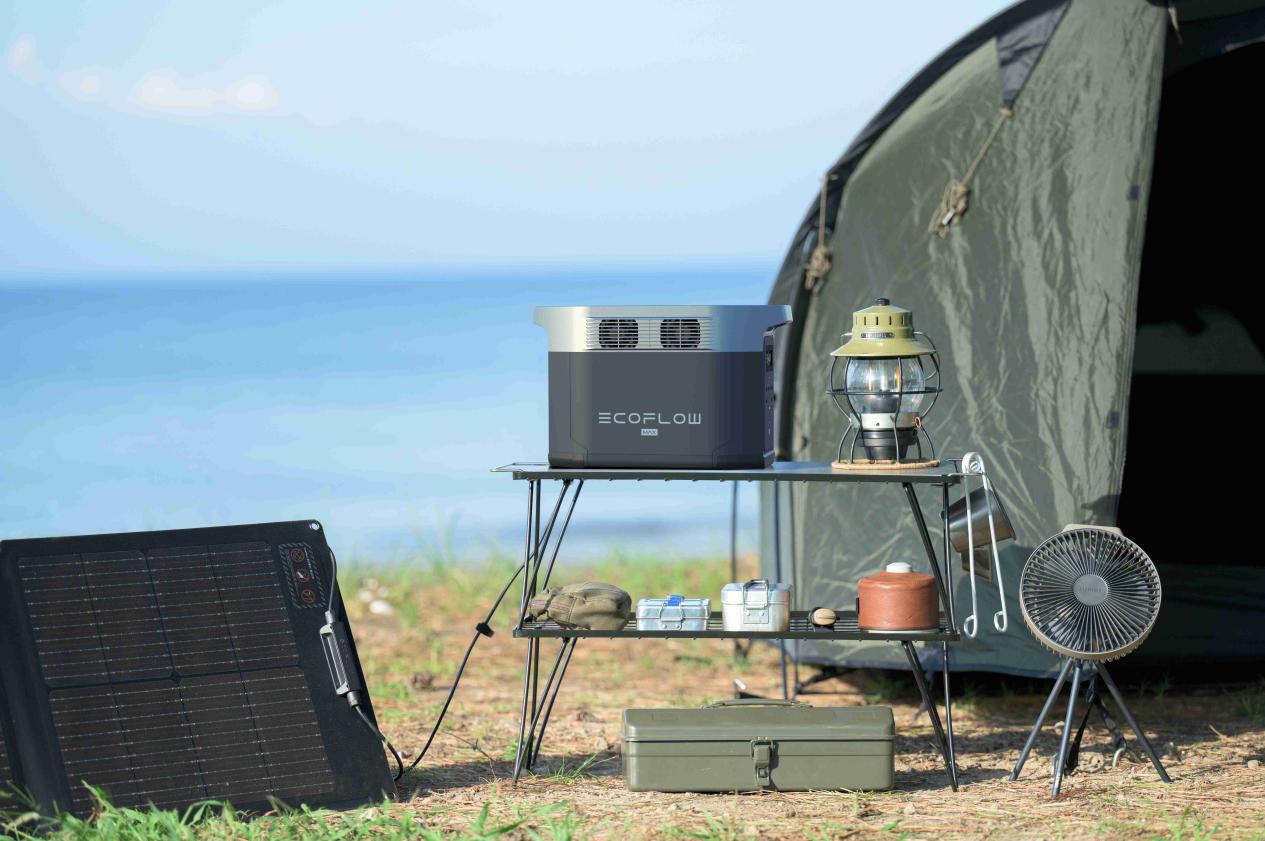
If you are not in one of these groups, it’s safer and more convenient to buy a ready-made solution. The EcoFlow RIVER 3 Plus Portable Power Station is an excellent choice. It offers up to 600W output with X-Boost, a LiFePO4 battery with a 10-year lifespan, fast charging (0–100% in 1 hour), and smart controls via app. With pro-grade UPS protection, quiet operation (<30 dB), and a compact design, it’s perfect for home backup, camping, and travel.
Final Thoughts on Your DIY Power Station
A DIY portable power station is a great way to get backup power or portable energy. It lets you choose your own battery size, outputs, and features. You can build one with basic tools and supplies.
Remember to plan well, connect parts safely, and test the system before use. Take good care of your power station to help it last longer.
If you need high power, advanced features, or don’t feel ready for DIY, you can also choose a store-bought portable power station.
For press requests or interview opportunities, reach out to our media team
media.na@ecoflow.com