Inside the Tesla Powerwall Installation Process, Step by Step
- How Tesla Powerwall Installation Works (Quick Overview)
- How EcoFlow TITAN Installation Compares
- Step-by-Step: What Happens During a Tesla Powerwall Installation
- Where Can a Tesla Powerwall Be Installed?
- Sizing Your Installation: How Many Powerwalls Do You Need?
- Who Can Install a Tesla Powerwall?
- Conclusion
- FAQs
Thinking about a Tesla Powerwall installation but unsure what actually happens once you sign the paperwork? You are not alone. Most homeowners want to know the real process before they commit: who does the work, how long it takes, where the unit goes, and how many batteries they truly need. This guide walks you through each of those questions in plain terms, so you can plan with confidence instead of guessing. And because backup power is a bigger decision than a single brand, we will also look at how a newer whole-home option compares.
How Tesla Powerwall Installation Works (Quick Overview)
Before you picture yourself unboxing a battery in the garage, here is the first thing to know: a Powerwall is not a weekend DIY project. A Tesla Powerwall installation has to be carried out by a Tesla-certified installer. Not a general electrician, and not you, no matter how handy you are.
Why so strict? A home battery ties directly into your electrical panel and, in many cases, the utility grid. That work has to meet electrical and fire codes, which is why residential storage is treated as a professional job. The New York State Energy Research and Development Authority notes that these systems must meet current safety listings and fire code requirements, and a certified installer is how that gets verified.
At a high level, a typical Powerwall installation follows a clear path:
Site assessment
Permits and approvals
Mounting
Backup Gateway or Backup Switch wiring
Commissioning and testing
Connecting to the Tesla app
The on-site electrical work itself is often just a day or two, but the full process, including permits, inspections, and utility interconnection approval, commonly runs about 3 to 4 months from signing to activation. Permit and utility approval timelines, not the physical install, are usually what stretches the calendar.
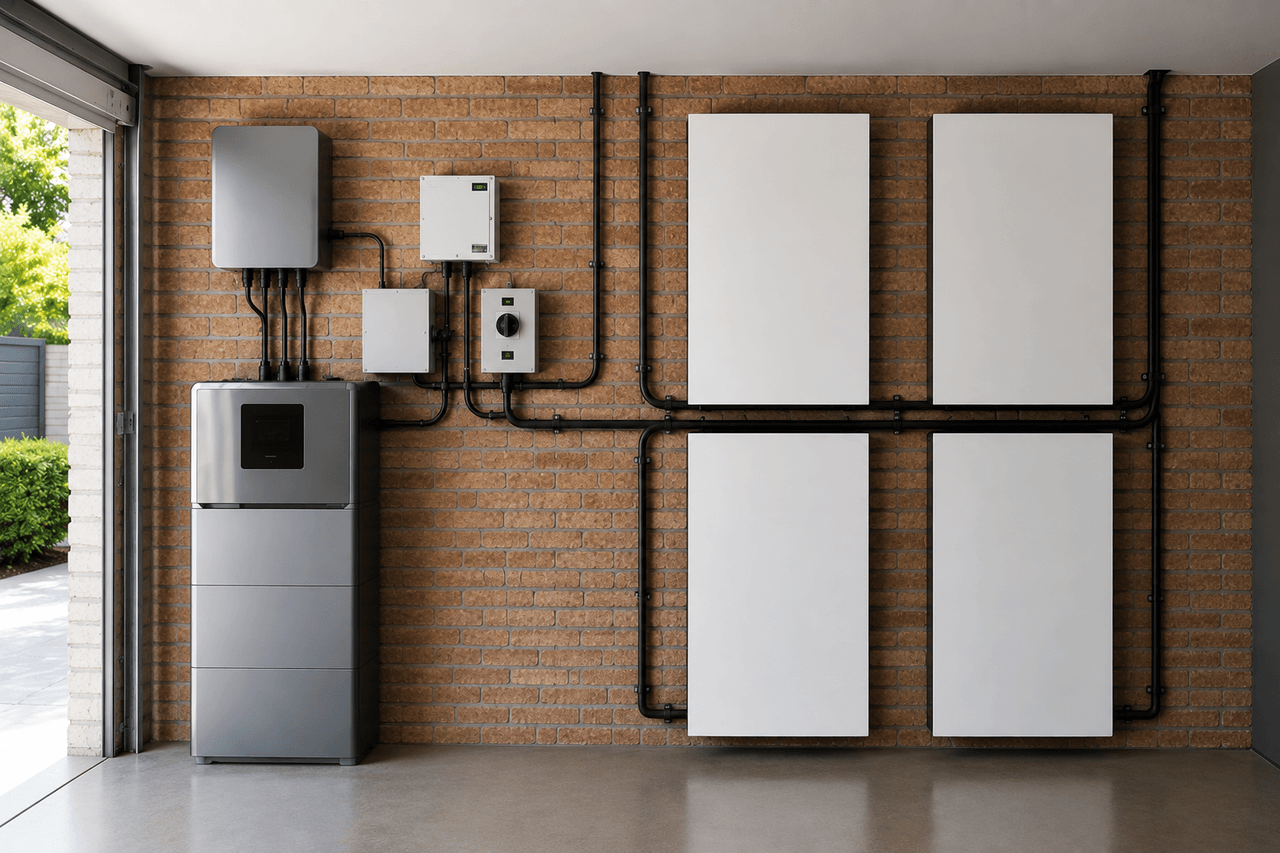
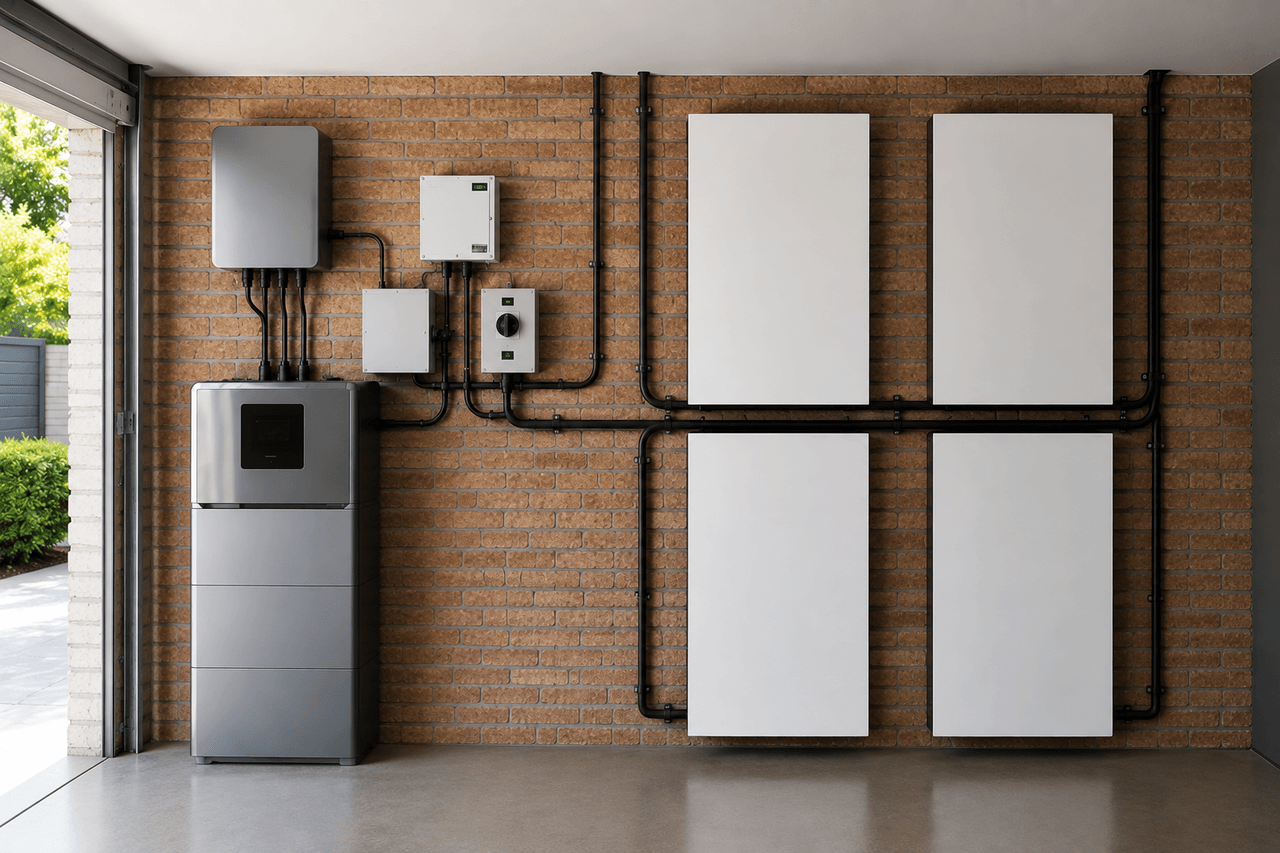
A standard Powerwall 3 setup includes at least one battery plus a Backup Gateway or Backup Switch, which manages how your home draws power during an outage. One thing that sets the newer generation apart: the Powerwall 3 has an integrated solar inverter, so it accepts direct DC solar input. That can simplify the electrical setup compared with older Powerwall generations that needed a separate inverter.
Once you know the general flow, it is worth seeing how a newer whole-home option, EcoFlow's TITAN lineup, compares on setup.
How EcoFlow TITAN Installation Compares
If the idea of a multi-part system with a separate gateway and a multi-month timeline feels like a lot, you might be wondering whether there is a more self-contained way to get whole-home backup. That is exactly the gap the EcoFlow TITAN series is built to fill.
Across all three tiers, TITAN Classic, TITAN, and TITAN Plus, the installation story simplifies home backup by design: pairing the main TITAN unit with a Smart Home Panel 10 enables automatic circuit-level transfer for up to 10 critical 120V circuits, rather than requiring separate gateway, disconnect, and transfer hardware. For households requiring heavy 240V whole-home loads, TITAN split-phase architecture integrates with standard subpanels. That streamlined architecture is what lets a standard TITAN on-site installation typically wrap up in about 2 hours, compared to 8 to 16 hours for traditional wall-mounted setups.
That simplified setup carries through to cost, not just time. In a defined standard whole-home connection scenario, a TITAN installation runs about 2 hours of on-site labor and roughly $1,200, against a documented Powerwall benchmark of 8 to 16 hours and about $6,000 in labor for a comparable whole-home connection. The gap comes down to design: TITAN's integrated form factor and factory-prepared connections mean less on-site wiring and panel work for an electrician to do, where a Backup Gateway or Switch setup requires more site-specific adaptation and commissioning.
If those qualities match what you are after, the TITAN line is designed to address whole-home needs without a portable-battery compromise. Just as important, it is positioned to compete on value in this category, so strong backup capability does not have to mean the highest sticker price or the longest timeline.
Tesla Powerwall 3 and EcoFlow TITAN: installation snapshot
Installation factor | Tesla Powerwall 3 | EcoFlow TITAN |
Who installs it | Tesla-certified installer required; not a DIY job (per Tesla) | Installer network and requirements not yet published; full guidance at launch |
Core setup | Battery plus a Backup Gateway or Backup Switch (per Tesla) | One main unit plus one Smart Home Panel 10 across all three tiers |
Typical on-site time | 8 to 16 hours for a comparable whole-home connection (documented benchmark) | About 2 hours for a standard whole-home connection (defined scenario) |
Full timeline | About 3 to 4 months including permits and inspections | Typically within 7 days |
Solar input per unit | Up to 20kW DC (STC) (Tesla US datasheet) | 4kW single channel on TITAN, or 4kW dual channel on TITAN Plus (EcoFlow product materials) |
Scalability | Up to 4 Powerwall 3 units plus 3 Expansion units, 7 max (Tesla US datasheet) | Expansion details not yet published; confirm at launch |
Step-by-Step: What Happens During a Tesla Powerwall Installation
So what does the actual day-of process look like? If you have ever wondered how to install a Tesla Powerwall from start to finish, here is the sequence a certified installer follows.
Step 1: Site assessment. First, Tesla or the installer reviews your home's electrical system and looks at your energy usage. This is where they figure out how many Powerwalls you need to meet your goals.
Step 2: Permits and approvals. Required paperwork has to be secured before any work begins. Getting these lined up in advance helps you avoid legal or regulatory delays that can push your timeline back.
Step 3: Mounting. The unit is fixed in place using wall brackets, with specific clearance requirements around it. Those gaps matter for safety, heat dissipation, and leaving room to service the unit later.
Step 4: Connecting the Backup Gateway or Switch. This piece is installed near the Powerwall and wired to both your home's electrical system and the grid. It is the traffic controller that decides how power flows when the utility goes down.
Step 5: Wiring and energy monitoring setup. The installer completes the electrical connections and sets up monitoring so the system can track what is happening in real time.
Step 6: Commissioning and testing. Before the job is called done, initial system checks confirm the installation is correct and the communication protocols are working, followed by final testing.
Step 7: Connecting to the Tesla app. The last step links the system to the Tesla app, which needs an active internet connection. This is what gives you real-time monitoring and control from your phone.
Knowing the steps is one thing. Where the unit can actually be installed is a separate, practical question.
Where Can a Tesla Powerwall Be Installed?
Have you looked around your home and wondered where a battery this size would even go? The good news is that placement is fairly flexible, within limits.
A Powerwall can be mounted indoors, outdoors, or, in some configurations, in-ground, as long as the clearance and access requirements are met. That flexibility helps it fit different home layouts, from a garage wall to an exterior side yard.
Temperature is the main environmental factor to keep in mind. The unit is rated to operate between -20°C and 50°C, with its best performance in the 0°C to 30°C range. If you live somewhere with harsh winters or intense summer heat, your installer will factor that into where the unit goes.
One simple thing you can do ahead of time: clear the ground or wall space where the battery will sit and make sure access points are unobstructed before the installer arrives. It keeps the tesla powerwall install on schedule and gives the crew room to work safely.
Where it goes is one factor. How many units you need is the other major planning question.


Sizing Your Installation: How Many Powerwalls Do You Need?
This is where a lot of buyers get stuck. Do you need one battery or four? The honest answer is that it depends on your home's electrical load and your backup goals, but the specs give you a useful frame.
According to Tesla's US datasheet, the US Powerwall 3 runs on 120/240V split-phase power at 60Hz. Its default configuration delivers 11.5kW of continuous output at 48A, installed with a 60A breaker.
That output can be dialed down to lower tiers when utility or interconnection limits call for it. Tesla's US datasheet lists these configurable options:
5.8kW at 24A, with a 30A breaker
7.6kW at 31.7A, with a 40A breaker
10kW at 41.7A, with a 60A breaker
There is also an optional off-grid-only mode that can push output to 15.4kW (64A continuous) when there is enough solar production, per Tesla's US datasheet. That mode requires an 80A breaker and appropriately sized conductors, so a system installed with the standard 60A breaker does not support it.
On the solar side, Tesla's US datasheet states each unit accepts up to 20kW DC (STC) of solar input. And for larger homes, the system scales: up to 4 Powerwall 3 units, plus up to 3 Expansion units, for a maximum of 7 units in one system.
So how does that translate to your situation? Whole-home backup usually calls for higher continuous output or multiple units, while a critical-loads-only setup, covering just the essentials like your fridge, lights, and Wi-Fi, can often run on a single unit at a lower configured output. The exact number is determined during the site assessment. If you want to compare that math against other options, our whole-home battery backup guide breaks down how capacity maps to real household needs, and our overview of what affects a home battery's cost can help you weigh unit count against budget.
Who Can Install a Tesla Powerwall?
By now the theme is probably clear, but it is worth stating plainly because it is the question buyers ask most. Only Tesla-certified installers can perform a Powerwall 3 installation. Not any general electrician, and not a DIY job, even for experienced DIYers.
Why does certification matter beyond a formality? It ensures the work complies with Tesla's safety and quality standards, and it keeps your system's warranty intact. Skipping it can put both your safety and your coverage at risk.
To find one, you can search Tesla's official website by entering your zip code or address, which returns certified installers in your area. If you are also thinking through outage readiness while you plan, Ready.gov's power outage guidance is a solid, no-cost checklist to pair with your backup power decision.
Conclusion
A Tesla Powerwall installation follows a defined process (site assessment, permits, mounting, and Backup Gateway wiring) that typically spans 3 to 4 months once permits and inspections are included, and only a Tesla-certified installer can carry it out. EcoFlow TITAN takes a simpler path: one main unit plus one Smart Home Panel 10, installable within about 7 days. Start with your household load to decide how many units or which EcoFlow TITAN tier fits before you call an installer.
FAQs
Can I install a Tesla Powerwall myself?
No. A Tesla Powerwall is not a DIY product. Tesla requires a certified installer for every installation, even for skilled DIYers, because the work ties into your home's main electrical system and directly affects both safety and warranty coverage.
How long does a Tesla Powerwall installation take?
The on-site electrical work is often completed in a day or two, but the full timeline, including the site assessment, permits, and inspections, commonly runs about 3 to 4 months from signing to activation. Permit approval is the most common source of delay, so starting the paperwork early pays off.
Can a Tesla Powerwall be installed outdoors?
Yes. A Powerwall can be mounted indoors, outdoors, or in-ground in some configurations, as long as clearance, access, and temperature conditions are met. Optimal performance sits between 0°C and 30°C.
How many Powerwalls do I need for whole-home backup?
It depends on your home's electrical load. Whole-home backup usually calls for higher output and often multiple units, while a critical-loads setup can run on one. The exact count is confirmed during the site assessment. If you want a modular alternative, an EcoFlow whole-home backup system can scale to match a range of household loads.
Does a Tesla Powerwall warranty depend on who installs it?
Yes. Powerwall carries a manufacturer warranty, and using a Tesla-certified installer is what keeps that coverage valid. An unapproved or DIY install can void it, which is one more reason the certified route is the standard path.
For press requests or interview opportunities, reach out to our media team
media.na@ecoflow.com