How To Get Your Hunting Cabin Ready for Winter
- Step 1: Check the Outside of the Cabin Before the First Freeze
- Step 2: Heat a Hunting Cabin Without Wasting Fuel
- Step 3: Keep Your Water System From Freezing
- Step 4: Get Power, Lights, and Communication Ready for Winter
- Step 5: Stock Up for Storm Days and Surprise Overnights
- Step 6: Keep Mice and Other Critters Out All Winter
- Step 7: Make Cabin Access Easier After Snow and Ice
- Make Your Hunting Cabin Ready For Cold Weather
- FAQs
A hunting cabin might feel tight in fall, but winter has a way of finding every weak spot. Once hard freezes arrive, drafty doors, exposed pipes, and an unreliable heat source can wreck a trip fast. Whether you're upgrading an old cabin or starting fresh with hunting cabin kits, the prep work is the same—seal gaps, protect your water lines, and make sure your heating setup won't fail at 2 a.m. A solid checklist now beats dealing with frozen plumbing or a damp interior later.

Step 1: Check the Outside of the Cabin Before the First Freeze
Walk around your hunting cabin before winter hits and check for problems that worsen once snow and ice arrive. Use this checklist to catch issues early:
1. Begin with the roof. Take a look around to determine which shingles are missing, curling, or loose, so those problem spots can be repaired before any moisture gets in.
2. Look at flashing around chimneys and vents. If you notice gaps, raised corners, or rusty areas, fix or replace them. A winter leak often begins here.
3. Look for soft areas around the edges of the roof. Check for any areas that feel soft when you press on them. A small weak area can become a big problem under snow load.
4. Peer over the top of the chimney. Check that the cap is secure. Check the screen for rust or holes so rain or animals cannot enter.
5. Clean the chimney flue if needed. If it’s been a while since the last cleaning, it’s a good idea to have it done to reduce the risk of a chimney fire.
6. Verify the spark arrestor. Ensure it is properly installed and in sound condition to prevent embers from escaping.
7. Seal any cracks in the siding. Walk along the walls and caulk any cracks or areas where different materials meet. These small seams become leaks.
8. Secure the foundation skirt. Fix or replace any loose panels of foundation skirting to prevent rodents from slipping underneath.
9. Clear your gutters and downspouts. This helps water drain correctly and prevents ice buildup.
10. Correct your drainage path. Inspect downspout extensions to ensure that water is directed at least 3 feet away from your cabin to prevent ice buildup near the foundation.
11. Renew door and window seals. Replace weatherstripping if it is cracked, flattened, or peeling to prevent cold air from sneaking in.
12. Seal the gap under exterior doors. Install door sweeps to eliminate drafts at ground level.
13. Fix drafty windows. Apply plastic window film for quick insulation, or replace old, ineffective weatherstripping if it’s not sealing properly.
14. Seal utility entry points. Foam and caulk around each pipe and wire entering your cabin to eliminate drafts and keep pests out.
Quick Check: On a windy day, run your hand around the door frames and windows to see where cold air is entering. You may be surprised how accurately you can detect those entry points—and how much heat gets wasted through them all winter.
Step 2: Heat a Hunting Cabin Without Wasting Fuel
Pick The Right Heat Source For Your Space
A small cabin under 400 square feet stays warm with one wood stove or propane heater. Larger hunting cabins need more BTUs or multiple heat sources. Don't buy an oversized heater—it cycles on and off, wastes fuel, and heats unevenly.
A well-insulated 600-square-foot cabin will require less fuel than an inadequately insulated 300-square-foot cabin. If you do not have any insulation in your walls and single-pane windows in your house, you first need to address these before improving the heating system.
Insulate The Right Spots First
The roof lets the heat escape more quickly than anywhere else. Add insulation to the ceiling until you reach R-30 or beyond. Next, insulate the floors if the cabin rests on pilings or a crawl space. A chilly floor chills everything.
Put a vapor barrier on the warm side of insulation to stop moisture from getting trapped. But leave some airflow—sealed cabins get condensation and mold. Wood stoves need air for combustion.
Step 3: Keep Your Water System From Freezing
Pick One Plan and Stick to It
In winter, you either keep the system warm and running, or you fully drain it—mixing the two usually causes problems.
If you visit often and can keep heat on, insulate any exposed pipes and make sure the cabin stays above freezing between trips. If you’re gone for weeks or can’t run heat, shut off the water, open every faucet, drain the pressure tank and water heater, blow out the lines with compressed air, and add RV antifreeze to traps and the toilet.
Insulate the Vulnerable Spots
Pipes in crawl spaces, attics, and exterior walls freeze first, so wrap them with foam insulation. Heat tape can help on short trouble sections, but it needs reliable power.
Before winter hits, locate and test the main shutoff, drain and disconnect outdoor faucets, and protect the pressure tank and pump if they’re in unheated areas. If you’re doing a full drain-down, cut power to the pump first, then fully drain the pressure tank—any water left inside can freeze and crack it.
Store Water If Plumbing Is Off
Keep five-gallon food-grade jugs inside the heated hunting cabin for drinking and cooking. Set up a basin for handwashing and a separate container for gray water disposal. If you're using an outhouse, it won't freeze but it gets cold. Indoor composting toilets need proper venting.
| Usage Pattern | Best Approach | Tools Needed | Common Mistakes |
| Weekend visits, heat on | Keep system active with insulation and low heat | Pipe insulation, thermostat, heat tape | Heat set too low, missed pipe sections |
| Occasional visits, no heat | Drain everything each time | Air compressor, RV antifreeze, wrench | Skipped drain traps, water left in heater |
| Gone for weeks | Full winterization | Air compressor, 2–3 gallons antifreeze | Forgot pressure tank or pump |
| No plumbing | Store water in heated space | Food-grade jugs, wash basin, gray water container | Water stored where it freezes |
Step 4: Get Power, Lights, and Communication Ready for Winter
Check Your Electrical System
Test every outlet before the weather turns. Plug in a lamp or phone charger to confirm it’s working. For GFCI outlets, press TEST to make sure it trips, then RESET to restore power. If it won’t trip or reset, replace it. Swap out any damaged cords now—frayed insulation and loose plugs only get worse in the cold, and a short in freezing conditions can mean a fire risk or a sudden loss of power when you need it most.
Plan For Backup Power
Cold drains batteries much faster than most people expect, so don’t treat your backup setup as “set it and forget it.” If you’re relying on a generator or a portable power station, keep batteries indoors whenever you can, or at least in an insulated box, and check the charge level before each trip so you can top it off early.
Try to keep lithium batteries above 32°F when possible, and run your generator under load about once a month to make sure it’s still working when you actually need it. It also helps to decide ahead of time which loads matter most—usually lighting, heat control, and phone charging—then manage usage so you’re not trying to power everything at once on a limited backup supply.
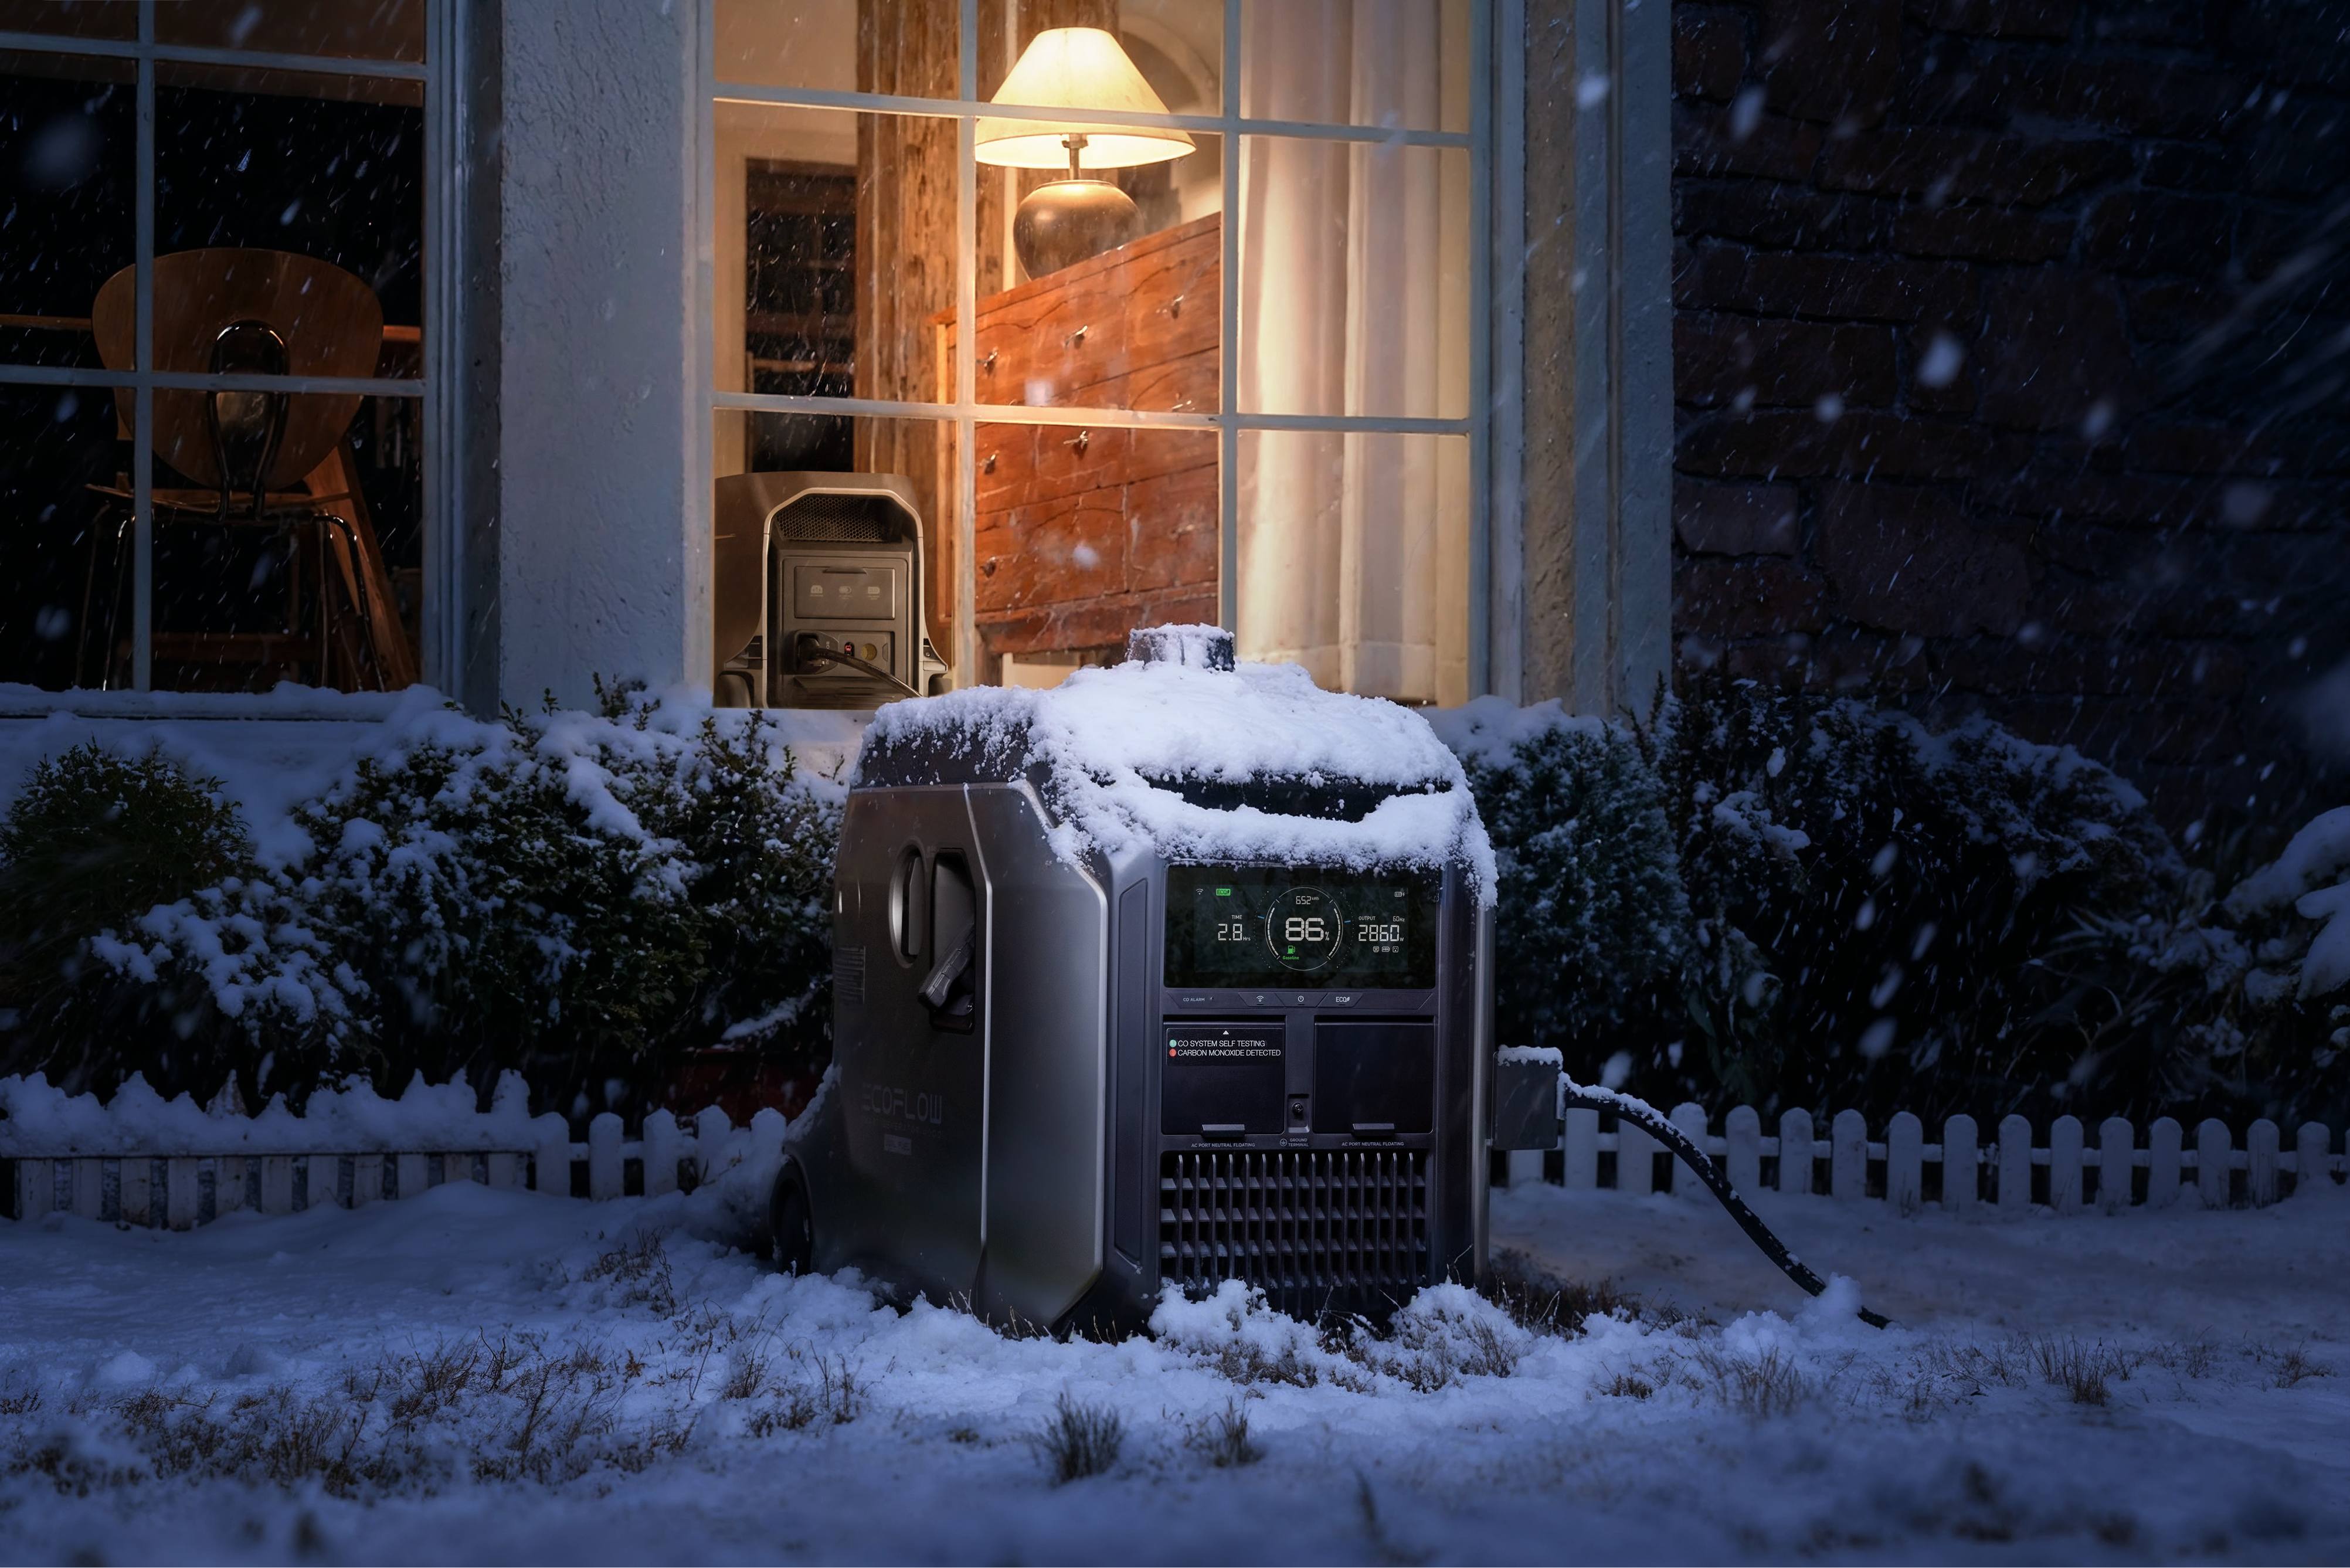
A portable power station like the EcoFlow DELTA 3 Ultra handles heavy-duty appliances with 3600W output and recharges in under two hours, which matters when you're dealing with short winter days and limited generator runtime. Pair it with solar panels for off-grid hunting cabins where fuel resupply isn't easy.
Set Up Lighting And Emergency Communication
Keep a headlamp by the door and extras in your gear—they beat flashlights since your hands stay free. LED lanterns outlast candles and give better light, but stock spare batteries because cold kills them fast. For your hunting cabin, grab a hand-crank weather radio, download offline maps to your phone, and keep backup charging cables ready. If cell service is spotty, don't count on it in emergencies—a weather radio catches alerts when your phone can't. Small problems like dead batteries or tripped breakers turn serious fast in the dark and cold at off-grid hunting cabins.
Step 5: Stock Up for Storm Days and Surprise Overnights
Firewood, Fuel, And Food
Keep three days of firewood staged even for a weekend trip—storms delay departures and running out of wood at 20°F gets dangerous fast. Store kindling in a dry container inside where it stays ready to light.
Keep propane tanks and gas cans outside or in a shed, never inside where fumes accumulate. Check fuel levels before each trip and maintain a reserve you don't touch except in emergencies.
Stock these shelf-stable foods that work in cold weather:
| Food Type | Examples |
| Hot meals | Canned soups and stews you can heat on the stove |
| Quick protein | Peanut butter, crackers, protein bars |
| Breakfast | Instant oatmeal and coffee |
| Staples | Pasta or rice with long shelf life |
| Snacks | Dried fruit and nuts |
Keep one gallon of drinking water per person daily, or two gallons if your hunting cabin has no running water for cooking and cleanup.
First Aid, Fire Safety, And Cold-Weather Gear
Winter demands more than a basic first aid kit for your hunting cabin. Add supplies for burns, frostbite, and injuries when you can't leave immediately.
Gauze, tape, and bandages for cuts
Burn gel and sterile dressings
Hand warmers and chemical heat packs
Extra dry base layers and wool socks
Emergency blanket
Mount fire extinguishers near the stove and exit. Check the pressure gauge before winter—an empty one is worthless when you need it.
Tools That Save The Trip
Keep a shovel by the door for clearing snow from the entrance, walkways, and vents. Stock sand or ice melt for traction on steps.
These tools handle most problems that crop up during winter trips at off-grid hunting cabins:
Tool | Purpose |
Hatchet | Splitting kindling |
Handsaw | Cutting firewood to size |
Basic repair kit | Screwdrivers, pliers, and wrench for quick fixes |
Duct tape and zip ties | Securing tarps, temporary repairs |
You don't need a full workshop, just enough to fix a broken hinge, tighten a loose clamp, or get through the night safely.
Plan for one extra night even for weekend trips. Winter weather shifts fast, and having supplies ready beats improvising during a storm.
Step 6: Keep Mice and Other Critters Out All Winter
Find Entry Points And Seal Them
Mice squeeze through dime-sized gaps. Walk around your hunting cabin checking where pipes and wires enter walls, gaps under doors, foundation cracks, and where siding meets the roofline.
Seal these entry points effectively:
Stuff steel wool into holes, then cover with caulk or foam—rodents can't chew through steel wool
Add door sweeps to exterior doors with bottom gaps
Install metal screening over vents and chimney openings
Check window frames where they meet walls
Don't use foam alone—rodents chew through it. Steel wool stops them while sealant holds it in place.
Store Food The Right Way
Animals smell food from outside, so everything edible goes in airtight plastic bins or metal containers. Cardboard and plastic bags won't stop them.
Follow these storage rules at off-grid hunting cabins:
| Storage Task | Action Required |
| Dry goods | Seal in airtight containers |
| Trash | Remove every time you leave |
| Kitchen cleanup | Clean grease off stove and counters |
| Scented items | Store soap and toothpaste in bins |
| Long-term food | Use metal containers with tight lids |
Never leave trash bags inside or by the door—that's an invitation for wildlife.
Protect Wiring And Bedding
Rodents chew wiring to sharpen teeth and gather insulation for nests. Check wire runs in attics, basements, and behind appliances for tooth marks, droppings, or shredded insulation.
Store bedding, towels, and sleeping bags in sealed bins. Mice shred fabric for nests, and discovering that while unpacking ruins your trip. Inspect stored items each visit—early damage means you caught it in time.
A sealed, clean hunting cabin prevents chewed wires, ruined food, and destroyed bedding. Handle it before animals settle in for winter.
Step 7: Make Cabin Access Easier After Snow and Ice
Plan Your Driveway And Parking Area
Snow hides edges and makes it hard to tell where solid ground ends. Prepare your access route before winter so you can navigate safely in the dark or after a storm.
| Task | What To Do | Tools/Materials |
| Mark edges | Push 4-foot fiberglass or wooden stakes 12 inches into the ground, spaced every 10 feet along both sides of the driveway | Reflective driveway markers or tall wooden stakes |
| Clear overhead | Use loppers or a pole saw to cut branches at least 8 feet above ground; remove dead limbs that could break under snow | Loppers, pole saw, work gloves |
| Stage shovels | Keep a flat-blade shovel inside the entry and a pointed shovel in your truck bed | Two shovels, one for each location |
| Add traction gear | Store a 50-pound bag of sand or two traction boards in your vehicle | Sand, traction boards, or kitty litter |
| Prep parking | Remove rocks, fill low spots with gravel, rake smooth, make it wide enough for all doors to open | Gravel, rake, shovel |
Set Up An Entryway For Wet Gear
Place a rubber or plastic boot tray at least 24 inches long just inside the entrance, setting it on a waterproof mat if you have wood floors.
Mount heavy-duty hooks 5 feet high for coats and 3 feet high for hats, spacing them 8 inches apart so wet items don't touch.
Lay a rubber mat or 3x4-foot plywood sheet near the door, keeping it at least 12 inches from walls to prevent moisture from soaking into wood or drywall.
Pour water from the boot tray outside before you leave, then wipe the tray, hooks, and nearby walls dry with a rag.
Follow A Warm-Up Routine When You Arrive
Prop the door open and crack one window on the opposite side, letting fresh air move through for five minutes to clear stale air and fuel smells.
Check ceilings and windows for water stains, inspect stored food for chew marks or droppings, and turn on one faucet briefly to see if water flows or pipes froze.
Clear the 3-foot area around your stove, open the flue damper all the way, and build a fire with newspaper and dry kindling before adding larger wood once flames are steady.
Set out your 5-gallon storage jugs in the kitchen if you drained everything, or run the faucet for 30 seconds to flush the lines if pipes stayed active.
Flip the main breaker and plug a phone charger into two outlets per room to confirm power, or start your generator and let it warm up before connecting loads.
Make Your Hunting Cabin Ready For Cold Weather
Winter finds every weak spot in a hunting cabin fast. Seal your doors and windows, protect your plumbing, and confirm your stove runs safely. Whether you're upgrading an old cabin or working with hunting cabin kits, the basics stay the same—stop drafts, plan your water system, and keep supplies on hand. Run through your checklist now, then spend a night there before it gets brutal outside.
FAQs
Q1: Can I use space heaters as my primary heat source in a hunting cabin?
Not recommended. Space heaters consume about 1,500 watts. Additionally, space heaters can be fire hazards if tipped over and can drain batteries fast. Space heaters are ideal for heating a specific room. They can be used for supplementary heating, but for primary heating, one should use a wood stove or a vented propane heater.
Q2: How do I know if my hunting cabin needs a dehumidifier in winter?
Yes, if you observe that there is condensation on windows, smelly areas, and spots of dampness on walls and ceilings. Heating a closed cabin retains water generated by cooking and that which is wetted equipment. Using a small dehumidifier is ideal if you have power. Otherwise, you could simply open a one-inch window while you are using your stove.
Q3: What's the minimum temperature I should maintain if I'm keeping my hunting cabin heated between visits?
It should be kept above 45° F. In that manner, it prevents fuel waste by protecting the pipes in normal climatic conditions, without burning through fuel. Any temperature setting below 40° F puts uninsulated sections of the pipes at risk, especially when the hunting cabin has a crawl space or an exterior wall.
Q4: Can I winterize my hunting cabin in one day?
Not if you want it done right. It will take 6-8 hours for exterior sealing, system checking, basic prep, etc. An additional 2-3 hours are needed for draining your water lines, adding insulation to your pipes, or chimney cleaning. The average person will need the entire weekend to get everything done.
Q5: Do I need to winterize if my cabin has spray foam insulation?
Definitely. Spray foam insulation prevents heat loss, but it doesn’t protect your pipes, chimney, or roof from winter damage. Still, you have to prepare your heating system, seal entry points for critters, clean your gutters, and decide whether to leave the water running or drain it. The insulation helps make your hunting cabin more efficient, but it doesn’t eliminate the effort to keep your systems from freezing and failing.
For press requests or interview opportunities, reach out to our media team
media.na@ecoflow.com