Charging a LiFePO4 Battery: Complete Guide for Safe and Proper Charging
Plenty of RVs, off-grid cabins, and solar banks across Canada now run on LiFePO4—the cycle life runs long, nearly all the rated capacity is usable, and the chemistry stays steady. What those cells won’t put up with is improper charging: get the voltage, current, or temperature wrong and the battery’s management system ends the session on the spot, or quietly takes years off the pack’s life. This guide walks through charging one properly from a campground pedestal, solar panels, or a vehicle alternator, plus realistic charge times and off-season storage.
What Do You Need to Know Before Charging a LiFePO4 Battery?
If lead-acid batteries are all you’ve worked with, there’s a bit of unlearning to do: a LiFePO4 battery needs different voltages and follows a different profile entirely. Before anything gets plugged in, pull three numbers off the spec sheet: nominal voltage, maximum charge current, and the allowed temperature range.
Differences from Lead-Acid Charging
An AGM or flooded bank expects a long, staged charge: bulk, a drawn-out absorption phase, then float. LiFePO4 uses constant-current/constant-voltage (CC/CV) charging; absorption time and any standby float setting depend on the battery manufacturer’s instructions. There’s no sulfation to reverse, so no equalization stage either; those high-voltage equalization pulses a lead-acid charger sends will trip the internal safety switches or ruin the cells.
| Feature / Parameter | LiFePO4 (Lithium Iron Phosphate) | Traditional Lead-Acid (AGM/Flooded) |
|---|---|---|
| Charging Profile | 2-Stage (Constant Current / Constant Voltage) | 3-Stage (Bulk, Absorption, Float) |
| Target Charge Voltage (12V Nominal) | 14.2V – 14.6V | 14.2V – 14.8V |
| Resting Voltage (100% SOC) | ~13.4V – 13.6V | ~12.6V – 12.8V |
| Float Requirement | None required (or low standby ~13.5V) | Essential to prevent self-discharge (13.2V–13.8V) |
| Equalization Stage | Strictly prohibited (destroys cells) | Recommended periodically for flooded designs |
| Charge Efficiency | 95% – 98% | 75% – 85% |
| Sub-Zero Charging | Prohibited under 0°C without internal pre-heating | Permissible (with thermal voltage compensation) |
Required Voltage and Current
The table above gives illustrative ranges; use the battery's own specifications. For example, Victron's Lithium Smart manual specifies 14.2V absorption, 13.5V float and a +5°C minimum charging temperature for its models.
A 12V LiFePO4 pack holds four 3.2V cells in series, and the bulk charging voltage sits between 14.2V and 14.6V, or 3.55V to 3.65V per cell. Amperage deserves the same attention. Charge rates such as 0.2C to 0.5C are examples, subject to the manufacturer's limits, where "C" is the pack's amp-hour rating. On a 100Ah battery, 0.2C is an easy 20A that treats the cycle life kindly. Push to 0.5C (50A) when you need the bank turned around between generator runs or shore power stops; only do so if the battery's specified charge-current limit permits it.
Choosing the Right Charger
Choose a LiFePO4 battery charger or a configurable charger with compatible settings. Disable lead-acid desulfation and equalization modes; use float only if the battery manufacturer permits it. Whatever you end up buying, hold out for three features:
A selectable LiFePO4 profile set to the battery's specified charge voltage and termination criteria.
Manufacturer-approved recovery functionality, where required, for a battery whose BMS has disconnected it after low voltage.
A low-temperature sensor or charge cut-off that pays for itself the first time a January cold snap rolls through cottage country.
If charging from a solar panel, match the controller's voltage, current and charging profile to the battery specifications.


How Do You Charge a LiFePO4 Battery Safely?
Most of what makes charging safe happens before anything gets connected: match the charger to the battery’s voltage and current limits, then check the battery temperature before connecting power.
Checking Battery and Charger Specifications
The continuous charge limit stated by your battery manufacturer should dictate charger output, never the other way around. If a 100Ah battery lists a maximum continuous charge rate of 50A, do not connect an 80A charger unless its output is limited to 50A or less; a BMS is a last-resort protection, not a current regulator. Charging LiFePO4 cells below 0°C can cause lithium plating, which may permanently reduce capacity and increase the risk of internal damage. Unless the battery has built-in heating or the manufacturer specifically allows low-temperature charging, wait until the battery is above its minimum charging temperature.
Connecting the Charger and Starting the Cycle
Follow the charger and battery manuals for connection order; the steps below illustrate a standalone battery setup and may differ for a vehicle-installed system:
Confirm the charger is turned off and unplugged from utility power.
Clamp the positive (red) cable firmly onto the positive terminal post.
Attach the negative (black) cable clamp to the negative battery terminal.
Plug the charger into the AC outlet and switch the unit on.
Select the LiFePO4 profile and confirm the status light shows the bulk stage running.
Identifying a Fully Charged Battery
Lithium's discharge curve is so flat that voltage makes an unreliable gauge, and a multimeter reading taken mid-charge proves little. Use the manufacturer's full-charge criteria; the following voltage and taper-current values are examples for some 12V nominal packs:
Terminal voltage holds at 14.4V to 14.6V under active current, and
The current it still accepts tapers down below 0.03C to 0.05C (roughly 3A to 5A on a 100Ah pack).
Once disconnected and allowed to rest with zero load for at least an hour, some 12V nominal packs may settle around 13.4V to 13.6V; resting voltage alone does not establish an accurate state of charge.
What Are the Different Ways to Charge a LiFePO4 Battery?
Off-grid flexibility is where LiFePO4 really pays off. Whether you're plugged into a pedestal at a serviced campground, parked on Crown land for a week, or putting highway kilometres between stops, one of three charging routes will fit the trip.
An integrated power station manages charging for its own internal battery; charging an external battery requires suitable separate equipment.
Charging with AC Power
Plug a multi-stage AC-to-DC smart charger into shore power or a pure-sine-wave inverter generator and you get steady, high-amperage current every time. It can provide predictable charging within the battery’s permitted current limit. And it’s what you want before heading somewhere the hydro lines don’t reach: top up while you still can.
Charging with Solar Power
Solar can't feed the battery directly: in between sits a charge controller, ideally an MPPT (Maximum Power Point Tracking) unit, turning raw panel output into the voltage and current the pack accepts. The harvest rises and falls with sun angle, cloud cover, and season, so charging speed shifts through the day: a June noon has the panel working flat out, while an overcast October afternoon barely trickles.
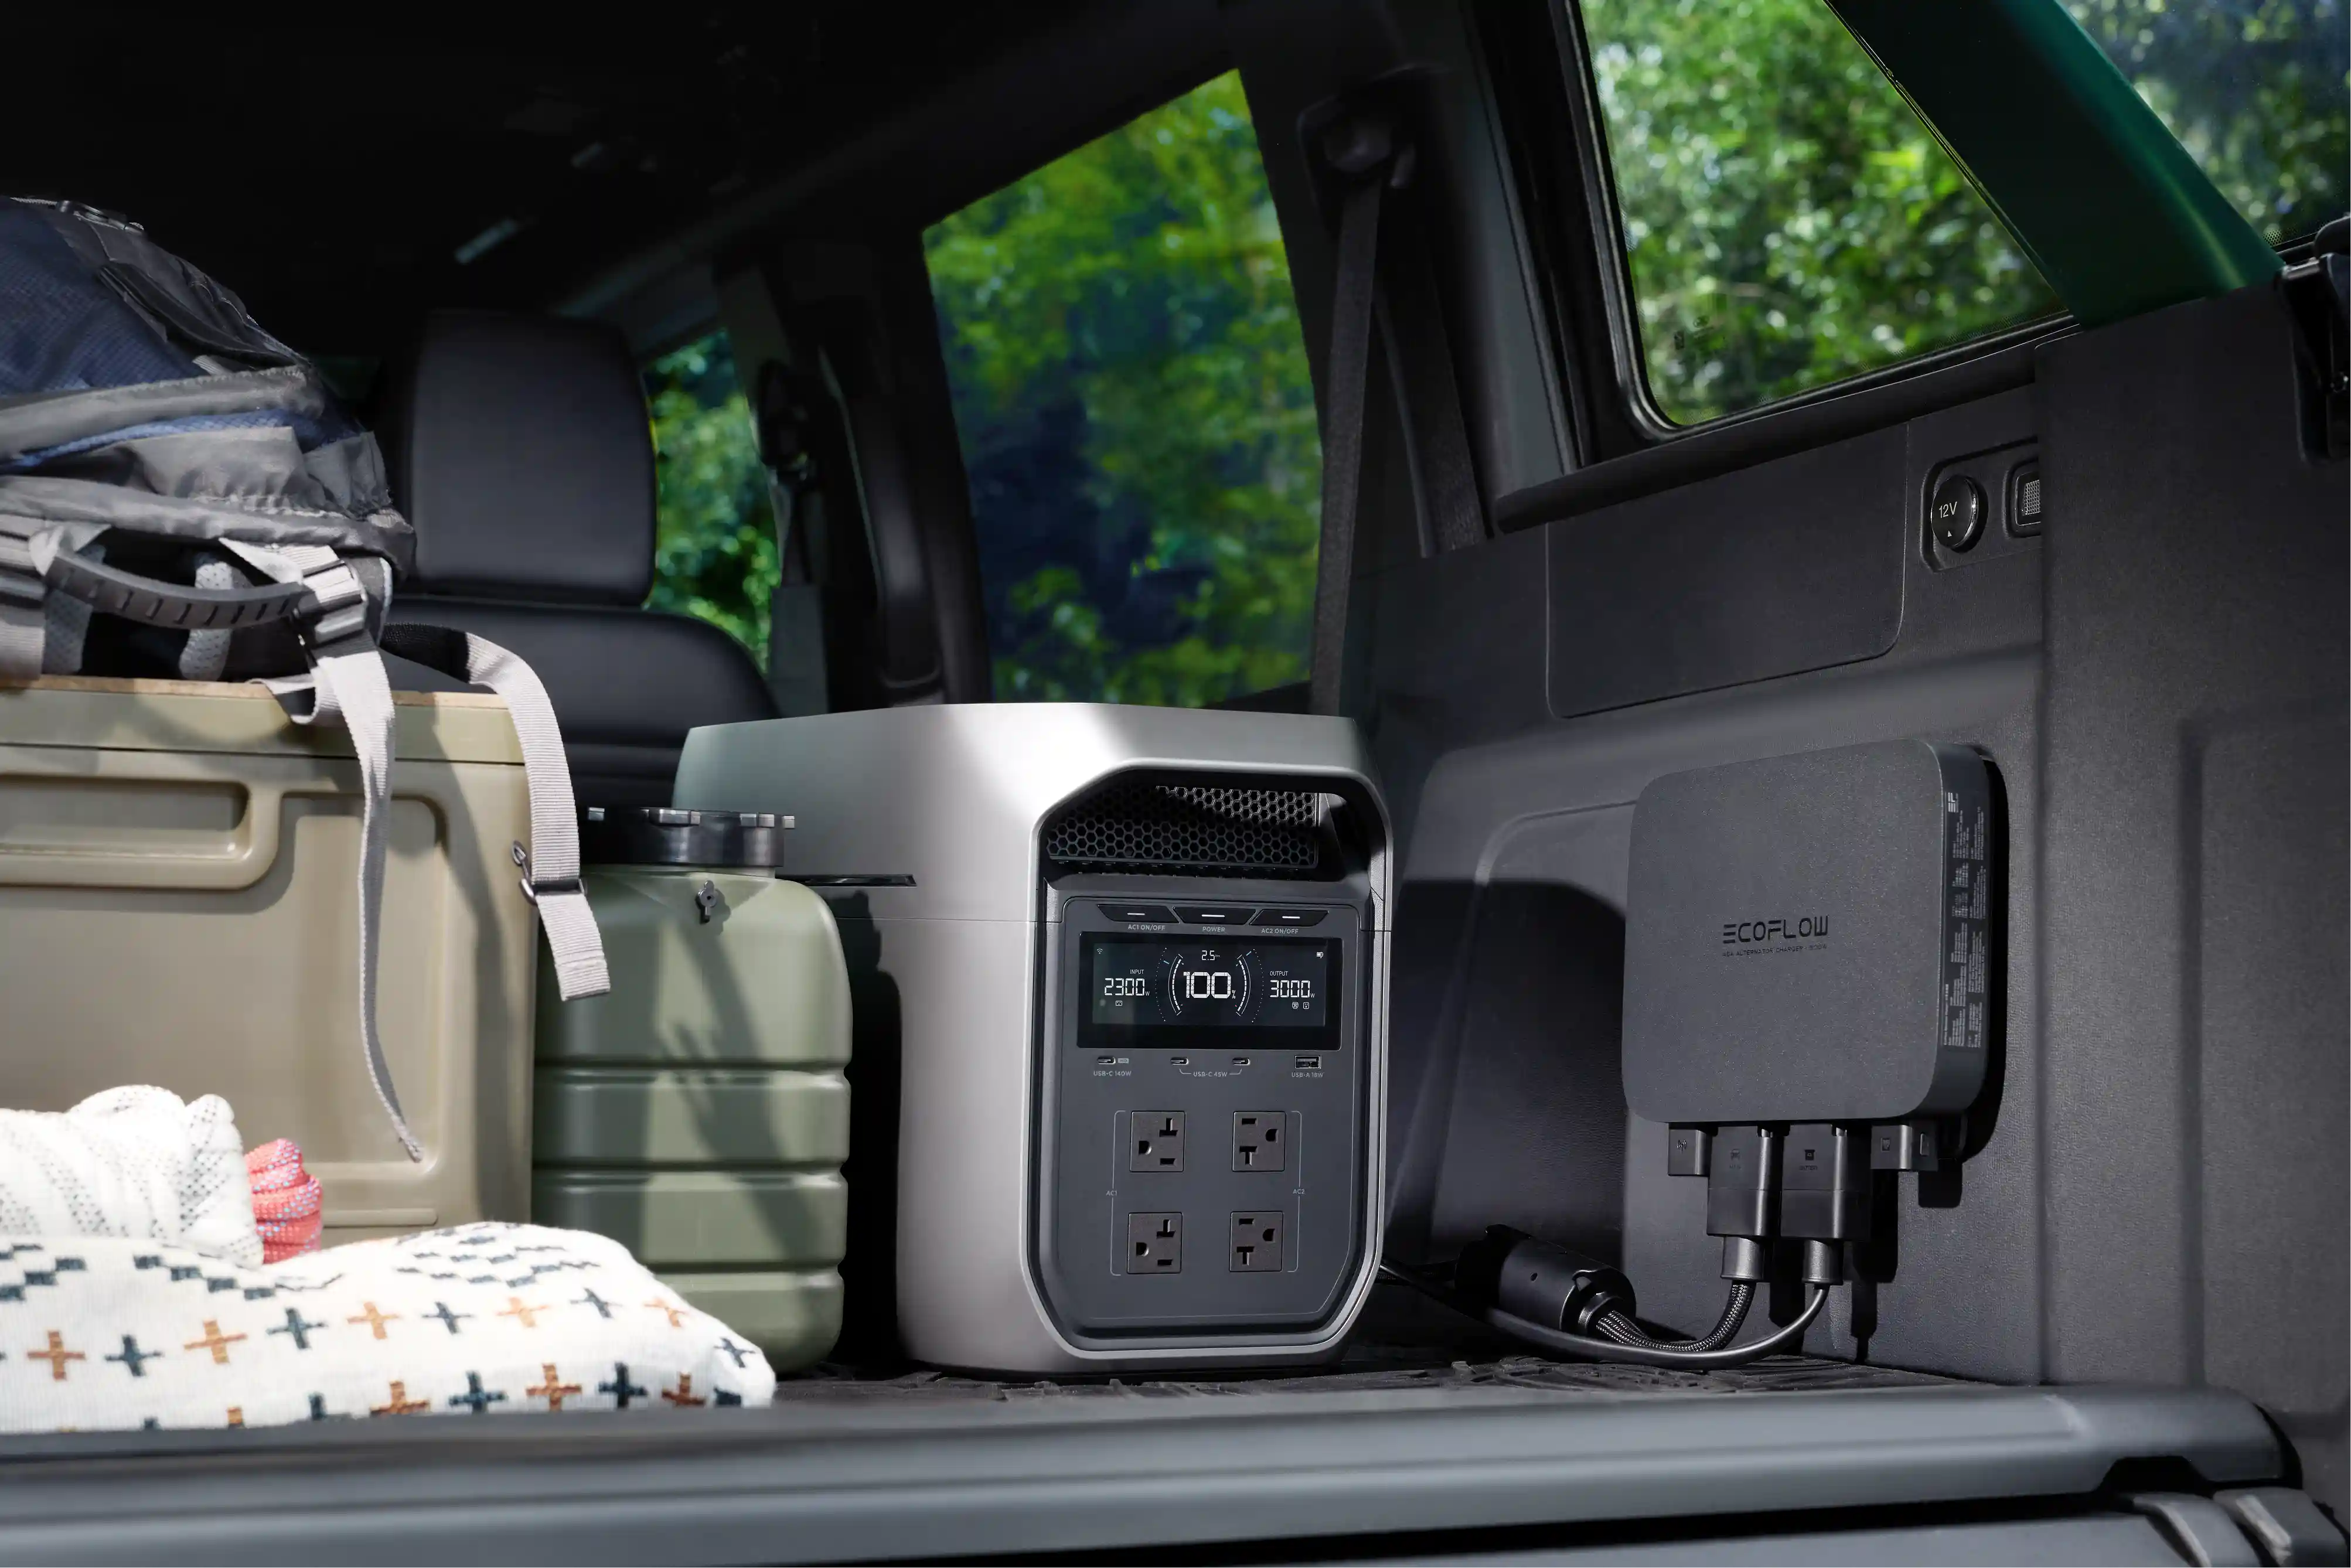
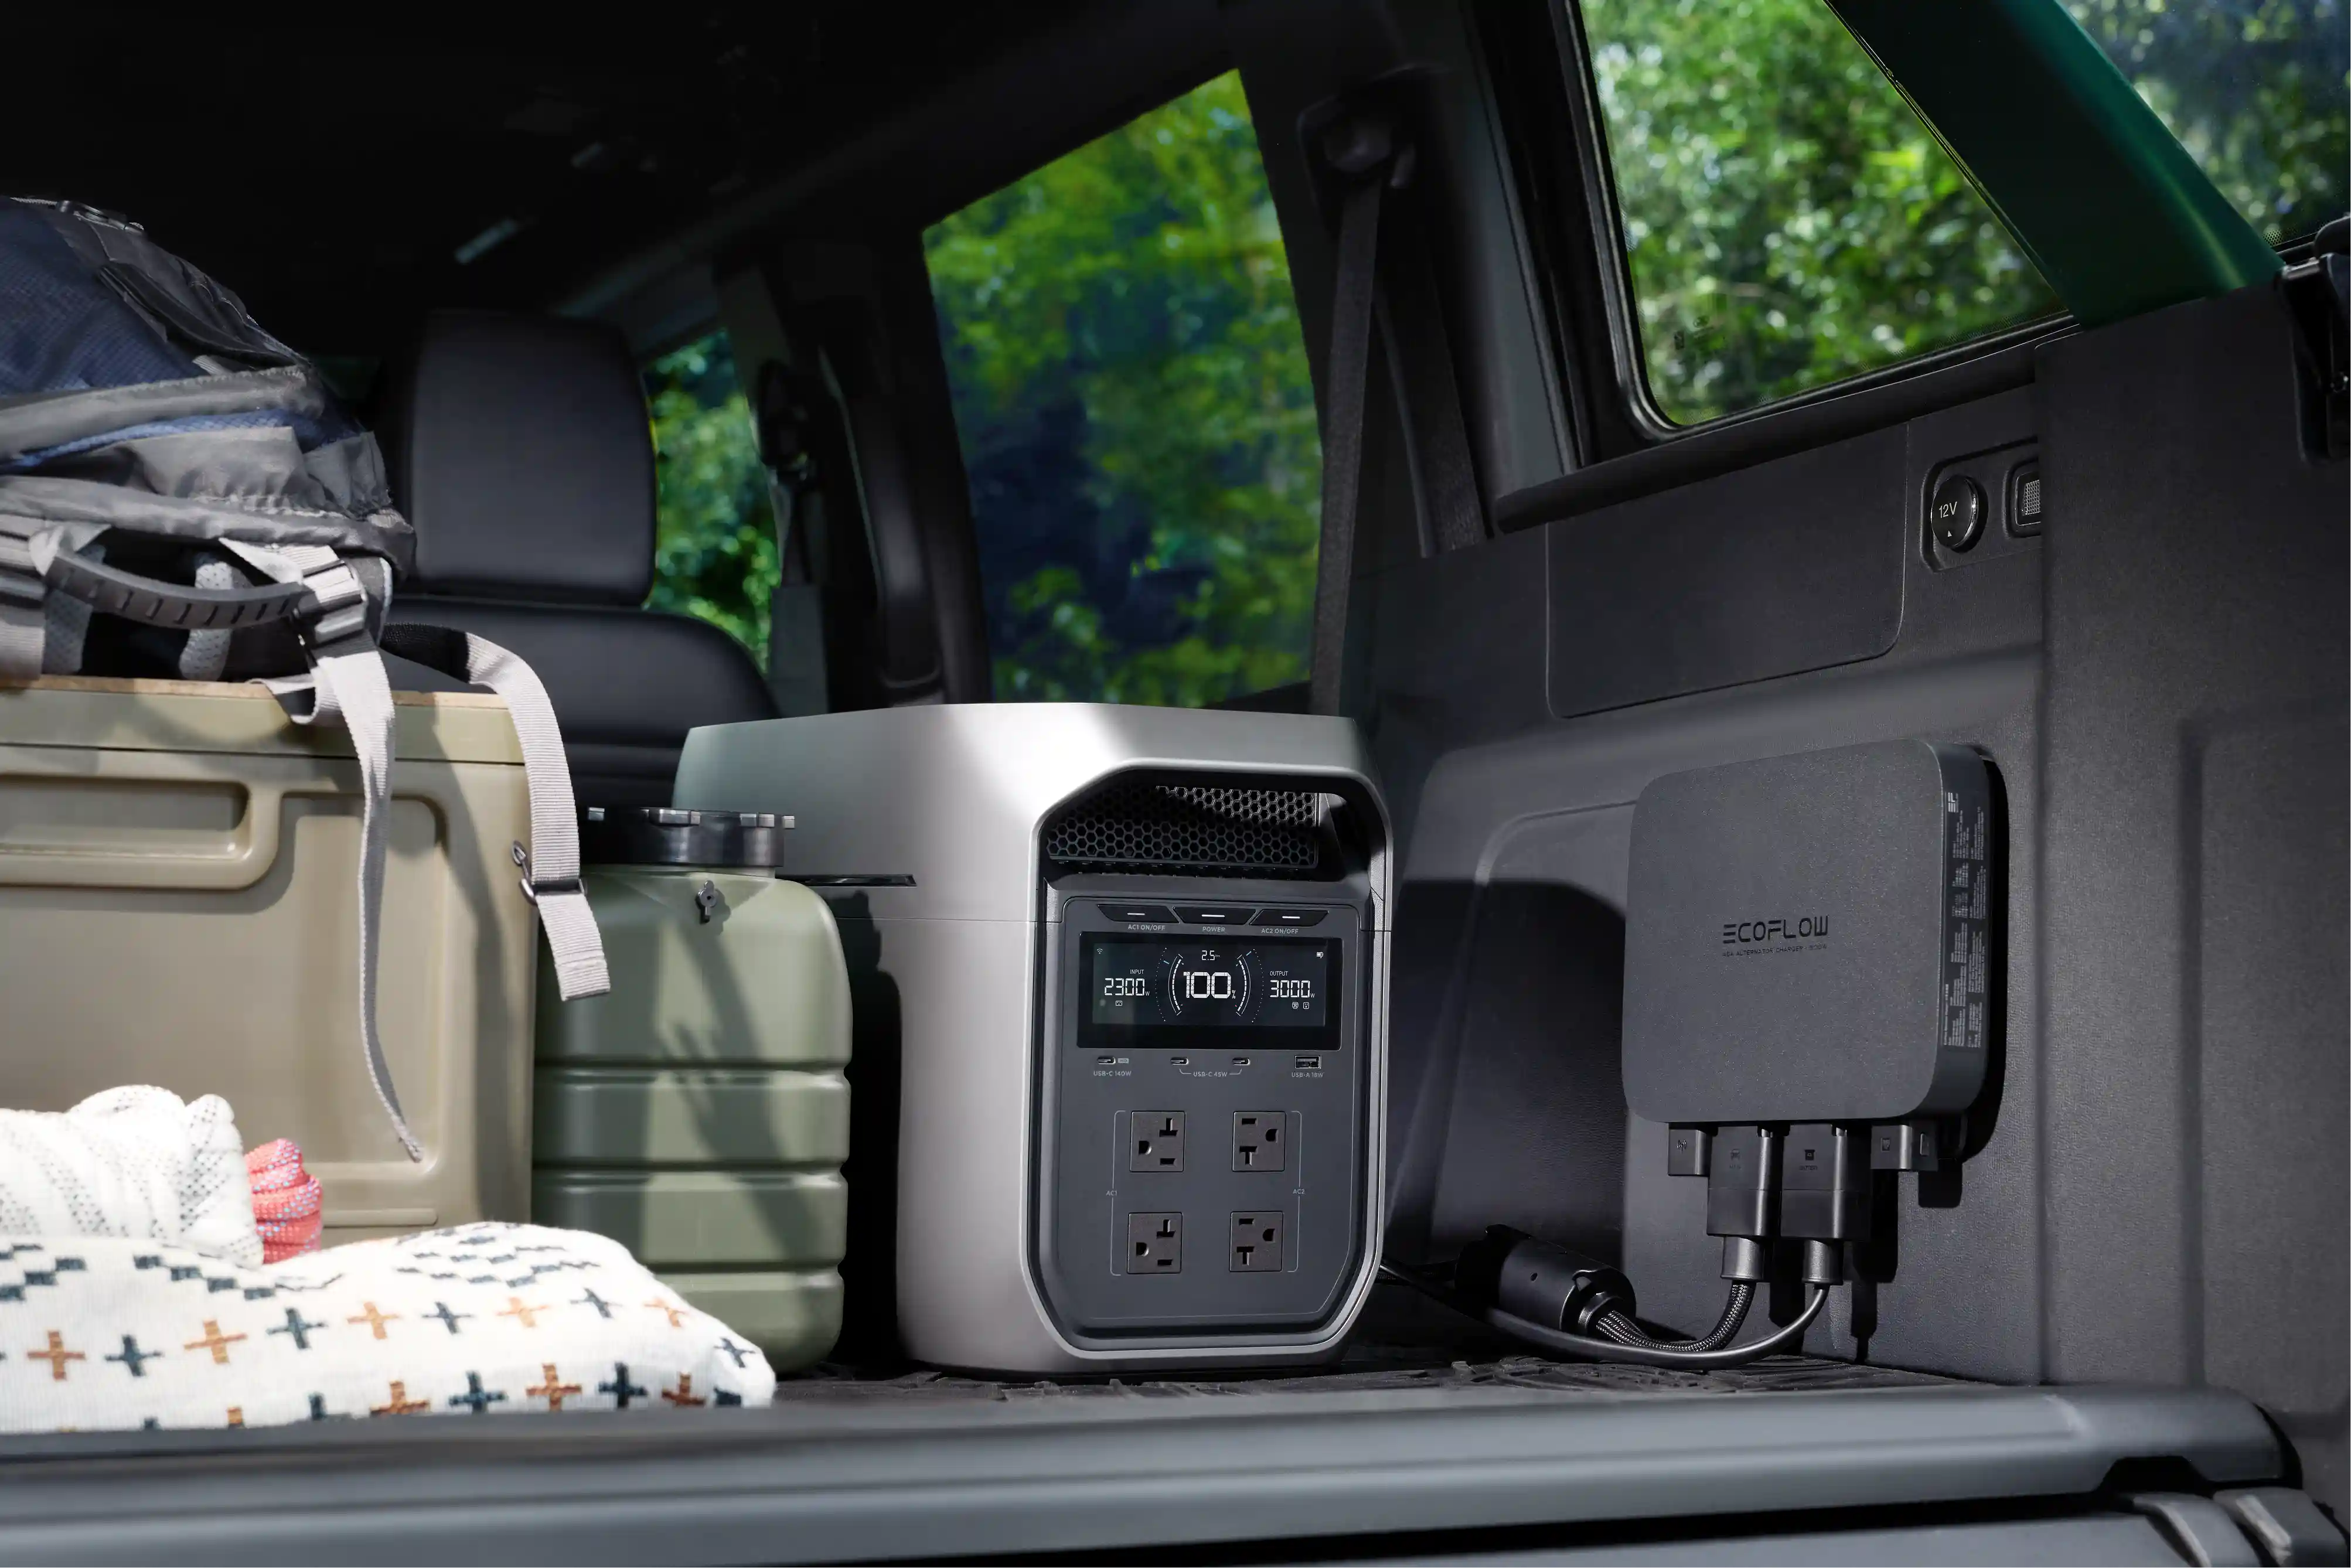
Plenty of people would rather not source a standalone controller, wire in an external shunt, and figure out where it all mounts—and that's where all-in-one portable power stations come in. For example, the EcoFlow DELTA 3 Max (2048Wh) + 400W Solar Panel bundle integrates the LiFePO4 battery pack and advanced MPPT management into a single enclosure, allowing direct plug-and-play solar inputs well suited for RV trips and off-grid cabin setups.
Charging via Vehicle Alternator
Driving will refill an auxiliary LiFePO4 pack off the alternator, but don't wire the two straight together. The alternator's output profile doesn't match what the pack expects, and that mismatch can run the alternator ragged or force the BMS to disconnect. A dedicated DC-DC charger goes in between, regulating the current and holding voltage where it belongs.
For drivers who want a seamless, high-output setup on the road, a compatible charging module connects the vehicle supply to the power station. The EcoFlow DELTA 3 Max Plus (2048Wh) + 800W Alternator Charger bundle taps directly into vehicle power through a dedicated charging module, delivering up to 800W of regulated power to restore energy stores during highway drives.
How Long Does It Take to Charge a LiFePO4 Battery?
The arithmetic is easy enough; real life is less cooperative. One formula gets you most of the way there, but temperature, wiring, and the battery’s condition pull the final number around.
Factors Affecting Charging Time
Four things decide how long you'll wait:
Depth of Discharge (DoD): Bringing a battery back from 10% takes far longer than topping one up from 60%.
Charger Amperage: A 10A maintainer needs five times as long as a high-output 50A unit to refill a drained pack.
Ambient Temperature: Get close to freezing and charging may slow or stop, depending on the battery's temperature limits and protection design.
Cable Sizing and Distance: Cable that's too thin drops voltage over a long run, and the charger answers by throttling back early.
Estimating Charging Duration
For a number you can work out in your head:
Charge Time (hours) ≈ Capacity to Replenish (Ah) ÷ Charger Output (A) × 1.15
(The 1.15 multiplier is an illustrative allowance, not a universal efficiency factor; actual losses, balancing and current taper vary.)
Run it for a 100Ah battery that's completely flat, on a 20A charger:
100 Ah ÷ 20 A × 1.15 ≈ 5.75 hours
Solar vs. AC Charging Speed
Grid power comes at a constant rate; solar answers to the weather and the month. Here's what typical setups deliver:
Choosing a solar battery charger also involves matching the panel, controller and storage capacity to seasonal sunlight, which explains why solar charge-time estimates vary.
These are illustrative calculations for a standalone 100Ah battery, not guaranteed timings for the EcoFlow bundles. Limit input to the battery's approved current; any DC-DC module must support that battery and include required connections.
| Power Source & Setup | Battery Capacity | Real-World Input | Estimated Charge Time (0–100%) |
|---|---|---|---|
| Grid / Generator AC (20A Charger) | 100Ah (1280Wh) | ~240W continuous | ~5.5 – 6 hours |
| High-Speed AC (50A Charger) | 100Ah (1280Wh) | ~600W continuous | ~2 – 2.5 hours |
| Summer Solar (400W Rigid Array, MPPT) | 100Ah (1280Wh) | ~300W – 340W peak sun | ~4.5 – 6 hours |
| Overcast Autumn Solar (400W Portable) | 100Ah (1280Wh) | ~80W – 140W diffused light | ~10 – 16 hours (over 2–3 days) |
| Vehicle Alternator (800W DC-DC Module) | 100Ah (1280Wh) | ~500W – 600W while driving | ~2 – 2.5 hours |
How Should You Maintain a LiFePO4 Battery After Charging?
What happens after the charger clicks off matters nearly as much as the charge did. A handful of habits, none onerous, keep the internal chemistry stable and ward off premature capacity fade.
Charging and storage habits influence LiFePO4 battery life, so follow the maintenance schedule for your model.
Short-Term Storage Best Practices
If the battery goes back to work within a few weeks, follow its approved standby or disconnection procedure; self-discharge and permitted float settings vary by model. Instead, disconnect the parasitic loads: the inverter, the USB accessories, anything that draws power around the clock.
Winter Storage Preparation
A Canadian winter will find every shortcut you take, so give the battery a proper shutdown routine before the deep freeze arrives:
Store at the Manufacturer's Specified State of Charge (SOC). Storage recommendations vary by model; do not use a single resting-voltage reading to estimate SOC.
Physically Isolate the Terminals. Flip the battery cutoff switch or unbolt the negative main cable so phantom loads can't drain the cells below safe voltage.
Keep the Battery in a Temperature-Buffered Space. Storage temperature limits vary by model; choose a dry space within the battery's specified range. Before applying any charge in the spring, always confirm that internal cell temperatures meet the manufacturer's minimum charging temperature; ambient air warming up does not mean cold-soaked cells are instantly safe to charge.
Storage SOC is also model-specific: Battle Born's winterization guidance calls for a full charge followed by disconnection, illustrating why a universal 50%–70% rule is unsuitable.
Routine System Checks
Each spring, before the first trip of the season, check that the cable terminals are tight and free of corrosion; high current through a loose lug builds up serious heat and shows up later as voltage sag. Cell balance deserves a periodic look too, through manufacturer-provided monitoring; do not open a sealed pack to probe individual cells. The catch is that LiFePO4's flat discharge curve lets unbalanced cells read identical voltages at rest, so follow the manufacturer's balancing procedure and acceptable cell-voltage difference rather than a universal voltage threshold.
For a broader view of battery life and maintenance, consider how depth of discharge, charging temperature and storage habits affect long-term capacity.
Conclusion
None of this is complicated once it becomes habit. Charge at the correct voltage, stay inside the battery’s current limit, and leave the charger off whenever the cells sit below their minimum temperature. Power from a pedestal, a panel, or the alternator works fine, provided the equipment is built for LiFePO4 and you go by the manufacturer’s numbers, not generic rules of thumb. Put the battery away at the manufacturer’s specified state of charge with the unnecessary loads disconnected and it will be ready when the season starts again.
FAQ
Is It Safe to Leave a LiFePO4 Battery on the Charger?
Only if the battery manufacturer permits that charger’s standby profile. An approved low float setting may be acceptable for some packs; continuous elevated charge voltage should not be assumed safe.
How Long Does It Take to Fully Charge a LiFePO4 Battery?
For a standard 100Ah LiFePO4 battery, figure on 2 to 6 hours depending on the power source. A permitted 50A charge rate may take roughly 2 to 2.5 hours before any additional balancing time; a 20A charger may take around 5 or 6. An 800W module’s rating alone does not determine the battery’s accepted current.
How to Tell if a LiFePO4 Battery Is Fully Charged?
Follow your battery manufacturer’s full-charge criteria. For some 12V nominal packs, example indicators are: terminal voltage at 14.4V–14.6V while current is still flowing, and accepted current down below 0.05C (under 5A on a 100Ah battery). Disconnect the charger, take the loads off, and let it rest for an hour; the resting voltage may settle around 13.4V to 13.6V, but it is not a precise SOC measurement.
Can I Put a Regular Battery Charger on a Lithium Battery?
Only if its settings are compatible. A regular automotive lead-acid charger may fire high-voltage desulfation pulses, run an automatic equalization stage, or use an unsuitable float voltage. Use it only if all charging settings meet the battery manufacturer’s requirements.
Why Is My LiFePO4 Battery Not Charging After Reset?
Two things account for most cases. Either the battery has entered low-voltage disconnect protection after being over-discharged, or a temperature sensor is refusing charge outside the model’s allowed range. When the BMS is in protection mode, a standard charger sees no terminal voltage and delivers nothing. Warm the battery into its permitted range and follow its approved recovery procedure; persistent faults require manufacturer support.