How to Build a Small Greenhouse Kit for Your Home Garden
- Safety Note for Home Greenhouse Setup
- Why Small Greenhouse Kits Fit Many Home Gardens Well
- How To Choose The Best Spot Before You Start Building
- Quick Location Checklist For A Small Greenhouse Kit
- Which Type Of Small Greenhouse Kit Works Best For Your Space
- How To Prepare The Base So The Structure Stays Stable
- How To Add Simple Backup Power For Small Greenhouse Needs
- How To Build A Small Greenhouse Kit In A Clear Order
- Small Greenhouse Kit Assembly Order That Keeps Things Simple
- How To Manage Heat Airflow And Moisture After Setup
- How To Arrange The Inside For Better Daily Use
- Keep Growing With A Simple Setup
- FAQs
A small greenhouse kit can be a smart addition to a home garden. It gives young plants more shelter, helps extend the growing season, and makes weather changes easier to manage. Good results usually come from a simple setup done well. A sunny location, a stable base, and steady airflow often matter more than extra features or a larger size.
Safety Note for Home Greenhouse Setup
For U.S. readers, any outdoor electrical connection, permanent wiring, or added power equipment should follow the National Electrical Code and any state or local electrical rules that apply to your property. Permit and construction requirements for accessory structures can also vary by city or county, so local building department guidance should be checked before installation. For anchoring, reinforcement, and wind exposure, use the greenhouse manufacturer’s installation manual and seek qualified professional help when site conditions are uncertain. NFPA describes the NEC as the benchmark standard for electrical design, installation, and inspection, while ICC model codes are commonly adopted and amended at the local level.
Why Small Greenhouse Kits Fit Many Home Gardens Well
Before the build starts, it helps to see why this setup works for so many gardeners. A compact greenhouse can support seed starting, herb growing, and early vegetable care without taking over the yard.
Small greenhouse kits are often easier to place than large structures. They can fit a patio, a deck, a side yard, or a small backyard corner. They also make plant care feel more manageable because everything stays in one protected space.
For many people, the appeal is practical. A greenhouse can reduce exposure to wind, heavy rain, and chilly nights. It can also help keep fragile seedlings in better shape during early spring and late fall.
Common Uses
A small greenhouse kit often works well for:
seed trays
herbs
leafy greens
small potted vegetables
young plants before transplanting
What Makes A Kit A Good Fit
The best small greenhouse kits are not always the biggest ones. A better choice is usually the one that fits your space, light conditions, and daily routine. If the structure is easy to reach and easy to manage, it is more likely to stay useful over time.
How To Choose The Best Spot Before You Start Building
Once the idea feels clear, the next step is the location. This decision affects plant growth, frame stability, and daily maintenance.
A greenhouse placed in the wrong spot can be harder to use even if the kit itself is solid. A simple structure in a good location often performs better than a larger one in deep shade or wet ground.
Look For Sun And Shelter
Most plants in a greenhouse need strong light for much of the day. A spot with steady sun, especially morning sun, usually works best. Morning light helps warm the greenhouse after a cool night and can reduce damp conditions inside.
At the same time, some shelter from strong wind is helpful. Constant wind can stress the frame, loosen the cover, and lower the temperature inside more quickly than expected.
Check The Ground First
The ground should be level and firm. If water tends to collect after rain, that area may create trouble later. A damp base can make the structure unstable and raise humidity around the plants.
Good drainage matters from the start. A gravel layer or simple paver base can help if the site needs extra support.
Quick Location Checklist For A Small Greenhouse Kit
At this stage, a quick checklist can help readers make a better choice. This section is useful to save or screenshot before setup day.
| Check Point | What To Look For | Why It Matters |
| Sun Exposure | At least 6 hours of direct sunlight | Supports steady plant growth |
| Ground Surface | Level and firm | Helps keep the frame stable |
| Drainage | No standing water after rain | Reduces excess moisture |
| Wind Exposure | Some shelter from strong gusts | Lowers stress on the structure |
| Access To Water | Easy reach from hose or watering can | Makes care easier |
| Walking Space | Enough room near the door | Improves access and cleaning |
Signs A Spot May Cause Problems
Some places seem convenient at first, but turn into extra work later. Watch for these issues:
heavy shade through much of the day
water pooling after rain
low ground that stays damp
strong wind hitting the structure directly
awkward access from the house or garden path
Which Type Of Small Greenhouse Kit Works Best For Your Space
After the location is clear, the kit style becomes easier to choose. Different designs suit different homes and growing habits.
Some small greenhouse kits are lightweight and simple. Others are more solid and meant for longer use. The better option depends on climate, budget, and how much room you have.
| Type | Best For | Main Benefit | Main Limitation |
| Soft-Cover Mini Kit | Mild weather and seasonal use | Easy to move and store | Less durable in strong wind |
| Rigid-Panel Compact Kit | Longer seasonal use | Better structure and insulation | Higher cost |
| Lean-To Kit | Narrow spaces near a wall | Saves yard space | Depends on wall light |
| Small Walk-In Kit | Seedlings and potted crops | More room to organize | Needs more floor area |
The best small greenhouse kits for one gardener may not suit another. A balcony grower may prefer a narrow shelf unit. A backyard grower may get more value from a walk-in model. The right small greenhouse kit is usually the one you can use often without extra hassle.
How To Prepare The Base So The Structure Stays Stable
Now the project moves into the practical stage. A stable base makes assembly easier and helps the greenhouse last longer.
Poor ground preparation often leads to small problems that keep showing up. Doors may stick. Panels may sit unevenly. Water may gather around the edges. A little prep early can prevent all of that.
Clear And Measure The Area
Start by removing weeds, loose stones, and debris. Measure the full footprint carefully, then leave a little extra space around the structure for opening the door and moving nearby.
That extra room helps with cleaning, watering, and checking plants later.
Level The Surface
Flat ground matters more than many first-time builders expect. Even a slight slope can affect the way the frame sits.
Use a basic level before assembly. If the area is uneven, adjust the soil or add a base such as compacted gravel, pavers, or a simple perimeter frame. Choose the option that fits your yard and budget.
Secure The Foundation
Small greenhouses can still shift in bad weather. Anchors help keep the frame in place and reduce movement during gusty conditions.
If the kit comes with tie-down parts or ground stakes, use them. If your area gets strong wind, extra anchoring may be worth adding.
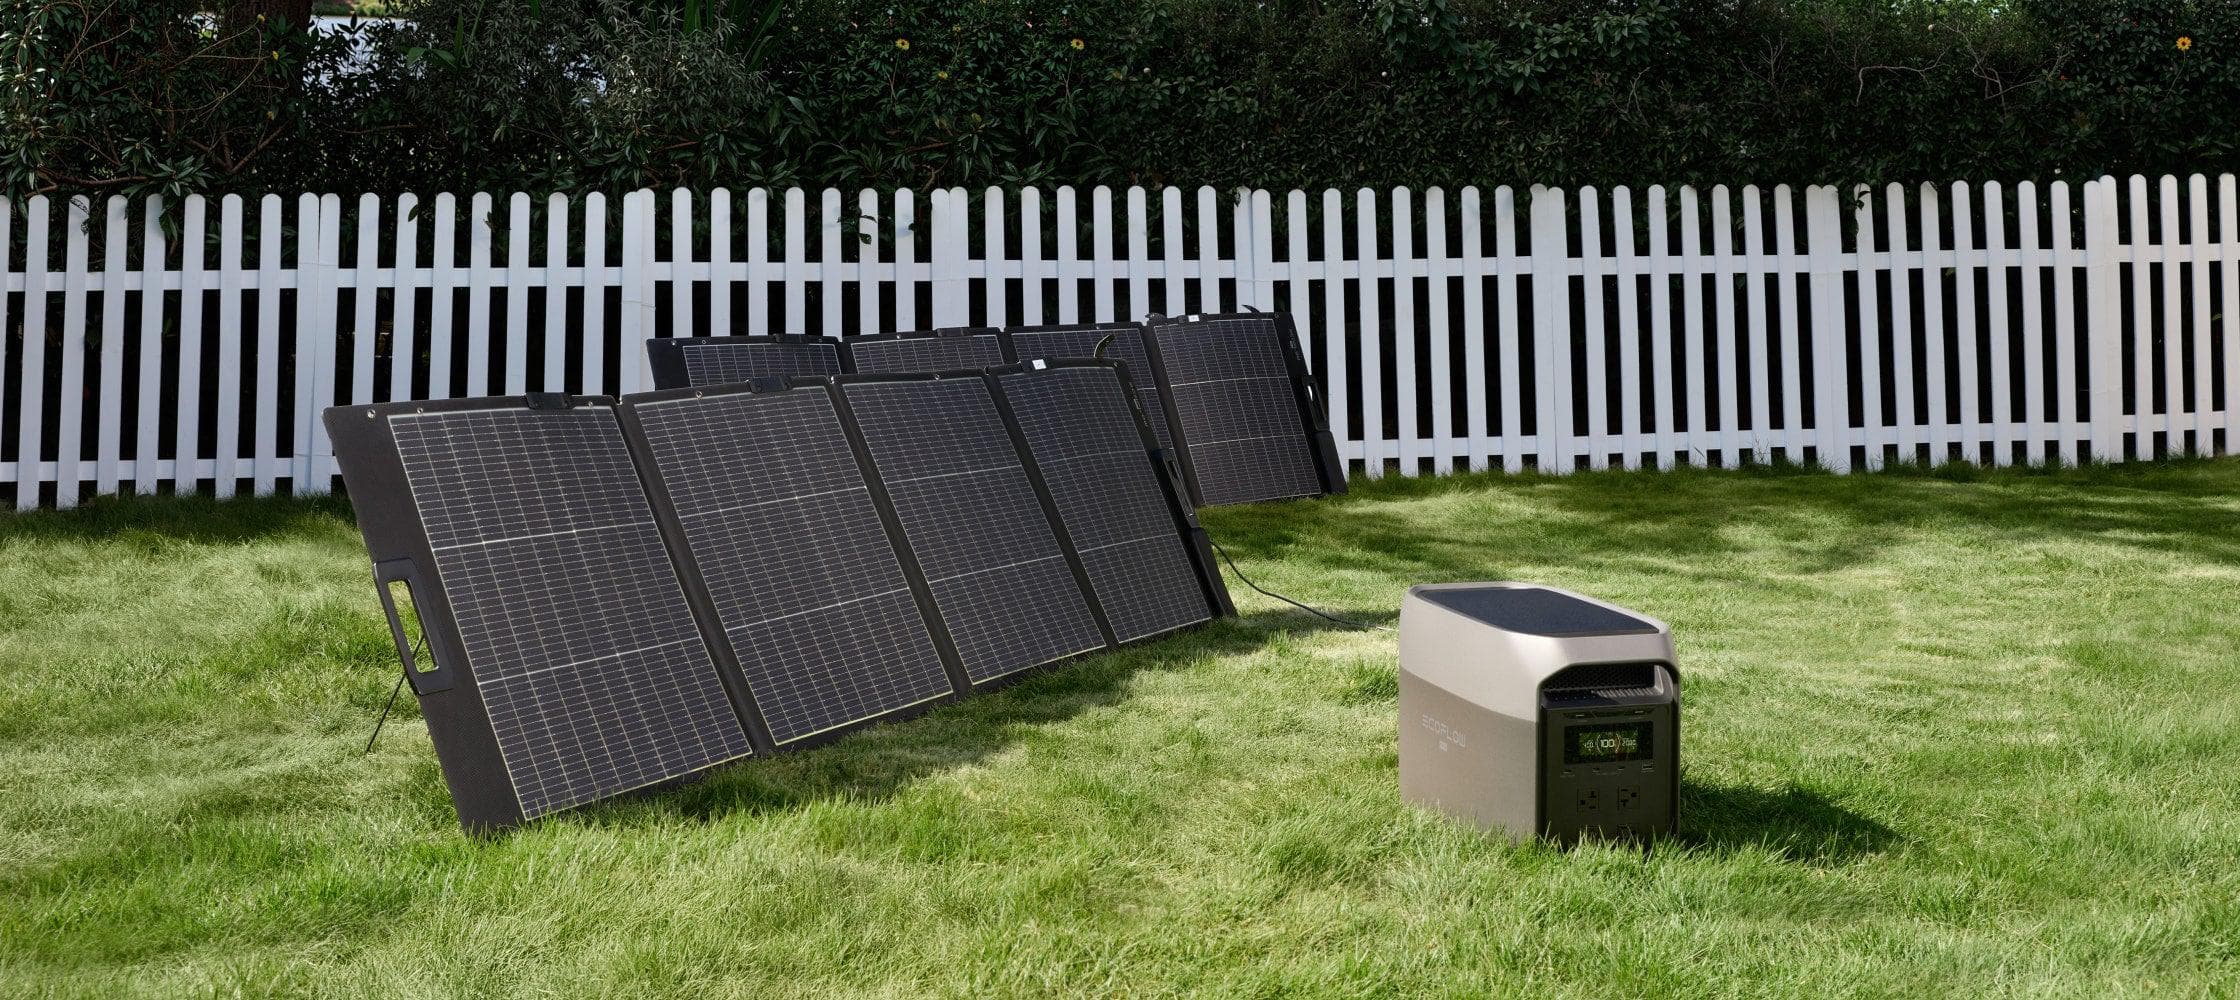
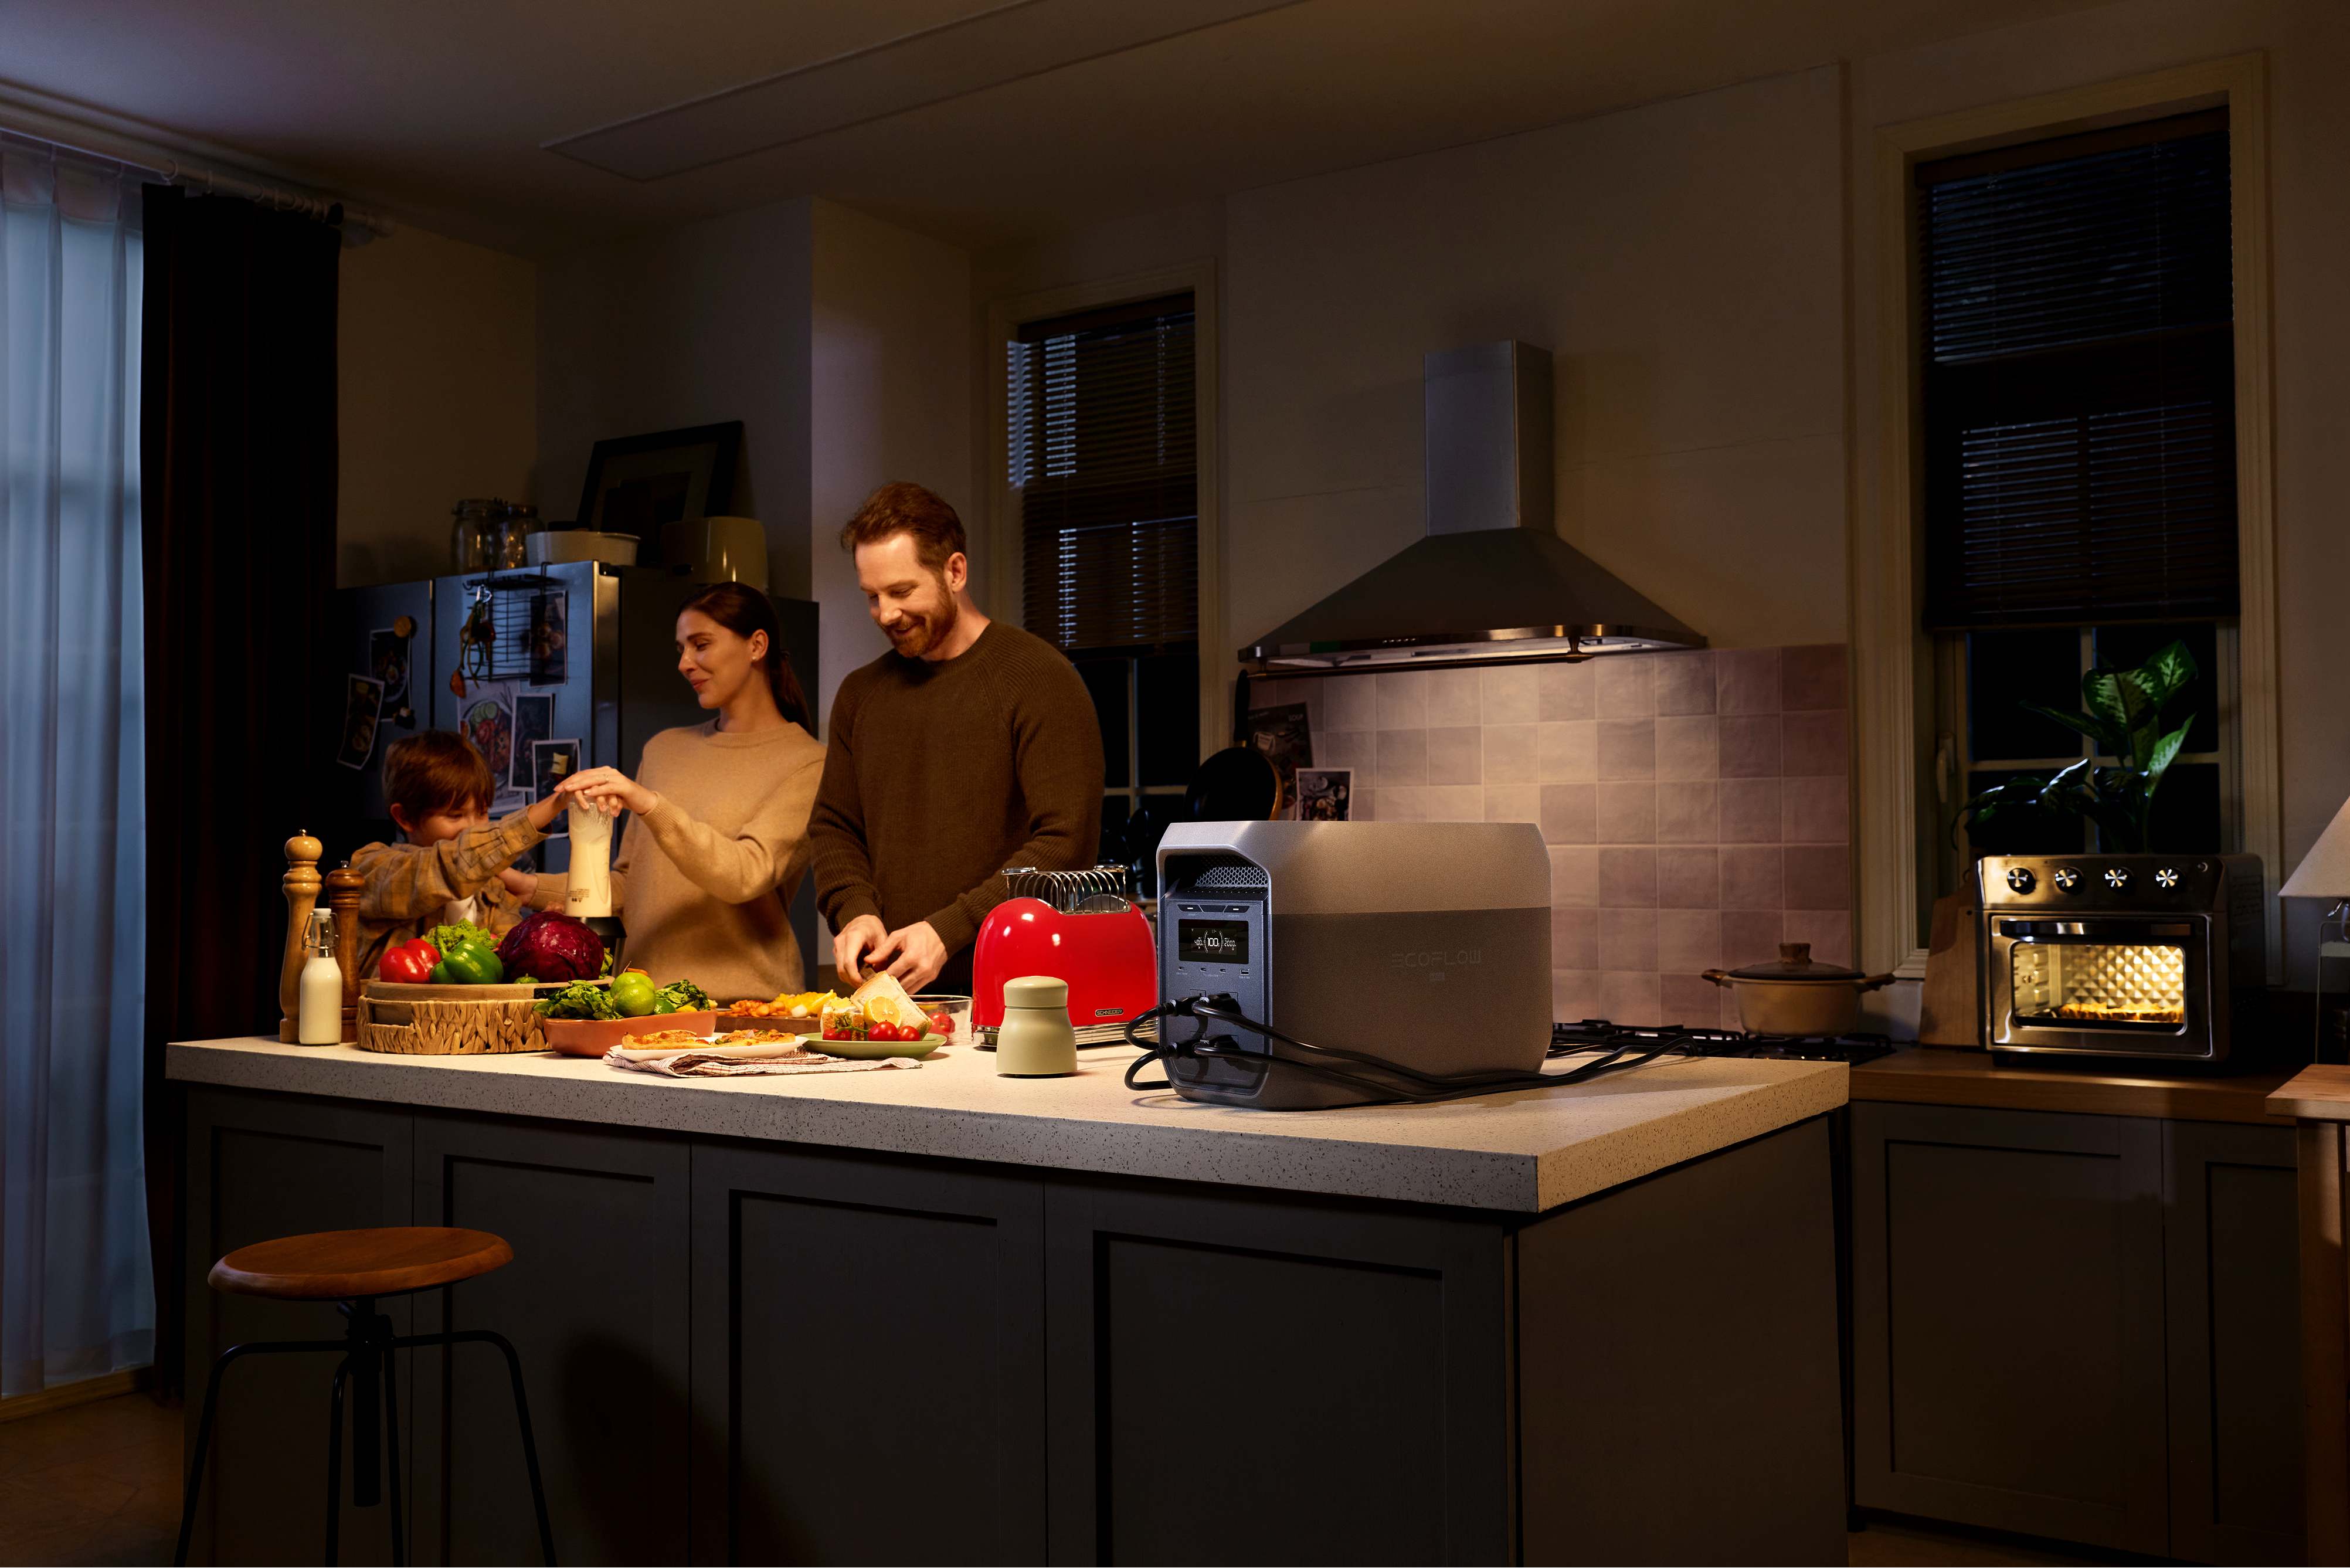
How To Add Simple Backup Power For Small Greenhouse Needs
After the structure is in place, some gardeners also think about power access. This becomes more relevant when the greenhouse is not close to an outdoor outlet. A small fan, light, or other basic equipment can be easier to manage with a portable power setup nearby.
In that context, the DELTA 3 Max + 220W Solar Panel is one example of a portable power option that may suit light greenhouse support needs. For home gardeners, the appeal is less about turning a small greenhouse into a fully powered growing space and more about having flexible backup power for simple day-to-day tasks. Even so, power should be seen as a useful extra. The core of a successful small greenhouse kit still comes down to sun exposure, a stable base, and steady ventilation.
How To Build A Small Greenhouse Kit In A Clear Order
With the base ready, assembly becomes much easier. A calm and steady approach often works better than trying to finish too quickly.
Most kits follow a similar process. If you keep the order simple, there is less chance of having to take parts apart later.
Sort Parts Before Assembly
Open the box and group the frame pieces, connectors, panels, cover material, and hardware. Compare them with the manual before you begin.
This step saves time. It also helps you notice missing pieces early instead of halfway through the build.
Build The Frame First
The frame should go up before the cover or panels. Make sure the base sits square, then add the upright supports and roof frame.
Do not fully tighten every connection at once. Leave a little room for adjustment until the structure looks straight and balanced.
Add The Cover And Check Moving Parts
Once the frame is aligned, install the cover or panels carefully. Smooth placement matters because loose material can flap in the wind, while uneven panels can affect the fit of the door or vents.
After that, check the door, vent openings, and fasteners. A quick test now can save trouble later.
Small Greenhouse Kit Assembly Order That Keeps Things Simple
Now that the main process is clear, this shorter version makes the build easier to follow. It is one of the most practical parts to save.
Recommended Build Order
Check all parts against the manual.
Group frame pieces by size and shape.
Mark the greenhouse footprint on the ground.
Assemble the base frame first.
Add upright supports and the roof frame.
Tighten joints only after alignment looks right.
Install panels or cover material.
Attach the door and test movement.
Add anchors and secure the structure.
Recheck corners, vents, and fasteners.
Common Assembly Mistakes
| Mistake | Result |
| Building on uneven ground | Doors may not close properly |
| Tightening parts too early | The frame can shift out of line |
| Skipping anchors | Wind may move the structure |
| Rushing panel installation | Covers or panels may sit unevenly |
| Forgetting to test the door and vents | Daily use becomes less convenient |
How To Manage Heat Airflow And Moisture After Setup
Once the greenhouse is standing, the focus shifts from building to daily control. This part has a big effect on plant health.
A small enclosed space can warm up very fast on a bright day. Moisture can also build quickly if air does not move well. Good airflow helps balance both.
Open The Space Early
On sunny days, heat can rise sooner than expected. Open the vents or door early enough to release trapped warmth. That small habit can reduce stress on young plants.
Give Plants Enough Room
Crowded pots block airflow. They also make watering and cleanup harder. Leave some space between plants so air can move around leaves and containers.
Watch For Damp Conditions
If the inside stays foggy or wet for long periods, the greenhouse may need more ventilation or less water late in the day. A drier and cleaner interior usually supports better plant health.
How To Arrange The Inside For Better Daily Use
After climate control becomes easier, the inside layout deserves attention. A simple arrangement saves time and helps plants get more light.
Place taller plants at the back or along one side. Put smaller plants where they are easy to reach. If shelves are included, use them for seed trays, herbs, or small pots rather than heavy large containers.
Keep a bit of open space for movement. Even a narrow path makes watering, turning pots, and cleaning much easier. A neat layout often helps the greenhouse feel larger than it is.
Keep Growing With A Simple Setup
A small greenhouse kit can make home gardening easier and more flexible. The most useful results often come from a few basic choices done well, a sunny location, a level base, careful assembly, and steady airflow. Pick a size that fits your space, keep the layout simple, and make small checks often. That approach usually gives a home garden a stronger start.
FAQs
Q1: Are Small Greenhouse Kits Worth It For Home Gardens
Yes, they are often worth it for gardeners who want better protection for seedlings, herbs, and small vegetables. A compact greenhouse can help with weather control and extend the growing season without needing a large yard.
Q2: Where Should A Small Greenhouse Kit Be Placed
A sunny, level, and well-drained spot is usually the better choice. Easy access to water and some protection from strong wind can also make the greenhouse easier to use and maintain.
Q3: What Plants Grow Best In A Small Greenhouse Kit
Seedlings, herbs, leafy greens, and young vegetable plants are often good choices. The best plants depend on your light, temperature, and how much room the mature plant will need.
Q4: How Do You Keep A Small Greenhouse From Getting Too Hot
Open vents or doors early on warm days, avoid crowding the plants, and check the space often in sunny weather. Small greenhouses can heat up quickly, so regular airflow matters.
Q5: What Should You Look For In The Best Small Greenhouse Kits
Look for a size that fits your space, a frame that feels stable, and a design with simple ventilation and easy access. The best small greenhouse kits are usually the ones that match your garden needs and daily routine.
For press requests or interview opportunities, reach out to our media team
media.na@ecoflow.com