How to Bring Your Swimming Pool Back to Life After Winter
- Getting Ready Before You Start the Pool Opening Process
- Removing the Winter Cover and Initial Cleanup
- Inspecting Equipment and Pool Structure
- Refilling and Water Level Adjustment
- Starting Up Your Pool Equipment Correctly
- Balancing Water Chemistry for a Successful Pool Opening
- Shocking and Sanitizing for Clean Water
- Final Steps to Complete How to Open a Swimming Pool After Winter
- Get Your Pool Ready for the Season
- Frequently Asked Questions
Winter transforms backyard pools into dormant water bodies. When warmer weather arrives, the reopening process requires careful planning and execution. This transition from hibernation to operation involves multiple steps that ensure clean, safe water. The timing matters because early spring conditions can affect both water chemistry and equipment performance. Proper preparation prevents common issues and sets the stage for months of reliable use.
Getting Ready Before You Start the Pool Opening Process
Spring arrives with varying conditions across different regions. Some areas experience gradual warming while others face unpredictable temperature swings. Before touching any equipment or pool water, take stock of your surroundings and resources.
Check Your Power Supply First
Equipment depends entirely on stable electricity. Circulation pumps, filtration systems, and sanitation devices all need uninterrupted power to function correctly. Early spring often brings electrical maintenance work or temporary outages in many neighborhoods. Starting the chemical balancing process during a power failure creates serious problems. When the pump stops mid-cycle, chemicals may not mix uniformly throughout the water. This can lead to uneven distribution and require extended circulation time plus retesting to verify proper levels.
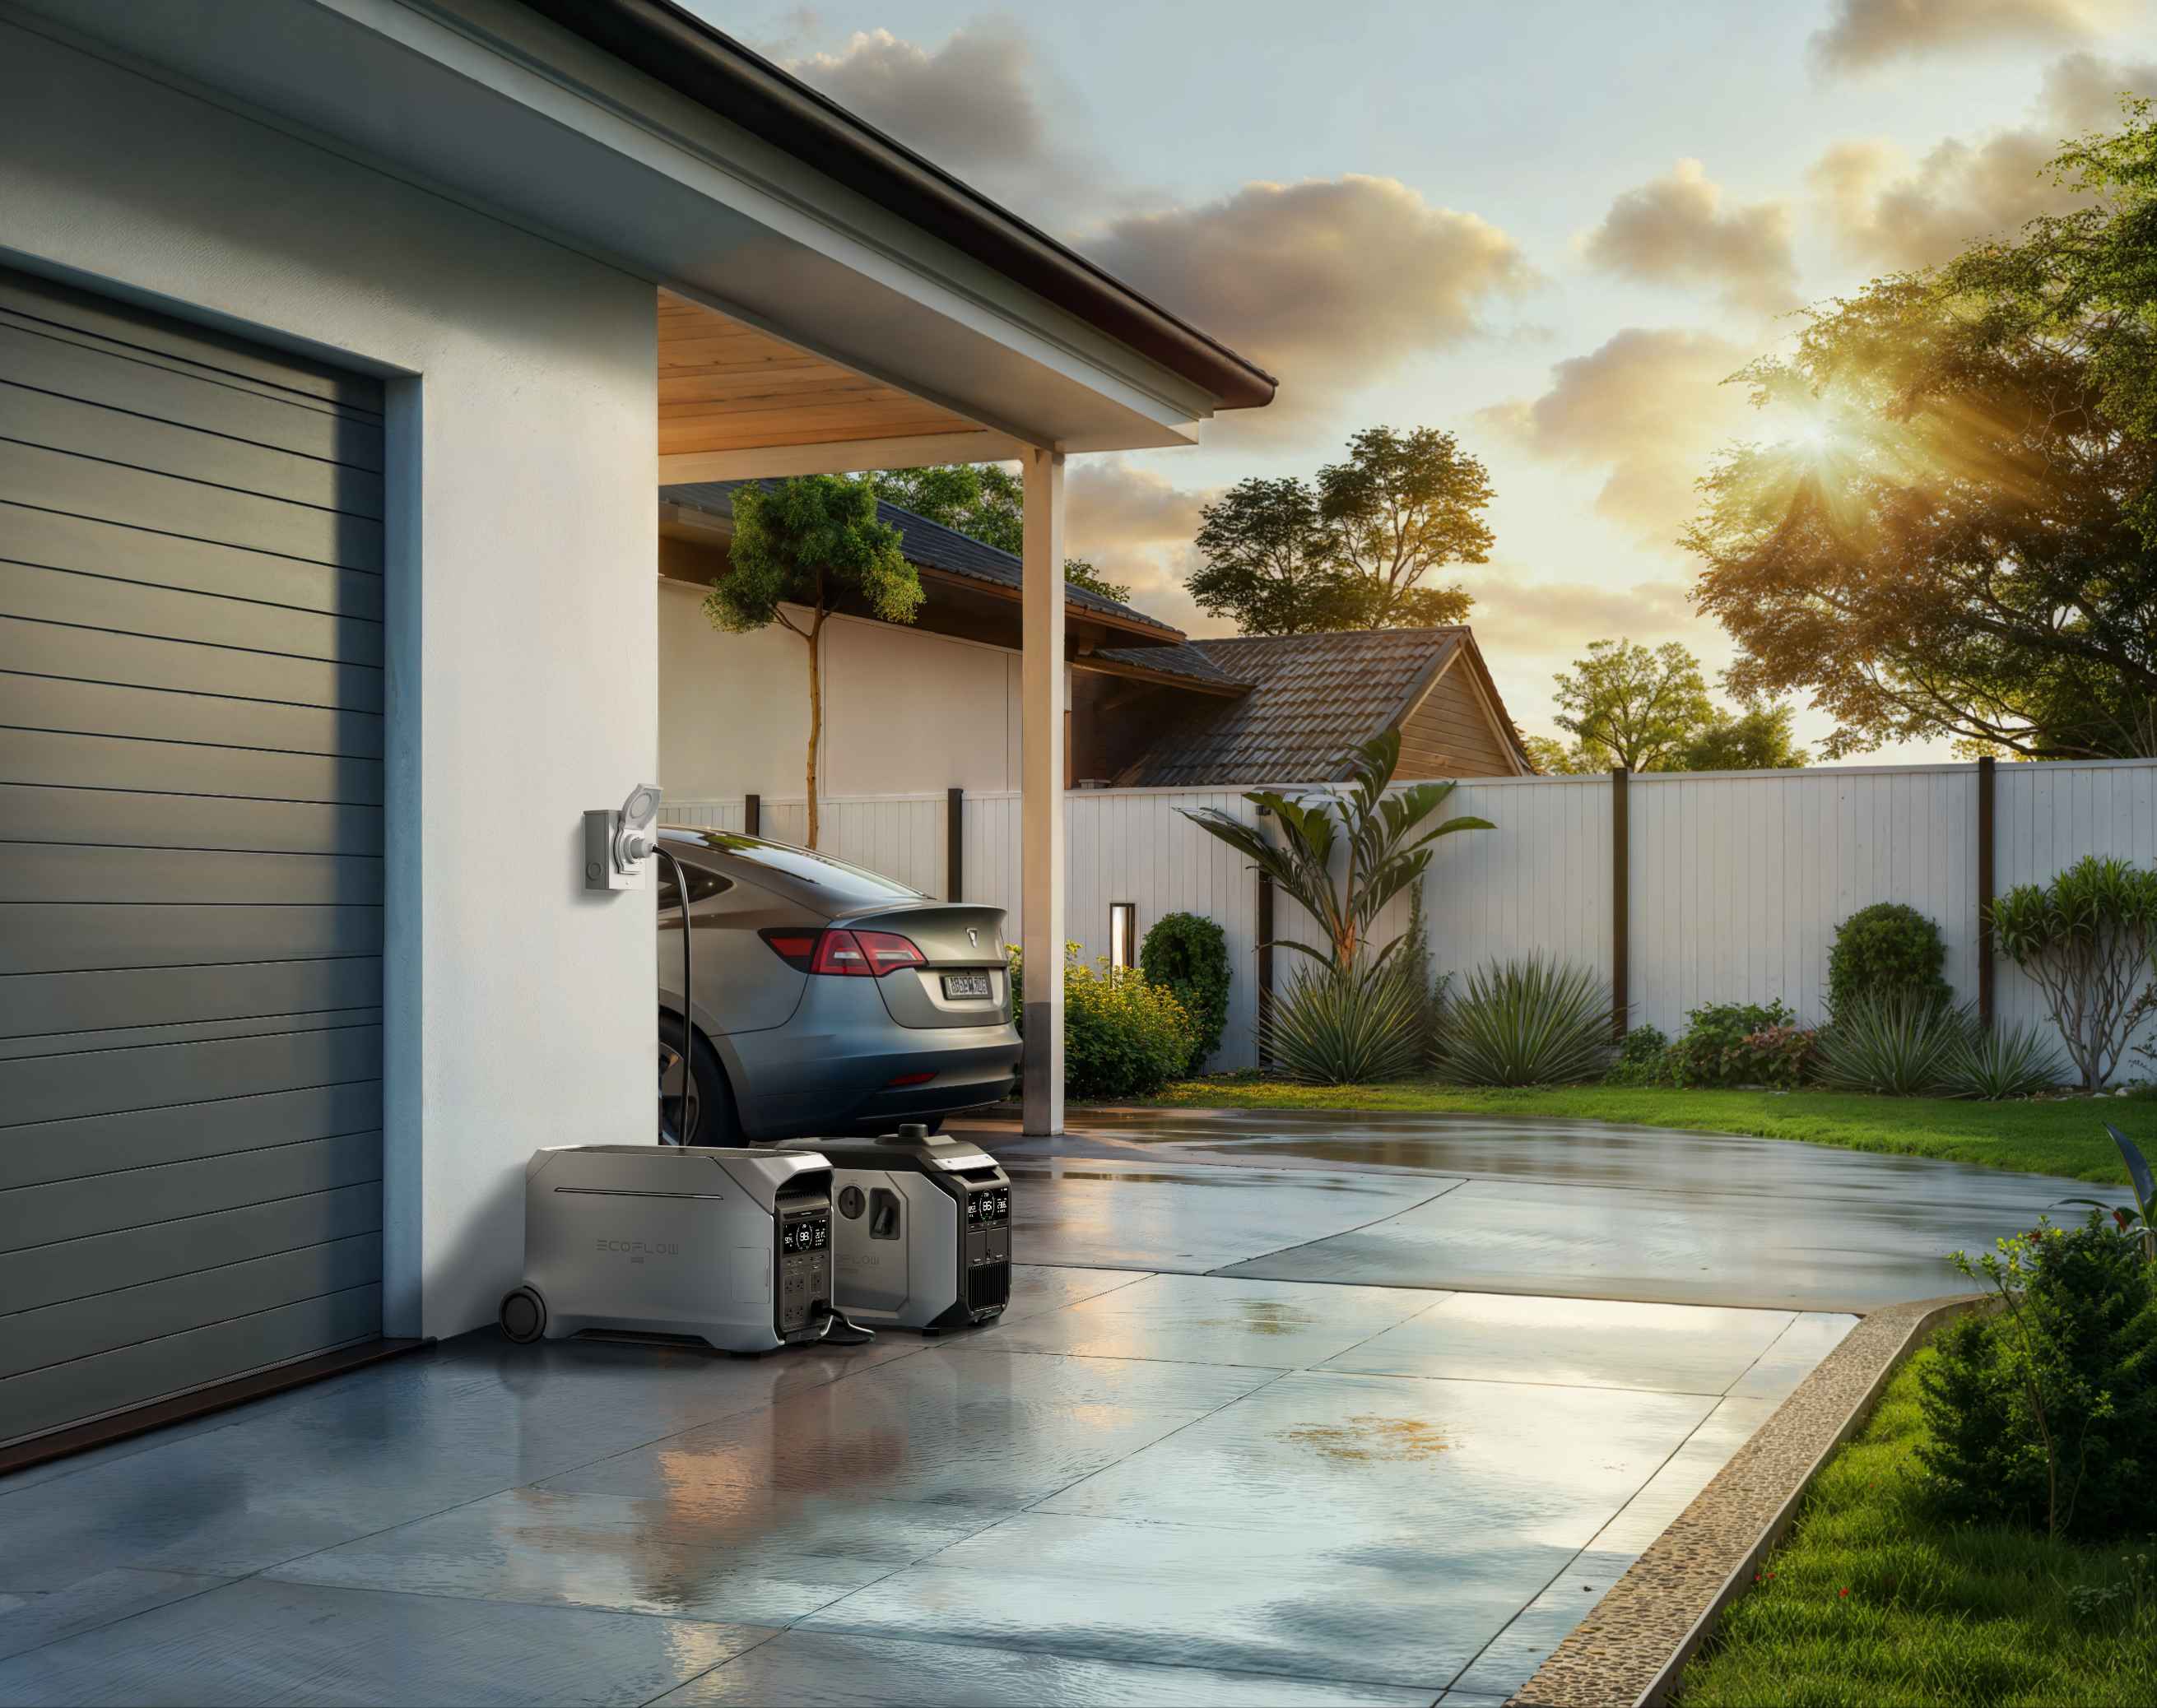
Regions with less reliable power infrastructure require extra preparation. Consider securing backup power sources before beginning critical steps. A portable power station like the DELTA PRO 3 can keep operations running smoothly even when grid issues occur. With its high-capacity output, it provides enough continuous power to run pool pumps and filtration systems through the most critical phases like initial shocking or water treatment cycles. This precaution prevents interruptions and helps maintain the treatment schedule you've planned.
Gather Your Tools and Supplies
Pool opening demands specific materials. Make a complete inventory several days ahead. You will need cleaning equipment, testing supplies, and various chemicals. Missing items force delays and extend the entire timeline.
Common requirements include:
Water testing kit or strips
Pool brush and vacuum
Skimmer net
pH adjusters
Chlorine or alternative sanitizer
Algaecide (if needed)
Filter cleaner
Check expiration dates on all chemicals. Old products lose effectiveness and provide inconsistent results.
Removing the Winter Cover and Initial Cleanup
The cover protects water during cold months but collects debris. This stage sets the foundation for everything that follows.
Clear Debris From the Cover Surface
Standing water, leaves, and dirt accumulate on top throughout winter. Remove this material before taking off the cover. Otherwise, contaminants fall directly into the pool water. Use a pump to eliminate standing water first. Then sweep or brush away solid debris. This extra effort significantly reduces the cleaning workload later.
Take Off and Store the Cover Properly
Once clean, carefully remove the cover. Recruit help if possible because wet covers are heavy. Lay it flat in an open area and clean both sides thoroughly. Allow complete drying before folding and storing. Moisture trapped in storage leads to mold and material degradation. A clean, dry cover lasts multiple seasons when stored correctly.
Inspecting Equipment and Pool Structure
With the cover removed, assess your pool's condition. Winter can cause damage that requires attention before startup.
Examine All Visible Components
Walk around the entire perimeter. Look for cracks in the deck, loose tiles, or damaged coping. Check the pool shell for any structural issues. Winter freezing and thawing sometimes creates problems that went unnoticed during closing.
Inspect all equipment housings. Pumps, filters, and heaters may show wear or weather damage. Verify that connections are secure and seals appear intact.
Test the Filtration System
The filter requires special attention. Remove the filter element and inspect it closely. Sand filters need backwashing. Cartridge filters should be removed, hosed down, and checked for tears or excessive wear. Cartridge replacement typically becomes necessary every 1-3 years depending on usage patterns, water quality, and maintenance habits. Replace them when you notice pleats collapsing, fiber damage, or persistent high pressure differential even after thorough cleaning.
Clean filters work more efficiently and prevent water clarity problems. A clogged or damaged filter cannot maintain proper water quality no matter how many chemicals you add.
Refilling and Water Level Adjustment
Winter weather often lowers water levels. Proper depth is essential for equipment operation.
The waterline should reach the midpoint of skimmer openings. Too low prevents proper skimming action. Too high reduces efficiency. Add water slowly using a garden hose. Monitor the level every few hours if adding significant volume.
New water affects overall chemistry. Municipal water varies in pH, alkalinity, and mineral content. These factors influence your initial chemical adjustments.
Starting Up Your Pool Equipment Correctly
Equipment activation follows a specific sequence. Random startup can damage components or create operational issues.
Prime the Pump
Many pumps require priming after winter storage. Fill the pump basket and housing with water before turning on power. This prevents dry running, which damages seals and impellers within seconds. However, self-priming pumps or systems where equipment sits below water level may not need manual priming. Consult your pump manual for model-specific priming instructions and requirements.
Restart the Circulation System
Turn on the pump and observe its operation. Listen for unusual noises that might indicate problems. Check for leaks around connections and seals. The system should achieve full flow within a few minutes.
Run the pump continuously during initial startup, typically 24 hours or until water becomes clear and chemical parameters stabilize. This ensures complete water turnover and helps distribute chemicals evenly. During this period, check the pressure gauge, return jet flow, and connections every 6-8 hours to catch any developing issues early. If you experience a power outage during this critical period, having backup power becomes invaluable. The DELTA PRO 3 can maintain pump operation through temporary grid failures, which is particularly important during the chemical distribution phase when consistent circulation helps achieve uniform treatment. Its expandable capacity handles extended runtime requirements when pool opening coincides with unstable weather conditions.
Activate Additional Systems
Once circulation is stable, turn on other equipment. Heaters, sanitizing systems, and automation controls can be brought online. Verify that each component functions as expected.
Balancing Water Chemistry for a Successful Pool Opening
Chemical balance determines water safety and comfort. This step requires patience and careful measurement.
Test Current Water Conditions
Use a reliable testing method to establish baseline readings. Test for pH, alkalinity, calcium hardness, and sanitizer levels. Record these numbers for reference.
The following table shows ideal ranges:
| Parameter | Ideal Range |
| pH | 7.2 - 7.6 |
| Total Alkalinity | 80 - 120 ppm |
| Calcium Hardness | 200 - 400 ppm |
| Free Chlorine | 1 - 3 ppm |
Adjust Alkalinity First
Total alkalinity acts as a pH buffer. Correct this before adjusting pH itself. If alkalinity is low, add an alkalinity increaser. High alkalinity requires pH decreaser, which gradually lowers both values.
Allow several hours of circulation between adjustments. Retest before making additional changes.
Balance the pH Level
Once alkalinity is within range, adjust pH as needed. Low pH causes equipment corrosion and skin irritation. High pH reduces sanitizer effectiveness and creates cloudy water.
Add pH increaser or decreaser in small amounts. Test again after four hours of circulation. Repeat until you achieve the target range.
Address Calcium Hardness
Calcium levels affect water balance and equipment longevity. Low calcium leads to corrosive water that damages plaster and metal components. High calcium causes scaling on surfaces and equipment.
Adjust as necessary using calcium increaser or partial water replacement if levels are extremely high.
Shocking and Sanitizing for Clean Water
Sanitization eliminates contaminants that accumulated during winter.
Perform an Initial Shock Treatment
Shock treatment raises chlorine levels temporarily to kill bacteria, algae, and organic matter. Even if water appears clear, microscopic contaminants exist.
Calculate the correct amount based on pool volume. Add shock in the evening to prevent sunlight degradation. Distribute it evenly around the perimeter while the pump runs.
Establish Regular Sanitizer Levels
After shock treatment dissipates, establish your maintenance sanitizer level. This might be chlorine, bromine, or an alternative system. Consistent sanitizer presence prevents organism growth between treatments.
Test daily during the first week. Adjust as needed to maintain proper levels.
Final Steps to Complete How to Open a Swimming Pool After Winter
Several finishing touches ensure your pool is truly ready.
Vacuum and Brush Thoroughly
Even after chemical treatment, physical cleaning is necessary. Vacuum the floor to remove settled debris. Brush walls and steps to dislodge any clinging material. Pay special attention to corners and behind ladders where circulation is weakest.
Clean the Deck and Surrounding Area
The pool area contributes to water quality. Sweep the deck and remove any winter debris. Clean furniture and replace worn items. A tidy environment reduces contamination sources.
Run a Final Water Test
Before declaring the pool open, test all parameters one more time. Verify that everything falls within acceptable ranges. Make final adjustments if necessary.
Get Your Pool Ready for the Season
The process of how to open a pool after winter requires systematic effort. Each step builds on the previous one to create safe, inviting water. Power stability, equipment inspection, and careful chemistry management work together to prevent problems. Your diligence during these initial days determines water quality for the entire season ahead. Take the time to complete each phase thoroughly and enjoy months of trouble-free swimming.

Frequently Asked Questions
Q1: When Should I Begin the Pool Opening Process After Winter?
Begin your pool opening process once the water temperature consistently reaches 60-65°F (15-18°C) and after the chances of freezing have passed. It is better to open your pool early rather than later because it gives you time to control algae growth before it thrives due to warmer temperatures. The time to start the pool opening process varies depending on your local climate, pollen count, and rainfall patterns. Opening your pool early gives you ample time to ensure that your pool water is clean before algae starts to grow.
Q2: How Long Does It Take to Open a Swimming Pool Properly?
It takes 3 to 5 days to open your pool correctly. The first day involves the physical opening of the pool. The second to third days involve the balancing of chemicals. The fourth to fifth days are spent on adjusting the chemicals. It is not advisable to rush the pool opening process because it could cause problems later on. The state of your pool after wintering and the stability of your local climate determine how long it takes to open your pool correctly.
Q3: Can I Swim Immediately After Adding Chemicals During Pool Opening?
No, wait until all parameters return to safe ranges. After shock treatment, free chlorine levels should be reduced to your desired maintenance level, depending on your cyanuric acid levels. Also, make sure that your pH levels fall in the range of 7.2-7.8, that your water is clear, and that your combined chlorine levels remain low. It is not recommended to swim until these levels are balanced.
Q4: Why Does My Pool Water Look Cloudy After How to Open a Pool Steps?
Cloudy water is often a sign that there is a buildup of particles or that chemical levels are out of balance. Calcium hardness, pH, or even filtration levels may be causing your water to be cloudy. Run your filter constantly, making sure that all levels are within normal ranges. It is possible that your filter may even require cleaning, even if it was cleaned just a short time ago. Allow your filter to run constantly for at least 24 to 48 hours before adding any clarifiers to your water. Make sure to check your pressure gauges to be sure that your filter is working well.
Q5: Do I Need Professional Help for How to Open a Swimming Pool After Winter?
Most people who own pools can do it by themselves as long as they are given good instructions. However, in situations where there are equipment problems that are hard to fix, big problems with the structure, and bad water, it would be best to consider hiring a professional. It would be best to consider hiring a professional if the problem persists after you’ve taken the right steps, or if the problem is beyond what you can handle. Professionals can help prevent costly repairs.
For press requests or interview opportunities, reach out to our media team
media.na@ecoflow.com