A Complete Solar Installation Kit Guide for Beginners
Installing a solar kit at home is easier than you think with the right equipment and good guidance. Whether you’re aiming to cut energy costs, reduce your carbon footprint, or gain energy independence, a complete solar installation kit provides everything you need to get started.
This guide walks you through the essential components, step-by-step installation process, and key maintenance tips, so you can confidently set up your system and enjoy the benefits of clean, renewable power.
Essential Components of a Solar Kit
First, here are the basic components in a solar kit.
Solar panels, also called photovoltaics, are the core of any home solar system. They convert sunlight into DC electricity via the photovoltaic effect.
Charge controllers are vital if you have or plan to add battery storage later. They regulate the flow of electricity to and from the batteries to protect them from damage from overcharging. Fortunately, all EcoFlow photovoltaics, like the EcoFlow 100W Rigid Solar Panel, already come with built-in charge controllers.
Inverters are needed to convert the DC electricity that your photovoltaics produce into the AC electricity that your home and most appliances need to run.
Deep-cycle batteries (optional) are essential if you want to store the excess energy your photovoltaics produce during the day for use at night or during particularly bad weather.
Mounting brackets are needed to secure the panels in place and ensure they are correctly angled toward the sun to maximize output. Since these vary with installation, they’re not always included.
Wires and cables are used to connect all of the components.
How to Prepare and Install a Solar Kit: Step-by-Step
Now, let’s examine how to install your solar kit step-by-step.
1. Assess Your Energy Needs
First, determine your daily energy needs in kilowatt-hours (kWh), which you can estimate from your utility bills or by adding up your appliances’ wattage and usage hours.
2. Site Assessment
Decide where your photovoltaics will be installed, as this determines what kind of kit you need. Many people install roof-mounted systems, but old or shaded roofs may be unsuitable, in which case you can opt for a ground-mounted system if you have the room.
3. Permits and Regulations
Consult local authorities to understand any permits, approvals, or regulations that may exist in your area. Also, consult your utility company to determine their requirements if you plan to remain on the grid.
4. Choose Solar Panels
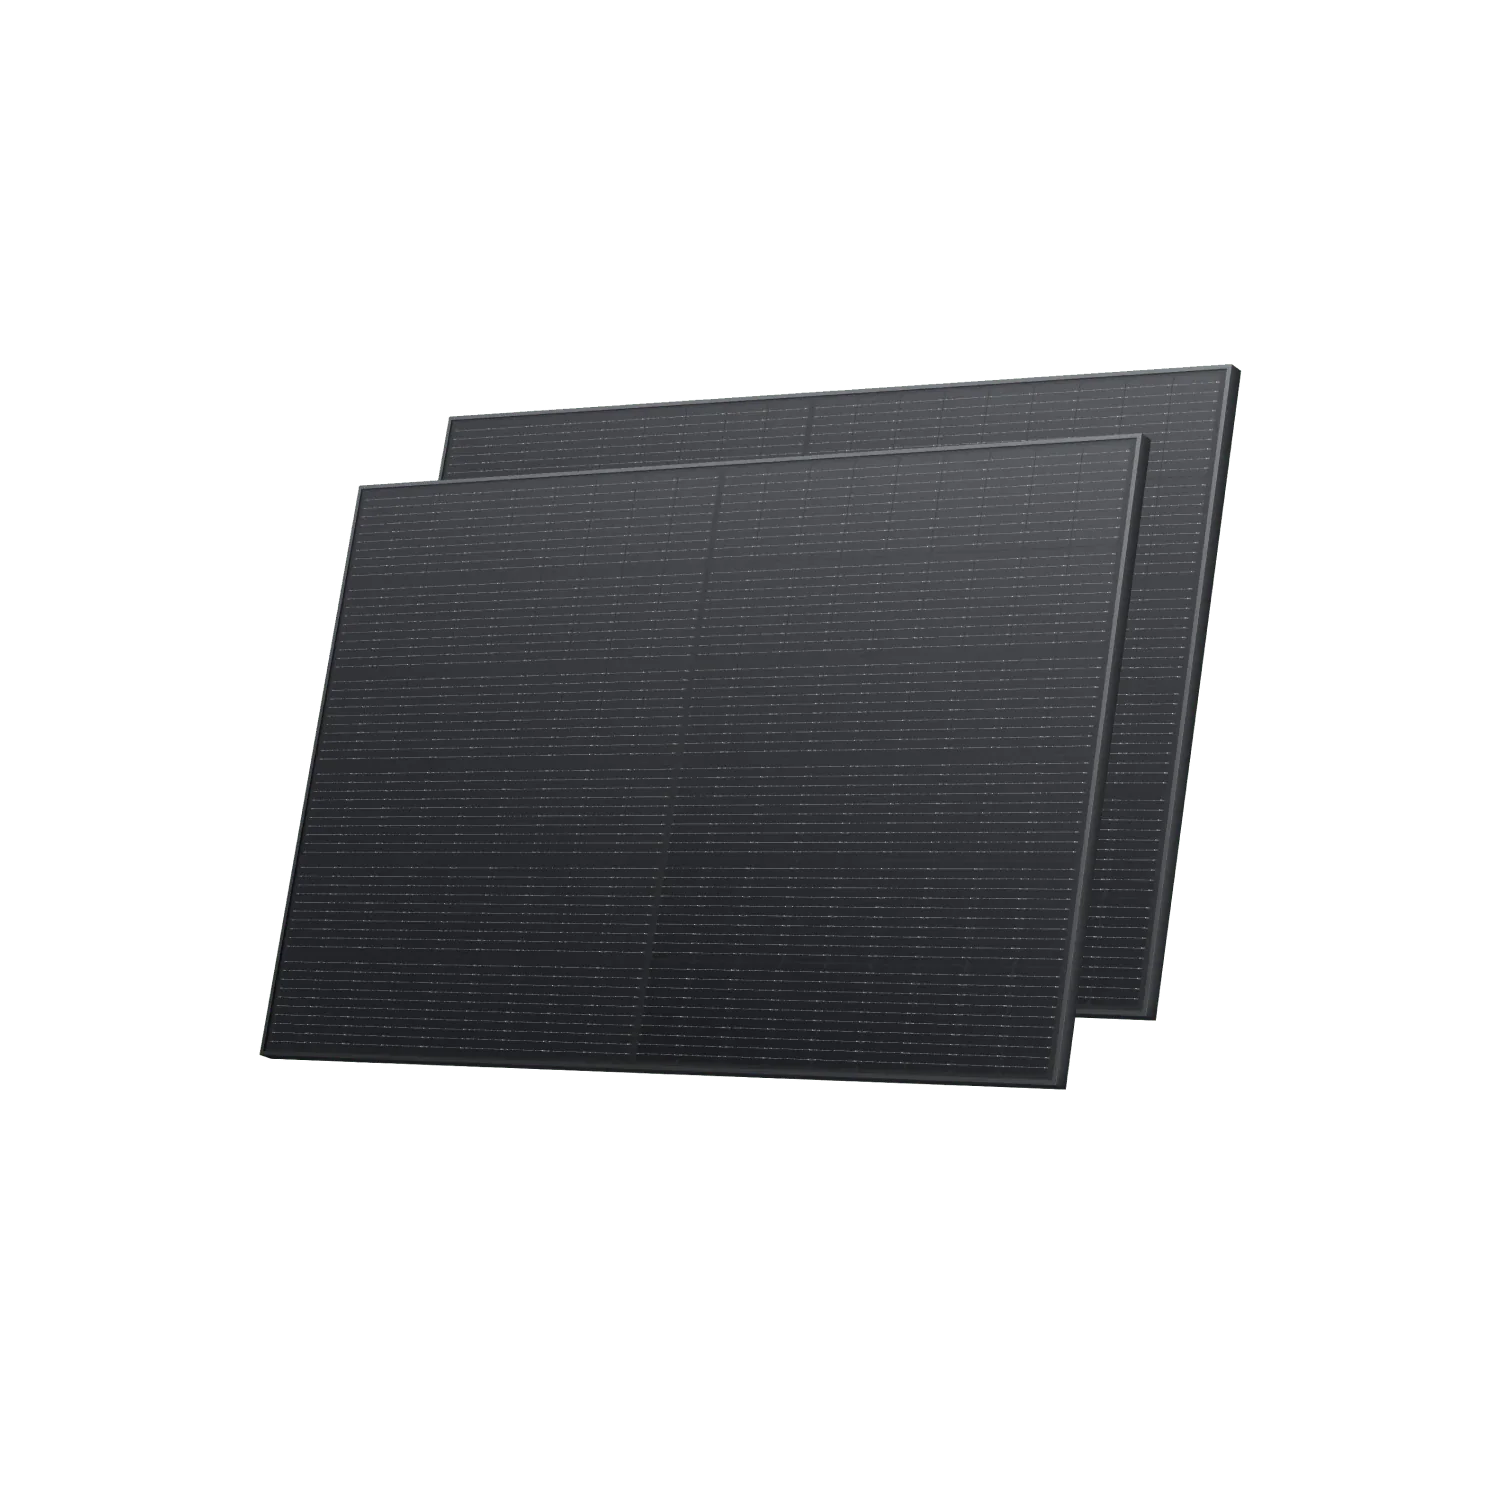
When choosing photovoltaics, look for quality monocrystalline models with high efficiencies (over 20%), and look for a good warranty. The EcoFlow 400W Rigid Solar Panel comes with a 23% conversion efficiency and up to a 10-year manufacturer's warranty.
5. Gather Kit
You can order your kit once you have the approval and know what you want. Carefully read the installation instructions that come with it and ensure you have all of the right tools (screwdrivers, drills, etc.) and safety equipment (gloves, safety glasses, harness for roof work, etc.).
6. Mounting the Panels
Securely attach the mounting brackets according to the manufacturer’s guidelines. Then carefully position and fasten the solar panels, ensuring the proper angle for optimum sun exposure.
7. Installing the Batteries and Inverter
Next, place your batteries (optional) and inverter (not optional) where you want them to be and prepare them for wiring.
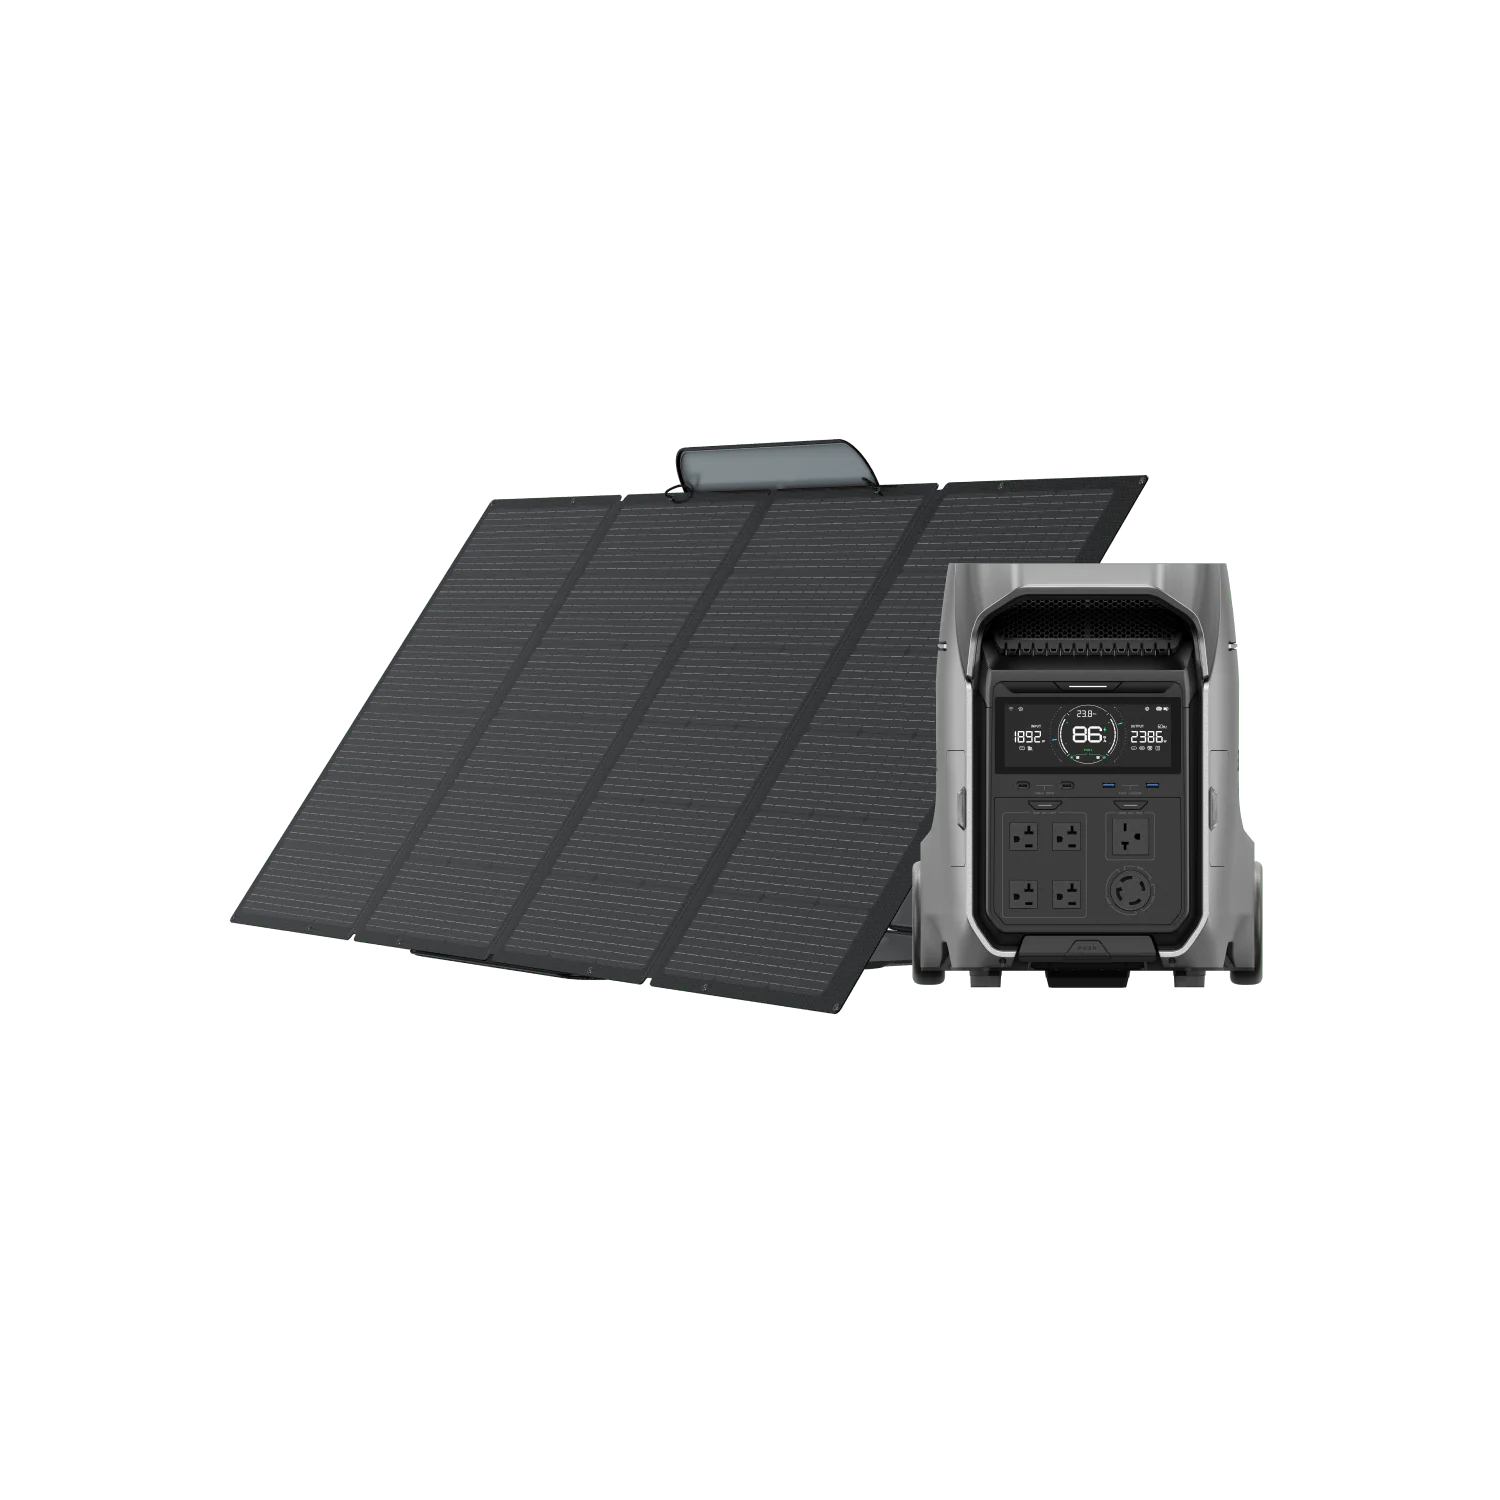
Note: photovoltaic generators like the EcoFlow DELTA Pro 3 Solar Generator (PV400W) do not need a separate inverter since they already have an appropriately sized one built in.
8. Wiring the System
Next, wire together your photovoltaics according to your system’s specifications. Depending on your system's configuration, they must be wired to either the charge controller, battery, or inverter. The more components, the more complex this stage will be.
Finally, if you are integrating your photovoltaic system into your on-grid home or your off-grid solar cabin, then you will likely want to wire it directly into your electrical panel. Even if you’re doing DIY solar, if you don’t have electrical skills or are unsure, this part is best left to the professionals.
9. System Testing
Inspect your wiring for proper orientation and secure connections. Then, turn the system on. If yours comes with an app, use it to monitor the system and ensure everything is working as expected.
After Solar Installation: Care and Maintenance
Check the following once or twice a year:
Clean the panels’ surface with soft, low-pressure water to remove dirt and debris and ensure they perform optimally. If they’re on a high roof, you may want to hire professionals.
Inspect the wiring for signs of wear, corrosion, or damage from animals, storms, etc.
Check the battery and inverter and ensure they are operating optimally.
Frequently Asked Questions
What Is the 20 Rule for Solar Panels?
The 20% rule is the recommendation to choose a system 20% larger than you need to account for energy losses, low output days, and other fluctuations to ensure you always have enough energy.
Can I Buy a Solar System and Install It Myself?
Yes, DIY solar is certainly possible, saving you money and giving you the knowledge you need to maintain your system for years to come. However, if you are uncertain about electrical work or working at heights, you should hire professionals.
How Long Does It Take to Install a Solar Kit?
How long it takes to install your kit will depend on the size and complexity of the kit, as well as the complexity of your roof or mounting location. Still, it typically takes anywhere from 1-3 days to complete.
Start Your Solar Journey with the Right Kit
A well-chosen solar installation kit makes the process straightforward and rewarding. By understanding the essential components and following the proper steps, you can set up a quality system that delivers reliable, clean energy for years to come.
You can make the process even easier with products like the EcoFlow DELTA Pro 3 Solar Generator (PV400W), which comes with built-in inverters and charge controllers, making setup a breeze. Start today, and you can take control of your home’s energy future.
For press requests or interview opportunities, reach out to our media team
media.na@ecoflow.com