Voltage Drop Calculator: What It Is, How to Calculate It, and Why It Matters for Solar Installs in Canada
- What a Voltage Drop Calculator Does for Solar Wiring Decisions
- Voltage Drop Basics for Canadian Solar and Storage Setups
- How to Calculate Voltage Drop Step by Step
- What “Acceptable” Voltage Drop Looks Like in Real Installs
- How to Reduce Voltage Drop Without Overbuilding Your System
- Frequently Asked Questions
- Get More Power From Your Solar Output With the Right Wiring Plan
The wiring that connects your solar installs to each other, and to the battery, has a huge impact on everything from efficiency to power reliability. Voltage drop is a big concern here, and it can affect how much power your system actually has.
Learn how to use a voltage drop calculator while planning your system, plus how choices like cable sizes can make every watt count.
What a Voltage Drop Calculator Does for Solar Wiring Decisions
A voltage drop calculator helps you see how much energy you lose as electricity moves through a wire. Think of it like water moving through a long garden hose. The farther the distance or the smaller the hose, the more pressure you lose before the water reaches the end.
For solar installs, too much voltage drop means your system is losing energy. In Canada, where shorter winter daylight hours already make energy production more precious, it’s crucial to minimize any unnecessary loss.
While most people use solar setups to power the essentials in an outage, others pair it with a whole-home generator for complete backup.
Regardless of how you plan to use solar, your initial setup and design will affect its performance for years to come. A drop calculator helps you make smarter wiring decisions before installation. Most calculators ask for information like:
System voltage: Usually 12V, 24V, or 48V.
Wire length: The total cable distance electricity travels (often asks for round-trip distance).
Current (amps): How much electricity is moving through the wire.
Wire material: Copper and aluminum behave differently.
Wire gauge (AWG or mm²): Thicker wires reduce resistance and energy loss.
Once you plug in the numbers, the calculator estimates how much energy you’ll lose along the run, usually expressed in both volts and as a percentage.
In many solar setups, a voltage drop of around 2–3% ideal, while anything above 5% may have performance issues.
Voltage Drop Basics for Canadian Solar and Storage Setups
Voltage drop happens naturally when electricity travels through a wire. But the longer the cable run or the higher the current, the more loss you’ll have. That means the power leaving your solar panels isn’t always the same amount arriving at your battery. A few factors affect the power you receive:
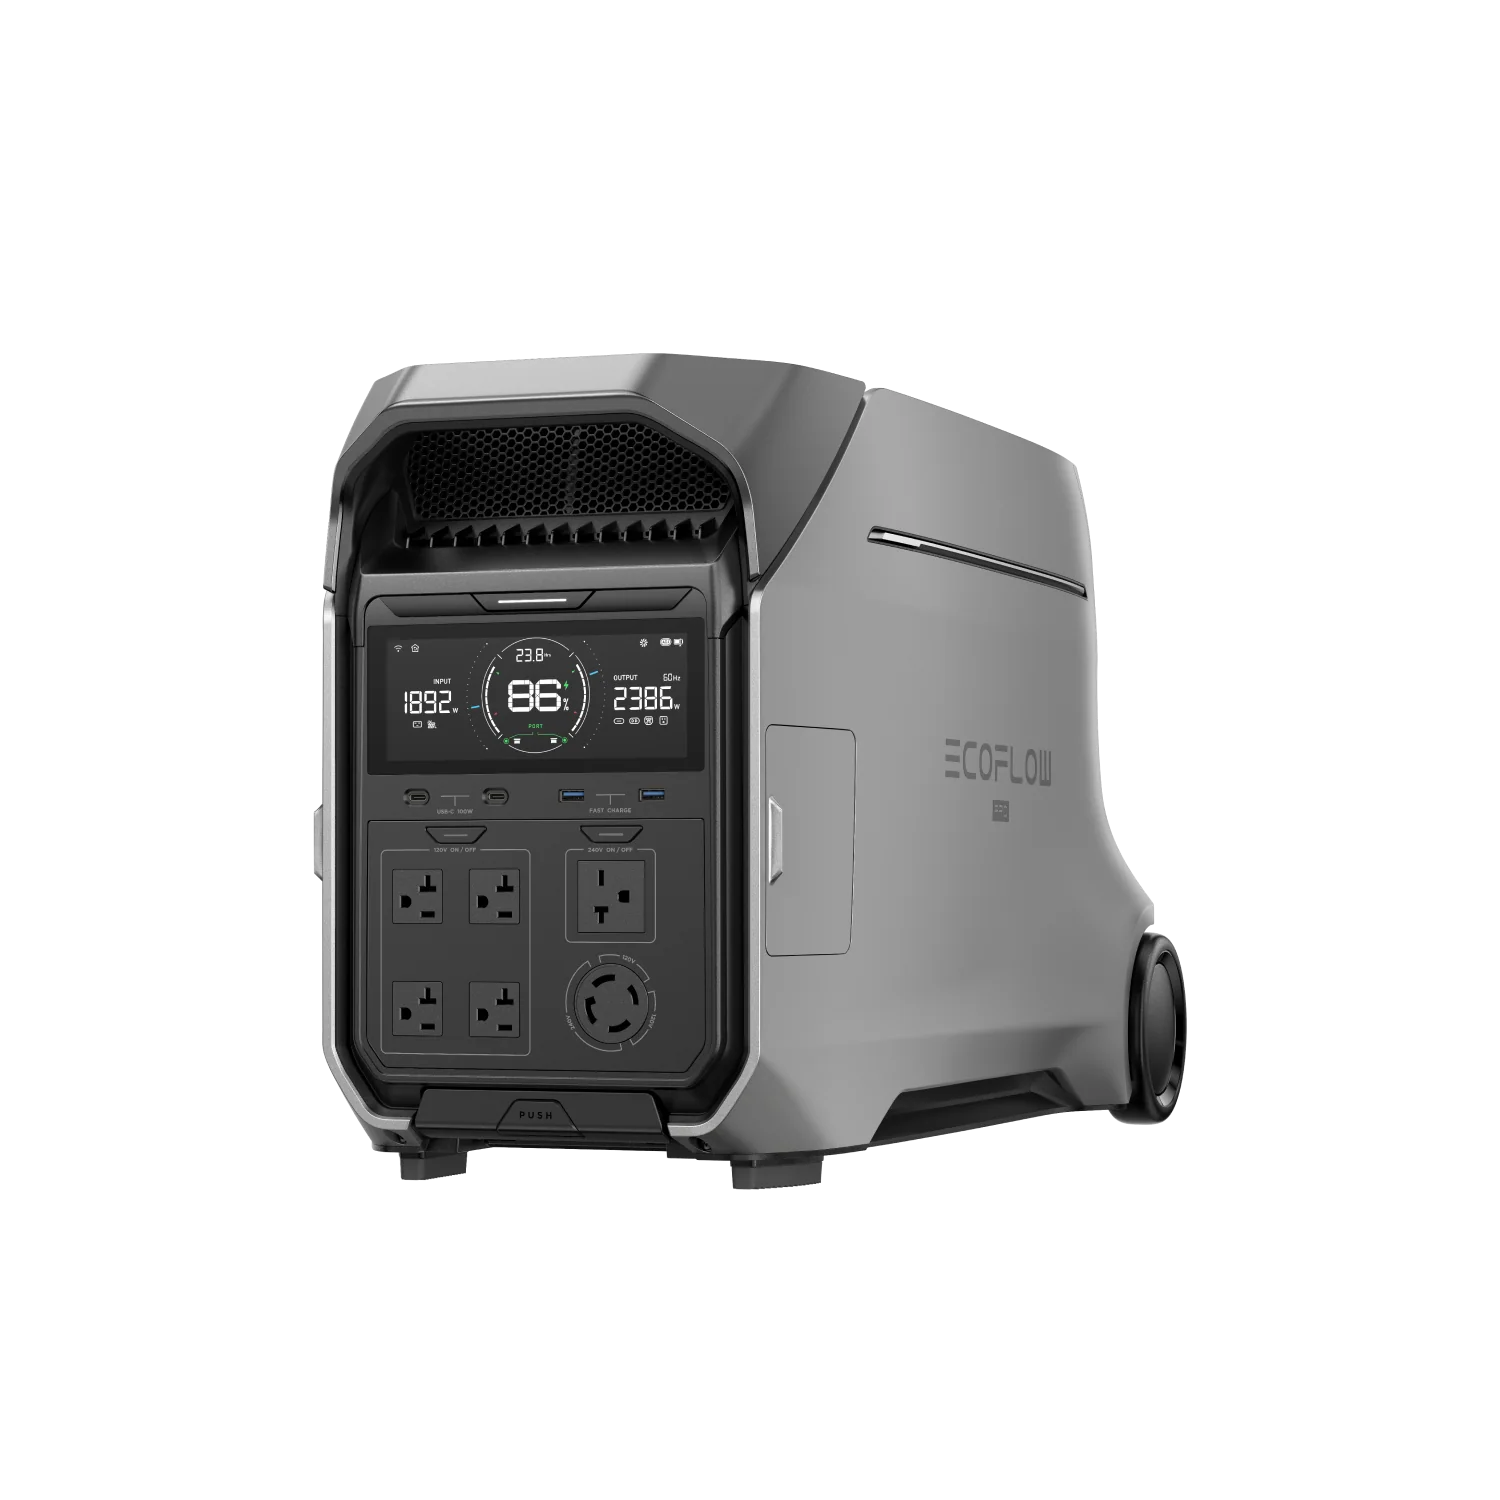
Cable resistance: Every wire resists electrical flow to some degree. Smaller wires have more resistance, while thicker wires allow electricity to move more efficiently. This is especially important with higher-capacity backup systems like the EcoFlow DELTA Pro 3 Portable Power Station, where maximizing charging efficiency matters if you’re powering larger appliances.
Run length: The farther electricity has to travel, the more energy you lose along the way. Even a perfectly sized system can underperform if cable runs are too long.
Current: The more amps moving through a wire, the greater the resistance is. That means higher-powered systems need thicker wiring to compensate.
As you can see, a lot of factors play into voltage drop. Spending a little time sizing wires properly now can help your solar system work harder — and smarter — for years to come.
How to Calculate Voltage Drop Step by Step
A voltage drop calculator is handy, but it’s still worth knowing how to calculate it yourself.
Step 1: Confirm Voltage
Start with the voltage of the circuit you’re evaluating. Common DC solar and storage setups may use 12V, 24V, or 48V wiring, while household AC circuits in Canada are typically 120V or 240V.
Step 2: Find the Current in Amps
Next, identify the current flowing through the wire. If you already know the amps, great. If not, you can learn how to calculate amps with this formula:
Watts ÷ Volts = Amps
For example, a 400W solar input on a 40V circuit would move about 10 amps.
Step 3: Measure the Wire Run
Measure the distance between components, then make sure you’re using the right distance for the formula. For DC circuits, calculators may ask for one-way distance and automatically double it, or they may ask for total round-trip distance.
Step 4: Choose Wire Size and Material
Wire size affects resistance, so a thicker wire has less resistance, which usually means less drop. Copper also has lower resistance than aluminum, so the material matters too.
Most calculators let you choose AWG size or metric cable size. For Canadian installs, you may see both depending on the product or supplier.
Step 5: Calculate the Percent Voltage Drop
Once you have the voltage drop in volts, convert it into a percentage:
Voltage drop ÷ System voltage × 100
So if a 24V circuit loses 0.72V, the drop is:
0.72 ÷ 24 × 100 = 3%
That percentage is usually more useful than the raw number because it shows how significant the loss is relative to your system.
What “Acceptable” Voltage Drop Looks Like in Real Installs
A little bit of voltage drop is normal. The purpose of monitoring voltage drop is to keep your losses low enough that your system performs well.
For most solar and battery setups, the goal is:
Around 2% voltage drop for major DC wiring runs, like solar panels to batteries or charge controllers.
Around 3% total system voltage drop overall.
You don’t need to optimize every circuit. For example, a short-term lighting circuit, occasional-use accessory, or non-critical load may tolerate slightly higher voltage drop without noticeable problems.
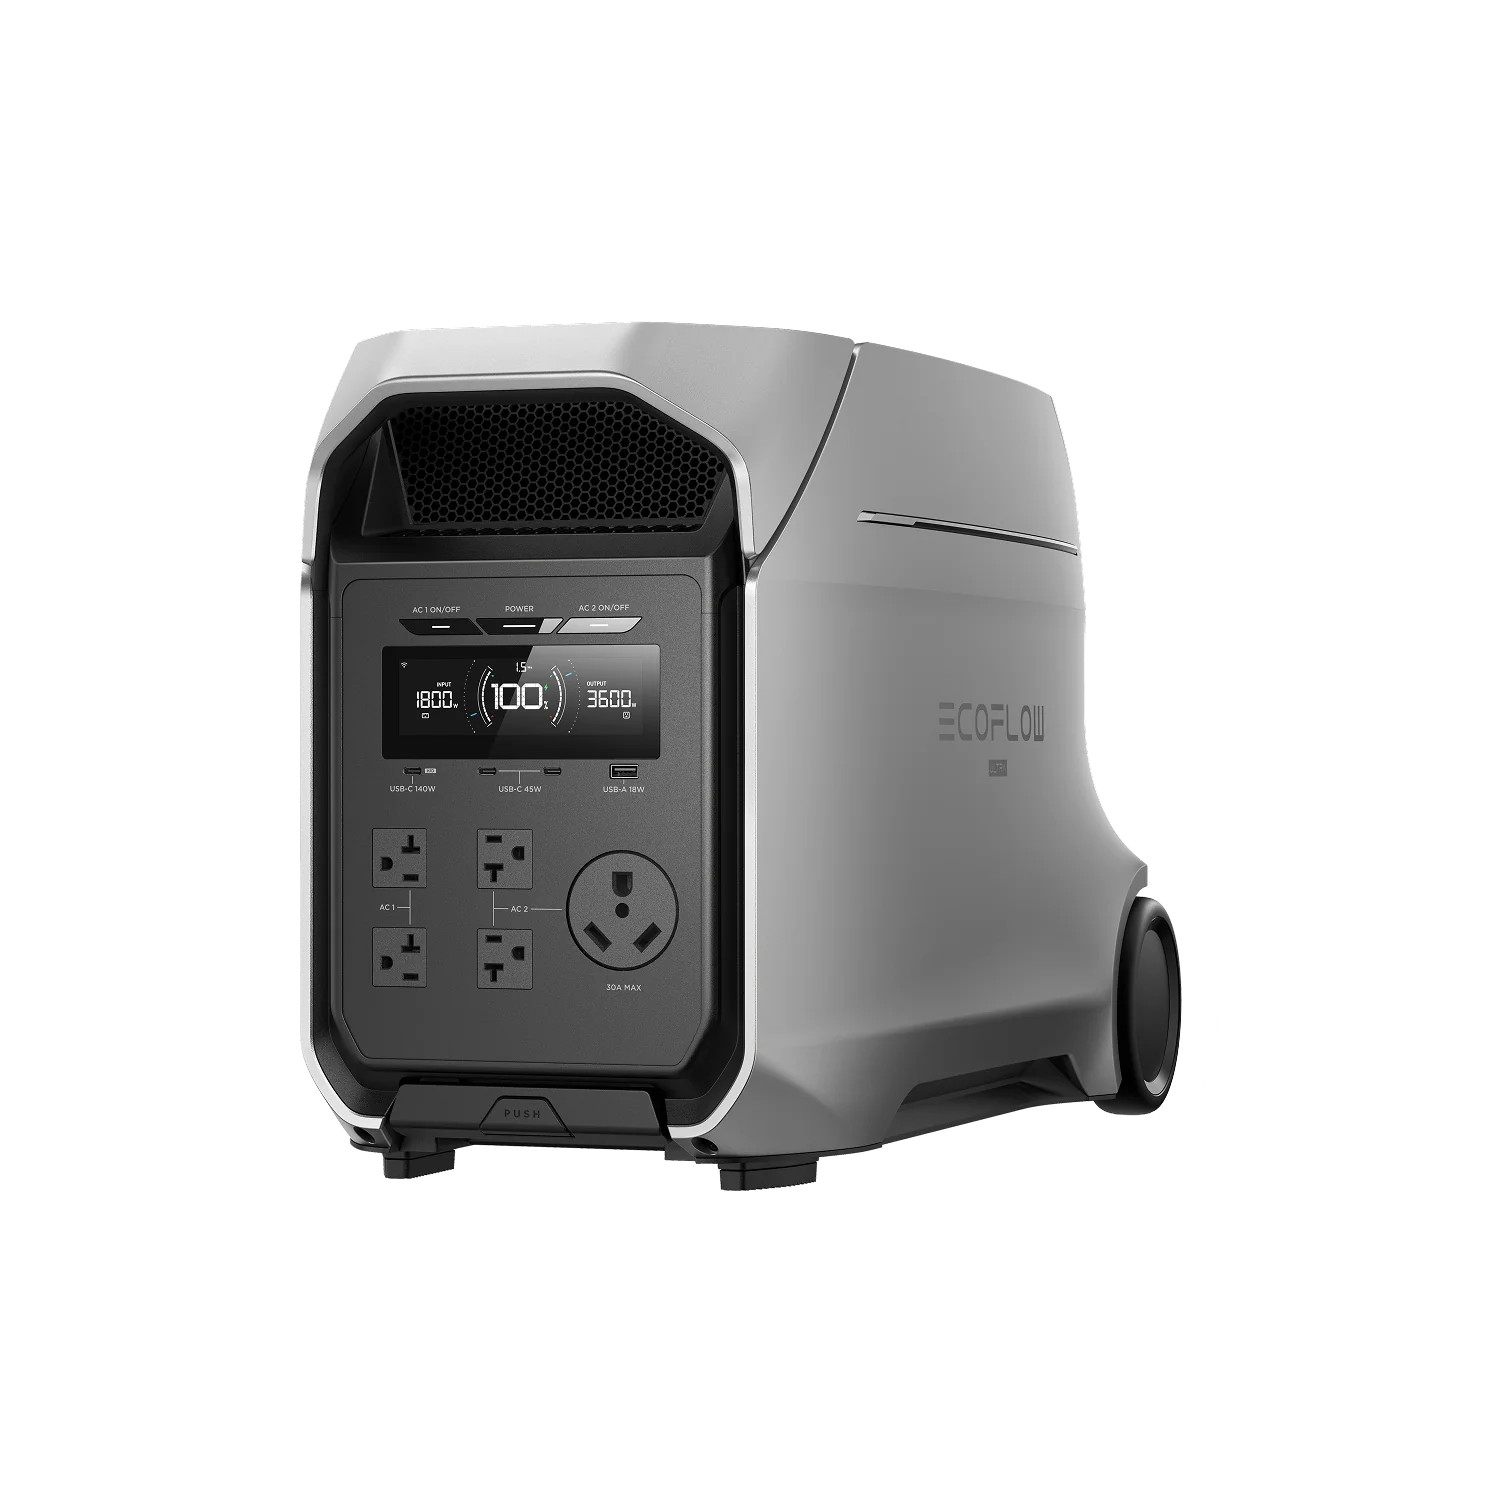
However, it does matter for major charging circuits. For example, you’ll get more for your money with the EcoFlow DELTA 3 Ultra Plus Portable Power Station (3072Wh) with efficient energy transfer. Since this is a valuable tool for weathering outages and staying safe off-grid, it makes sense to optimize voltage drop here.
How to Reduce Voltage Drop Without Overbuilding Your System
Having the right tools for a DIY solar installation can improve the quality of your build, but you also need a smart strategy behind your install. Before you buy thicker cable, you may be able to reduce voltage drop with a few small tweaks.
Keep Cable Runs Short
Because drop increases with distance, shorter wire runs almost always improve efficiency. If possible, place solar panels, batteries, and equipment closer together to reduce how far electricity needs to travel.
Consider Series vs Parallel Wiring
How you wire your solar panels also affects voltage drop. You’ll need to choose between wiring solar panels with parallel vs series setups.
In series wiring, the voltage increases, but the current is lower. Lower current means less drop across longer cable runs, which is one reason series configurations are popular for larger solar systems.
In parallel wiring, current increases while voltage stays the same. This can be useful in certain shading situations, but a higher current can also increase voltage loss if you don’t adjust the cable sizes.
Upgrade Cables If It’s Justified
Sometimes a thicker cable really is the answer. If your voltage drop calculator shows losses above your target range, increasing wire size can reduce resistance and improve efficiency. Still, you need to make sure this is actually the case. Otherwise, you’ll over-design the system.
Frequently Asked Questions
What Is a Voltage Drop Calculator and How Do I Use It for Solar?
A voltage drop calculator estimates how much electrical voltage gets lost as power travels through a wire. For solar setups, this helps you choose the right wire size and layout so more of the electricity generated actually reaches your batteries, inverter, or appliances. This online calculator needs information on your system voltage, wire length, amps, wire material, and wire size. Once it has all of these numbers, it estimates voltage loss both in volts and as a percentage.
How Much Voltage Drop Is Acceptable for a Solar Install in Canada?
The target is usually a 2% voltage drop for major DC wiring runs, and roughly 3% total system voltage drop overall. In Canada, keeping voltage drop low can matter even more because shorter winter daylight hours already reduce solar production. If your system is losing power in the wiring, too, that’s energy you can’t get back.
How Do I Convert Feet to Metres and Awg to Mm² for Voltage Drop Calculations?
For wire size, AWG (American Wire Gauge) and mm² (square millimetres) are different measurement systems. Canadian solar equipment and calculators may use either one. 1 metre is about 3.28 feet, which can help you roughly estimate length. For AWG to mm², you can estimate this more accurately with an online calculator.
When Should I Upsize Wire or Shorten the Run in a Solar Setup?
You should consider this if your voltage drop calculations are above the 3–5% range. Sometimes the fix is thicker wire. Other times, moving equipment closer together or changing from parallel to series panel wiring can reduce losses.
Get More Power From Your Solar Output With the Right Wiring Plan
Calculating voltage drop isn’t a fun or flashy part of solar planning, but it makes a huge difference in system performance. Understanding how cable length, wire size, current, and layout affect voltage drop helps you avoid wasted energy and make smarter installation decisions from the start.
Appropriate sizing can help you keep more of the power your solar panels generate, but your power station matters, too. Check out the EcoFlow solar generator systems for flexible energy storage that scales with your needs.