Inverter Battery for Home: What Inverters Are Compatible With Whole-Home Batteries
- What Certifications Prove Inverter Compatibility With Home Batteries?
- Which Inverter Battery For Home Supports 120/240V Split-Phase For Whole-Home Loads?
- AC vs. DC Coupled: How to Choose the Right Inverter for Home Battery Storage
- Why Does Closed Loop BMS Decide The Best Inverters For Whole Home Systems?
- How To Size An Inverter Battery For Home Without Tripping?
- Where Do US Codes Affect Inverter Compatibility With Home Batteries?
- Who Should Verify Quotes For Home Inverter Options And What To Check?
- What Is The Fastest Path To A Compatible Inverter Battery For Home?
- FAQs
Large homes need stable backup, clean transfer, and smooth interconnection. This guide gives a practical path to select an inverter battery for a home that runs the entire panel, clears US inspections, and handles real loads such as central AC and well pumps. The goal is a short, repeatable checklist that reduces guesswork and speeds commissioning of your home inverter battery.
What Certifications Prove Inverter Compatibility With Home Batteries?
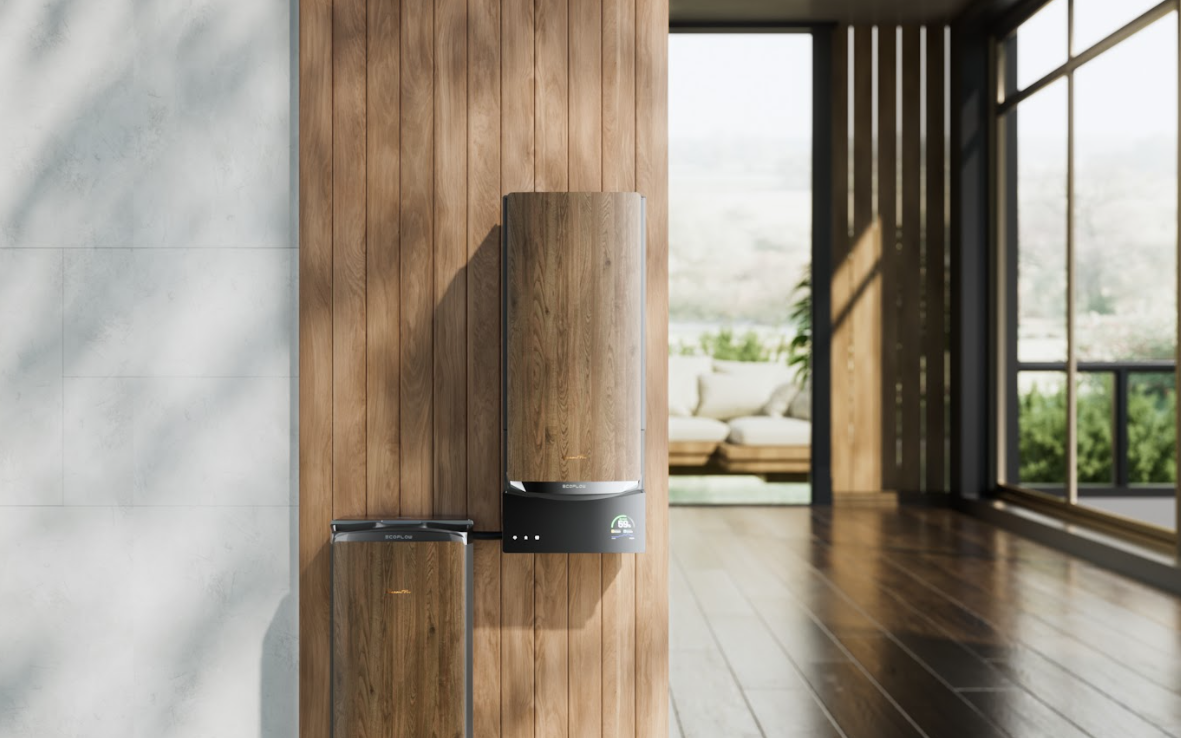
For whole-home backup in the US, inspectors expect system-level safety plus IEEE 1547 interoperability. EcoFlow OCEAN Pro ships with a complete compliance proof pack you can attach to the permit set:
- System: UL 9540 system certification (inverter + battery).
- Inverter: UL 1741 SB listing aligned to IEEE 1547-2018 / 1547.1, with references to CA Rule 21 and HECO SRD 2.0.
- Battery & Fire Safety: UL 9540A / UL 9540B thermal propagation tests, UL 1973, UN 38.3; enclosure NEMA 3R, ingress IP67 (battery & power electronics), seismic AC156 / IEEE 693 (high).
Attach the datasheet pages and NRTL certificates to your project file, plus nameplate photos citing the relevant NEC articles. With these in place, “inverter compatibility with home batteries” is straightforward to defend during plan review.
Which Inverter Battery For Home Supports 120/240V Split-Phase For Whole-Home Loads?
Whole-home backup in the US means split-phase service. The inverter must supply 120 and 240 volts, and it must start large motors. As a reference point, EcoFlow OCEAN Pro is engineered for split-phase whole-home service with scalable storage and hard-site durability, which matches this use case. Review continuous power first, then check surge for 10 to 60 seconds, then confirm the stacking limit across phases. Validate the transfer method as well. A smart panel or a transfer switch should shift the home to the inverter battery in a blink. Many teams target under 20 ms, so electronics and control boards stay online.
A commissioning test tells the truth. Start the air conditioner, the microwave, and the laundry cycle at the same time. If lights dip or breakers chatter, raise surge headroom, rebalance phases, or set start delays. When this test passes, the inverter battery for the home is ready for real life.
AC vs. DC Coupled: How to Choose the Right Inverter for Home Battery Storage
Topology shapes efficiency, cost, and behavior during outages. Use the table to match the home’s starting point.
| Scenario | Better Fit | Value For Large Homes |
| Existing grid-tied PV on the roof | AC-coupled | Reuses current hardware, faster installation, flexible battery sizing |
| New build or full electrical upgrade | DC-coupled | Fewer conversion steps, higher round-trip efficiency, cleaner wiring path |
| Long outages with daytime solar charging | Depends on the PV plan | AC keeps retrofits simple; DC keeps solar flowing into the inverter battery for the home with fewer limits |
For both paths, confirm two items during design review. First, can the system charge the inverter battery for the home from PV during an outage? Second, are curtailment rules clear when batteries sit at a high state of charge? Ask the installer to provide a single-line diagram for each option. A clear drawing speeds utility approval and avoids rewiring later.
Why Does Closed Loop BMS Decide The Best Inverters For Whole Home Systems?
The battery and inverter must speak in real time. Closed loop control shares state of charge, temperature, and charge limits both ways. The inverter then shapes power without nuisance trips. Request the protocol name, such as Modbus or CAN, plus a working register map. Run a short bench test to log commands and responses, then keep a 24-hour stability log during site commissioning.
When communication stays solid, the best inverters for whole home systems deliver smooth charging, quiet fans, and predictable limits. If the link drops, the home can see random cutbacks and unexpected shutdowns. A clean log proves the system is ready for daily service.
How To Size An Inverter Battery For Home Without Tripping?
The goal is smooth startups and clean power transfers. Follow these steps to size an inverter battery correctly, so your motors and daily household loads run without nuisance trips—and so inspectors can clearly see inverter compatibility with home batteries.
Step 1. Map and Rank Your Loads
List every circuit that needs backup power. Start with 240-volt items such as:
- Central AC
- Heat pump
- Well or sump pump
- Pool pump
- Dryer
- EV charger
Label each load as Essential (must run during an outage) or Deferrable (can be turned off temporarily). This makes sure your inverter and battery are sized for real-world priorities, not just everything at once.
Step 2. Set the Continuous kW Rating
Add up the running watts of your Essential loads. Then add a margin (20–30%) for seasonal variation and load cycling.
Typical essential household loads = 3–7 kW
Larger homes with central AC = 10+ kW
This total becomes the minimum continuous power rating your inverter-battery system must handle.
Step 3. Prove Surge Capability
Find the hardest-starting load, usually a compressor or deep well pump. These can draw 2–6 times their running watts for a few seconds.
Example: A 1-ton (12,000 BTU) AC may run at ~1.2 kW but needs 6–8 kW to start.
Confirm your inverter can deliver this short burst. If not, consider:
- Adding a soft starter to HVAC units
- Staggering start times with simple delays, so two big motors don’t start at once
Step 4. Balance Split-Phase and Stacking
Distribute heavy circuits evenly across the A and B legs of the panel. If you’re using multiple inverters in parallel (stacking):
- Verify both per-phase and total limits
- Confirm the stacking capacity matches your load plan
This ensures whole-home inverter systems stay within safe operating ranges.
Step 5. Run a One-Hour Commissioning Test
After installation, test the home on battery for only one hour:
- Start the largest motor three times during the test
- Watch voltage stability (±5%), frequency (should hold at 60 Hz), and temperature behavior
- If lights flicker or breakers trip, adjust by:
- Increasing surge headroom
- Rebalancing phase loads
- Extending motor start delays
Document these final settings so inspectors and future system reviews stay consistent.


Where Do US Codes Affect Inverter Compatibility With Home Batteries?
Codes protect people and property, and they guide field layout. Mark these items in the design set. NEC 706 covers energy storage placement, clearances, and disconnects. NEC 705 governs supply-side or load-side interconnection and the busbar rule. If the project includes roof PV, NEC 690.12 quick shutdown must appear on the plan. A utility package should include the single-line, specification sheets, and certificate pages. When these elements align, inverter compatibility with home batteries becomes straightforward during plan review.
Who Should Verify Quotes For Home Inverter Options And What To Check?
Treat the buying step like a quality gate. Name the reviewers first, then run a single checklist so every bid answers the same items.
Who verifies
- Homeowner or owner’s rep (scope, price, warranty).
- Licensed electrician/installer (code fit, wiring, placement).
- Utility or AHJ reviewer (interconnection, clearances).
- Commissioning lead or third party (tests, acceptance).
What to check
UL 9540 listing and UL 1741 SB shown on the quote.
120/240 V split-phase confirmed and stacking limit in kW.
Closed-loop BMS protocol named and supported.
Transfer method and switch time are stated in milliseconds.
Service rating for main breaker, busbar, meter-main; commissioning plan with data logging, SOC calibration, and full-load test.
Side-by-side comparisons become simple when each bid answers the same list. Clear home inverter options for battery storage keep the decision objective.
What Is The Fastest Path To A Compatible Inverter Battery For Home?
Close with action so the team can move today. Lock in certifications first. Confirm split-phase power and surge needs with a real load list. Choose AC or DC based on the electrical starting point. Prove a closed-loop BMS on a bench and then during a site log. Submit a complete interconnection package and schedule a commissioning session that includes live transfer tests. Done this way, the inverter battery for the home behaves like a steady power plant for the house. Food stays cold, rooms stay cool, and work continues during an outage. The same structure also makes expansions easier when the home adds new loads later.


FAQs
Q1. Where should the inverter and batteries be placed in a large home?
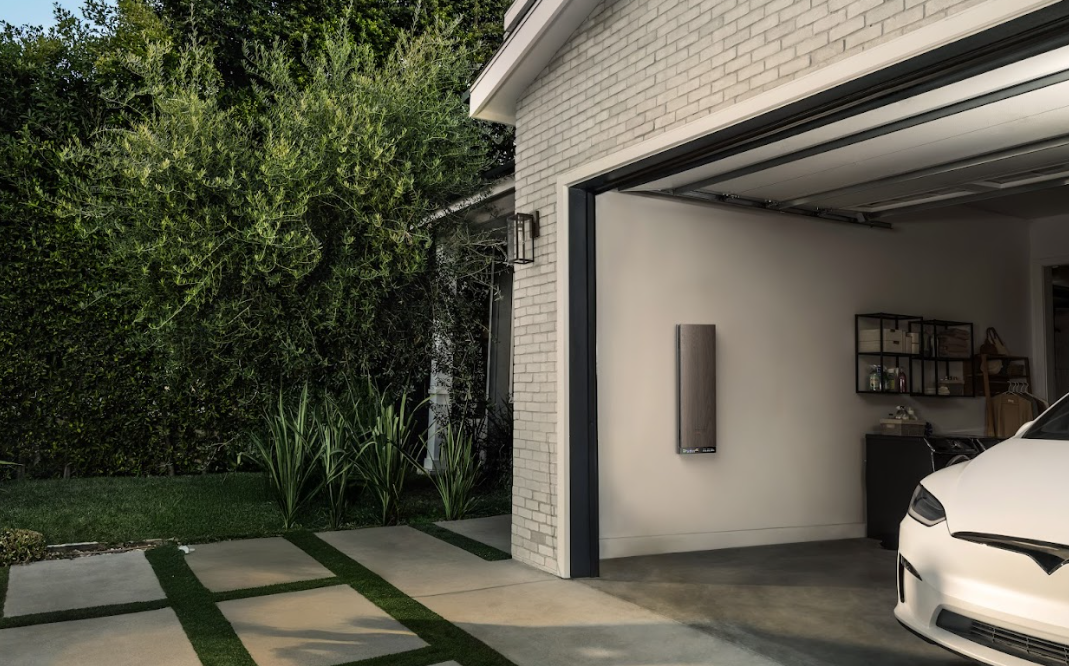
Choose a dry, ventilated utility space with clearances per the manual. Keep out of bedrooms and tight closets. Mount on a rigid wall, add vibration pads, and plan airflow paths. Avoid direct sun and areas with chemicals or salt spray. Label disconnects and keeps a clear service aisle.
Q2. How can I reduce idle losses and standby draw?
Ask for the spec called “self-consumption.” Enable eco or sleep modes, then schedule charge and discharge windows. Turn off always-on accessories when not needed. Log two weeks of data from the inverter app or a sub-meter. If night losses look high, review auxiliary loads and firmware settings.
Q3. How does cold weather affect performance and charging?
Check the minimum charging temperature and use the built-in preheat if available. Keep equipment above the stated limit during winter by adding insulation and controlled ventilation. Set a lower charge rate on very cold mornings. Delay EV charging until the battery warms, and verify temperature alarms in the app.
For press requests or interview opportunities, reach out to our media team
media.na@ecoflow.com