How to Charge a Camper Battery: A Complete Guide
- Quick Answer: What Are the Main Ways to Charge a Camper Battery?
- What Types of Camper Batteries Are There (and Why It Matters for Charging)?
- How to Charge a Camper Battery at Home
- How to Charge a Camper Battery While Driving
- How to Charge a Camper Battery Off-Grid
- How Long Does It Take to Charge?
- Why Won't My Camper Battery Hold a Charge Anymore?
- Safety Tips for Charging Camper Batteries
- Mastering Your Camper Battery Charging Setup
- FAQs
- Disclaimer: Safety & Technical Compliance
From lighting up the night to powering the fans, the camper battery is needed for everything during your RV life. And when the battery's energy goes down, things get tough very quickly. This breakdown describes how to ensure that the batteries remain charged. It talks about charging the batteries at home, charging from the truck engine while traveling, and installing solar panels for off-road camping trips. These tips work for both old-school batteries and modern lithium systems, so you can stay powered up wherever you park.
Quick Answer: What Are the Main Ways to Charge a Camper Battery?
Knowing your options helps you plan your next move. Here is a fast look at the four most common camper battery charging methods used by most travelers today.
Shore Power or Home Outlets: Plug your rig into a wall outlet or a campsite pedestal. The RV converter or a smart charger handles the work.
Vehicle Alternator: Your truck or SUV can send power back to the camper while the engine is running.
Solar Panels: Use the sun to keep things topped off. You can use panels on the roof or portable ones on the ground.
Generators: A gas or propane generator acts like a portable wall outlet to run your onboard charger.
Portable Power Stations: These big "battery banks" can sometimes jump-start your system or provide an extra boost.
Later sections will compare the speed and cost of these methods so you can choose the best way to charge a camper battery for your specific style.
What Types of Camper Batteries Are There (and Why It Matters for Charging)?
Each battery chemistry follows its own set of regulations. To avoid damage, make sure your charging habits match the type of battery in your camper's tray.
Lead Acid (Flooded)
These types of batteries are the most widespread and cheapest. They contain liquid electrolytes and must be kept upright. You cannot fully discharge them without causing damage. Lead-acid batteries require relatively slow charging using multi-stage chargers to prevent overheating and excessive water loss from the electrolyte.
AGM (Absorbent Glass Mat)
This type of battery represents an improvement in functionality. It is sealed, so there is no risk of leakage or the need of water refills. They can handle vibration and impacts better than standard lead-acid. They charge somewhat faster but still require careful use to maintain performance and lifespan.
Gel Batteries
Modern campers rarely use gel batteries. They are highly sensitive to high charging voltage. Gel batteries should only be charged using a charger with a specific "Gel" mode; otherwise, their lifespan can be significantly shortened.
Lithium (LiFePO4)
These types of batteries are becoming more popular due to their low weight and long service life. Using 80–90% of their capacity is generally safe without significantly affecting lifespan. Lithium batteries can charge much faster but require a compatible lithium charger.
They also include a built-in Battery Management System (BMS), which protects the battery from getting too hot, too cold, or being overcharged.
How to Charge a Camper Battery at Home
The easiest way to prepare for a trip is to plug in before you leave. This ensures your electronics are ready to go the moment you pull out of the driveway.
Quick Answer
You can use your RV's built-in system by plugging the main cord into a house outlet with an adapter. Or, you can use a separate smart charger that clips directly onto the battery terminals.
Method 1: Plugging Into Shore Power
When you plug into a 15-amp house outlet, your RV's converter turns that power into 12V electricity for the battery. You will likely need a "puck" adapter to fit your big 30-amp or 50-amp cord into a standard wall plug. Be careful not to run the AC or microwave at the same time, or you might trip a breaker in your house.
Method 2: Using a Standalone Battery Charger
If your camper is in storage or the converter is broken, a portable smart charger is great.
Turn off all lights and fans.
Connect the red clip to the positive (+) post.
Connect the black clip to the negative (-) post.
Plug the charger into the wall and select your battery type.
Always unhook the black clip first when you are finished. A smart charger is better than an old "trickle" charger because it stops automatically when the battery is full.

Best Settings for Lithium vs. Lead-Acid
Lead-acid batteries need a "float" stage to stay full. Lithium batteries typically do not require a traditional float stage, though some systems may maintain a low standby voltage depending on the charger design. If your charger has a lithium button, use it to ensure the BMS stays happy.
How to Charge a Camper Battery While Driving
Driving time is a great chance to gain "free" energy. While your engine runs, the alternator generates extra power that can be sent back to your camper's battery system.
You can get a small charge through the standard 7-pin trailer plug. However, for a fast and full charge, especially with lithium, a dedicated DC-DC charger is the most effective tool.
How Alternator Charging Works (Factory Setup)
Most trucks have a 7-pin plug that provides a tiny bit of power. Because the wire is long and thin, the voltage drops by the time it reaches the camper. This means your battery may maintain its charge or charge slowly, but it often struggles to reach a full charge under typical conditions.
Why You Need a DC-DC Charger
A DC-DC charger acts like a middleman. It takes the low voltage coming from your truck and boosts it to the exact level your camper battery needs. This is the best way to charge a camper battery while driving because it works even if your vehicle has a "smart" alternator that likes to turn off to save gas.
Practical DC-DC Wiring Example
A common setup uses a 40A DC-DC charger. You run thick wires from the truck's starter battery to the charger inside the camper. You must install a fuse near both batteries to prevent fire hazards. The fuse should be sized based on the wire's ampacity (current-carrying capacity), not just the device rating. According to standard RV electrical design principles, the fuse rating should not exceed the wire’s safe current limit and is typically set at 80–125% of the expected load.
For example, if your system draws 40A continuously, a fuse rated around 50A may be appropriate, provided the wire can safely handle that current. Undersized wires can overheat and cause insulation failure or fire, especially in long cable runs.
Driving Time Estimates
If you have a 100Ah lithium battery that is half empty, in ideal conditions, a 40A DC-DC charger could recharge it in roughly 1.5–2 hours, though real-world charging often takes longer due to tapering in the final stage. Without this charger, the same battery might take all day to fill up using just the 7-pin plug.
How to Charge a Camper Battery Off-Grid
Camping without hookups is peaceful, but you have to bring your own power. You must rely on the sun or a fuel-powered engine to keep your electronics running.
Away from urban settings, you can use either a solar charging system for camper batteries or a generator.
Solar Charging: Panels and Controllers
A solar-powered battery charging system in an RV is the quietest way to keep your vehicle powered. However, you need both panels and a "controller" to regulate the electrical flow.
MPPT controllers perform better when sunlight varies or is weak, as they can extract more usable energy from the panels, while PWM controllers work well for smaller systems where efficiency is less critical .
A 200–400W solar charging system is usually enough for basic camper battery use under consistent sunlight conditions.
Generator Charging at Remote Campsites
On rainy days, a generator is often the best solution. You can plug your RV power cord directly into the generator, and the onboard converter will then charge the battery.
Make sure to respect your neighbors by running the generator during the day.
Combining Solar + DC-DC for True Off-Grid Independence
The most reliable off-grid setup uses both solar and alternator charging. You get power from the sun while you are parked and power from the truck while you are moving. This "hybrid" approach means you almost never have to plug into a wall.
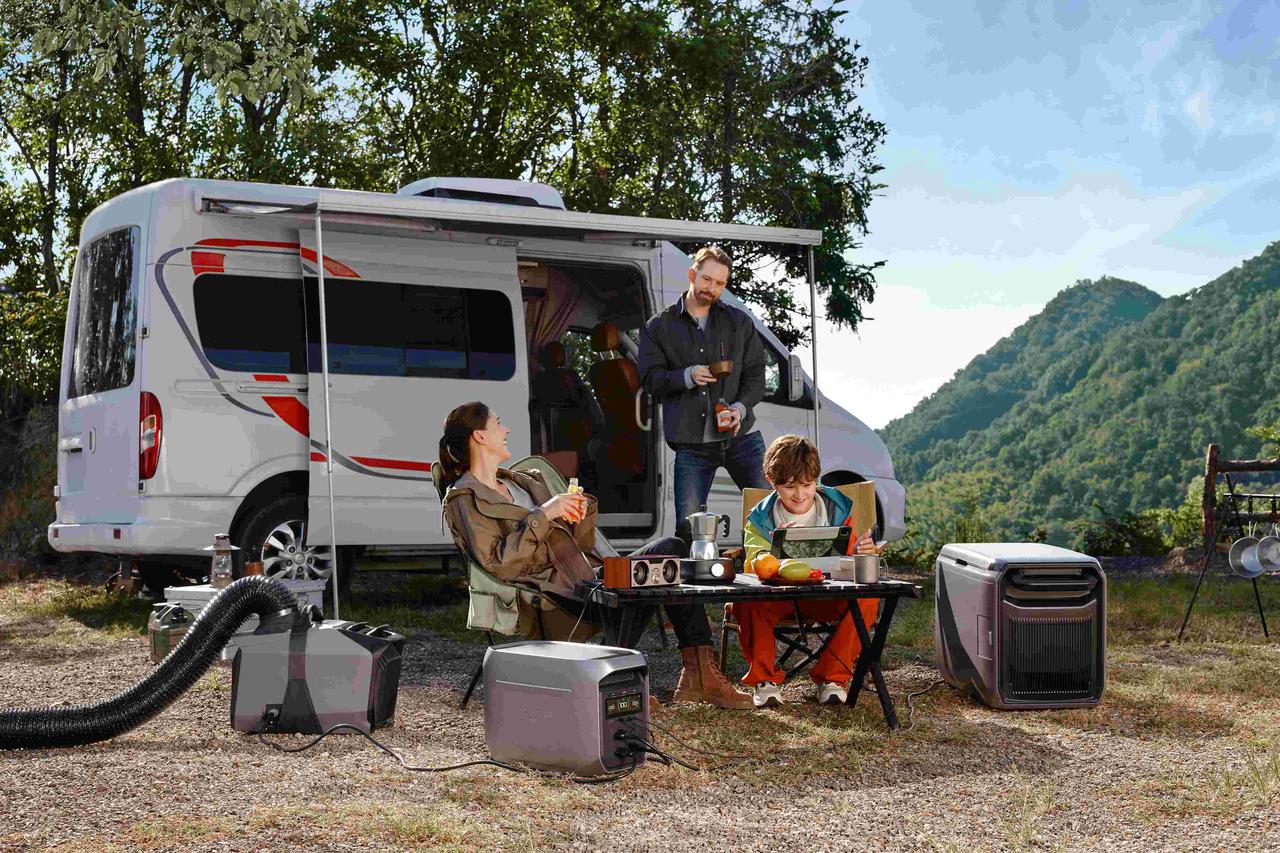
For a complete setup, a portable station like the EcoFlow DELTA 3 Max Plus with 2*220W solar panels is a great choice. It offers a 3000W output to run heavy appliances and charges to 80% in just 43 minutes. Its 2-10kWh expandable capacity ensures you stay powered for days.
How Long Does It Take to Charge?
Time is the biggest question most campers have. Understanding the math behind charging helps you manage your expectations and avoid running out of power in the middle of the night.
Key Factors
The size of your battery (measured in Amp-hours or Ah) determines the "tank" size. A bigger tank takes longer to fill. Lithium batteries charge much faster than lead-acid because they can accept more current without getting too hot.
Typical Time Ranges
Shore Power: 5 to 10 hours depending on the charger size.
DC-DC Charger: 2 to 4 hours for a typical setup.
Solar: 4 to 8 hours of good sunlight, depending on how many panels you have.
A simplified estimate is: Charging Time ≈ (Amp-hours needed ÷ Charger current) × 1.1–1.3
This estimate assumes:
85–90% charging efficiency
Reduced charging speed near full capacity (tapering phase)
For example:
A 100Ah battery needing 50Ah, charged at 25A:
→ (50 ÷ 25) × 1.2 ≈ 2.4 hours (real-world estimate)
Actual charging time varies based on battery chemistry, temperature, and charger behavior.
Why Won't My Camper Battery Hold a Charge Anymore?
Batteries eventually wear out, but certain habits make them fail faster. If your power dies shortly after charging, you need to find the root cause.
Common Causes
Deep Discharges: Draining lead-acid batteries too low causes sulfation, which permanently lowers their capacity.
Chronic Undercharging: Stopping the charge before it hits 100% prevents the battery from staying healthy.
Parasitic Loads: Small items like CO detectors, clocks, and circuit boards pull power even when everything is off.
Old Age: Lead-acid batteries usually last 3–5 years, while LiFePO4 can last 10 years or more.
How to Diagnose the Problem
Check Voltage: Use a multimeter on a resting battery. A fully charged lead-acid battery typically reads around 12.6–12.8V or higher at rest, depending on temperature and battery condition.
Load Testing: Have a shop test if the battery can handle a heavy power draw.
Visual Inspection: Look for swelling, cracked cases, or acid leaks.
When to Replace vs. Upgrade to Lithium
Replace your battery if it shows physical damage or fails a load test. If you switch to lithium, check your RV converter for a lithium setting. Adding a DC-DC charger or an MPPT solar controller helps you get the fastest charging speeds from your new lithium setup.
Safety Tips for Charging Camper Batteries
Charging electronics requires care to prevent fires or equipment damage. Follow these safety steps to keep your camper and your family safe.
Ventilation: Flooded lead-acid batteries release hydrogen gas during charging. Always keep them in a vented compartment to prevent gas buildup.
Fuse Placement: Install fuses on all positive cables as close to the battery as possible. Industry guidelines (based on NEC and RV wiring practices) recommend placing the fuse within 7 inches (18 cm) of the battery connection to minimize the length of unprotected cable. The fuse must be sized to protect the wire first, not just the device.
A common rule is: Fuse rating ≤ wire ampacity, and typically 100–125% of expected load current. This ensures the fuse blows before the wire overheats during a fault condition.
Cable Sizing: Use thick wires and tight connections. Undersized cables get hot and can start fires under heavy loads.
Cold Weather: Never charge lithium batteries if the temperature is below 0°C (32°F). Check that your BMS has a low-temp cut-off or use a battery with a built-in heater to avoid permanent damage.
Mastering Your Camper Battery Charging Setup
Keeping your camper battery full makes every trip more relaxing. By using solar, your truck's engine, or a wall outlet, you protect your battery and keep the lights on. Pick the method that fits your camping style to stay powered up without the stress.
For the ultimate backup, check out the EcoFlow DELTA 3 Max Plus with 2*220W solar panels combination. It powers heavy appliances easily and charges fast with solar, making it a great addition to any off-grid setup.
FAQs
Q1: Can I charge my car while parked?
You can, but it is rarely worth the effort. Idling your engine for long periods is hard on your vehicle and burns a lot of fuel for very little power. A dedicated DC-DC charger or solar setup is much more effective.
Q2: Do I need a special charger for lithium?
Yes, you do. Standard lead-acid chargers often lack the high voltage needed to top off lithium cells. More importantly, old-school chargers have a "desulfation" mode that sends high-voltage pulses, which can trigger the lithium battery's BMS to shut down entirely.
Q3: Is it okay to leave it plugged in all the time?
With a modern multi-stage smart converter, it is safe to stay plugged in. These devices drop to a low "float" voltage once the battery is full. Older campers use single-stage chargers that constantly push high voltage, which will eventually boil and ruin batteries.
Q4: How many solar panels do I need?
A 200W setup is usually enough to run lights, water pumps, and phone chargers. If you use an electric fridge or work on a laptop, 400W is better. This ensures you can still recover your power even on cloudy or short winter days.
Disclaimer: Safety & Technical Compliance
While this guide provides helpful tips for charging your camper battery, electrical work carries inherent risks of fire, explosion, or shock. Always prioritize safety by following the official guidelines from your battery manufacturer and the National Fire Protection Association (NFPA) 1192 Standard on Recreational Vehicles.
All electrical modifications should be performed according to local regulations. If you are unsure about wire sizing, fuse placement, or lithium compatibility, please consult a certified RV technician or a licensed electrician to ensure your system remains safe and reliable.
For press requests or interview opportunities, reach out to our media team
media.na@ecoflow.com