Step-by-Step Guide: How Do I Winterize an RV the Right Way
- Why Winterizing Your RV Matters: Prevent Leaks and Water Damage
- Prepare Your Winterization Kit: Tools and Materials You’ll Need
- Step-by-Step Draining and Bypassing
- Protect Tanks and Waste Lines
- Power Ready for Winter: Battery Care and Portable Power
- Frequently Asked Questions
- Winterizing an RV Prevents Damage, Protects Systems, and Ensures Cold-Weather Readiness
As the winter months roll around, it’s time to start thinking about how you can winterize your RV the right way. You don’t want to make the mistake of setting off during the cooler months unprepared and run the risk of burst pipes, tackling mould, or causing costly damage to your vehicle.
In this guide, we’re showing you how you can winterize your RV without having to call in the help of professionals. From fool-proofing your water system to battery power stations, we’ve got it all covered. Let’s jump in.
Why Winterizing Your RV Matters: Prevent Leaks and Water Damage
Winterizing your RV is a critical step in protecting both the internal and external structures. Skipping winter prep for your RV can have devastating consequences, including risks of leaks, water damage, and heater malfunctions. When the temperature begins to drop below freezing and water is left behind in pipes or tanks, you leave yourself victim to cracked plumbing, burst lines, and expensive repairs. Once it thaws out, you’re left with mould, mildew, and damp. Taking a few simple precautionary measures before your next winter camping trip could be the difference between you and a very costly repair bill. So, let’s get into what tools you’ll need to get started.
Prepare Your Winterization Kit: Tools and Materials You’ll Need
Before you get stuck into winterizing your RV, it’s time to gather up the necessary tools and materials to get the job done:
Antifreeze: Use an RV-specific antifreeze that’s propylene-glycol based. It replaces the water in your lines and works by staying in liquid form regardless of how cold it gets. The amount you’ll need will vary depending on the model type, but you should have 2-3 gallons worth.
A water heater bypass kit: Your bypass kit prevents the antifreeze from going into your heater.
Water pump convertor kit: To draw the antifreeze through the system.
Hand tools: Basic tools, including a screwdriver, wrench, and cordless power drill.
Bucket and towels: To clean up any spills or mess made along the way.
Step-by-Step Draining and Bypassing
Turn off the water heater: Switch off the water and make sure it’s cold before draining. If it’s still hot, you could end up burning yourself.
Drain freshwater holding tank: Open the valve and let the water fully drain.
Drain black and gray water tanks: Start by draining the black tank water first, followed by the gray one. You should never let wastewater sit in your RV for too long, as it can be a breeding ground for bacteria. These tanks should only be drained at an approved dumping facility.
Clean the black tank: You can use a wand cleaner and a special black tank cleaner of your choice.
Drain water heater: When the water is cool, use a socket wrench to open up the pressure release and let it drain. Remember to turn the water pressure back on again and allow water to flush out any leftover sediments.
Bypass the water heater: Some RVs have a bypass installed; if not, you’ll need to buy one. Using a drill, remove the water heater service door panel and adjust the valves to bypass the water heater.
Set up the water pump conversion kit: Open the valve and turn on the water pump to get the antifreeze flowing. Alternatively, you could attach a siphoning hose to draw the antifreeze into the system.
Open faucets and low-point drains: Start with the lowest valve and work your way up. Open low-point drain valves to allow the water to run out. Once you notice the water running pink—that’s the antifreeze making its way through the pipes—you can close the valves.
Protect Tanks and Waste Lines
Once you’ve finished draining your black and gray water tanks at an approved disposal site, give them a clean to get rid of any old residue or leftover waste. Pour a small amount—about a cup or so—of antifreeze into the tanks to protect the seals and valves from freezing over. You can go ahead and pour some down all of your drains, everything from the sink to the shower and toilet, to stop trapped water from freezing in the P-traps. Once everything has been treated with antifreeze, you can close and secure all of the valves. And just like that, you’ve done the most important part of winterizing your RV!

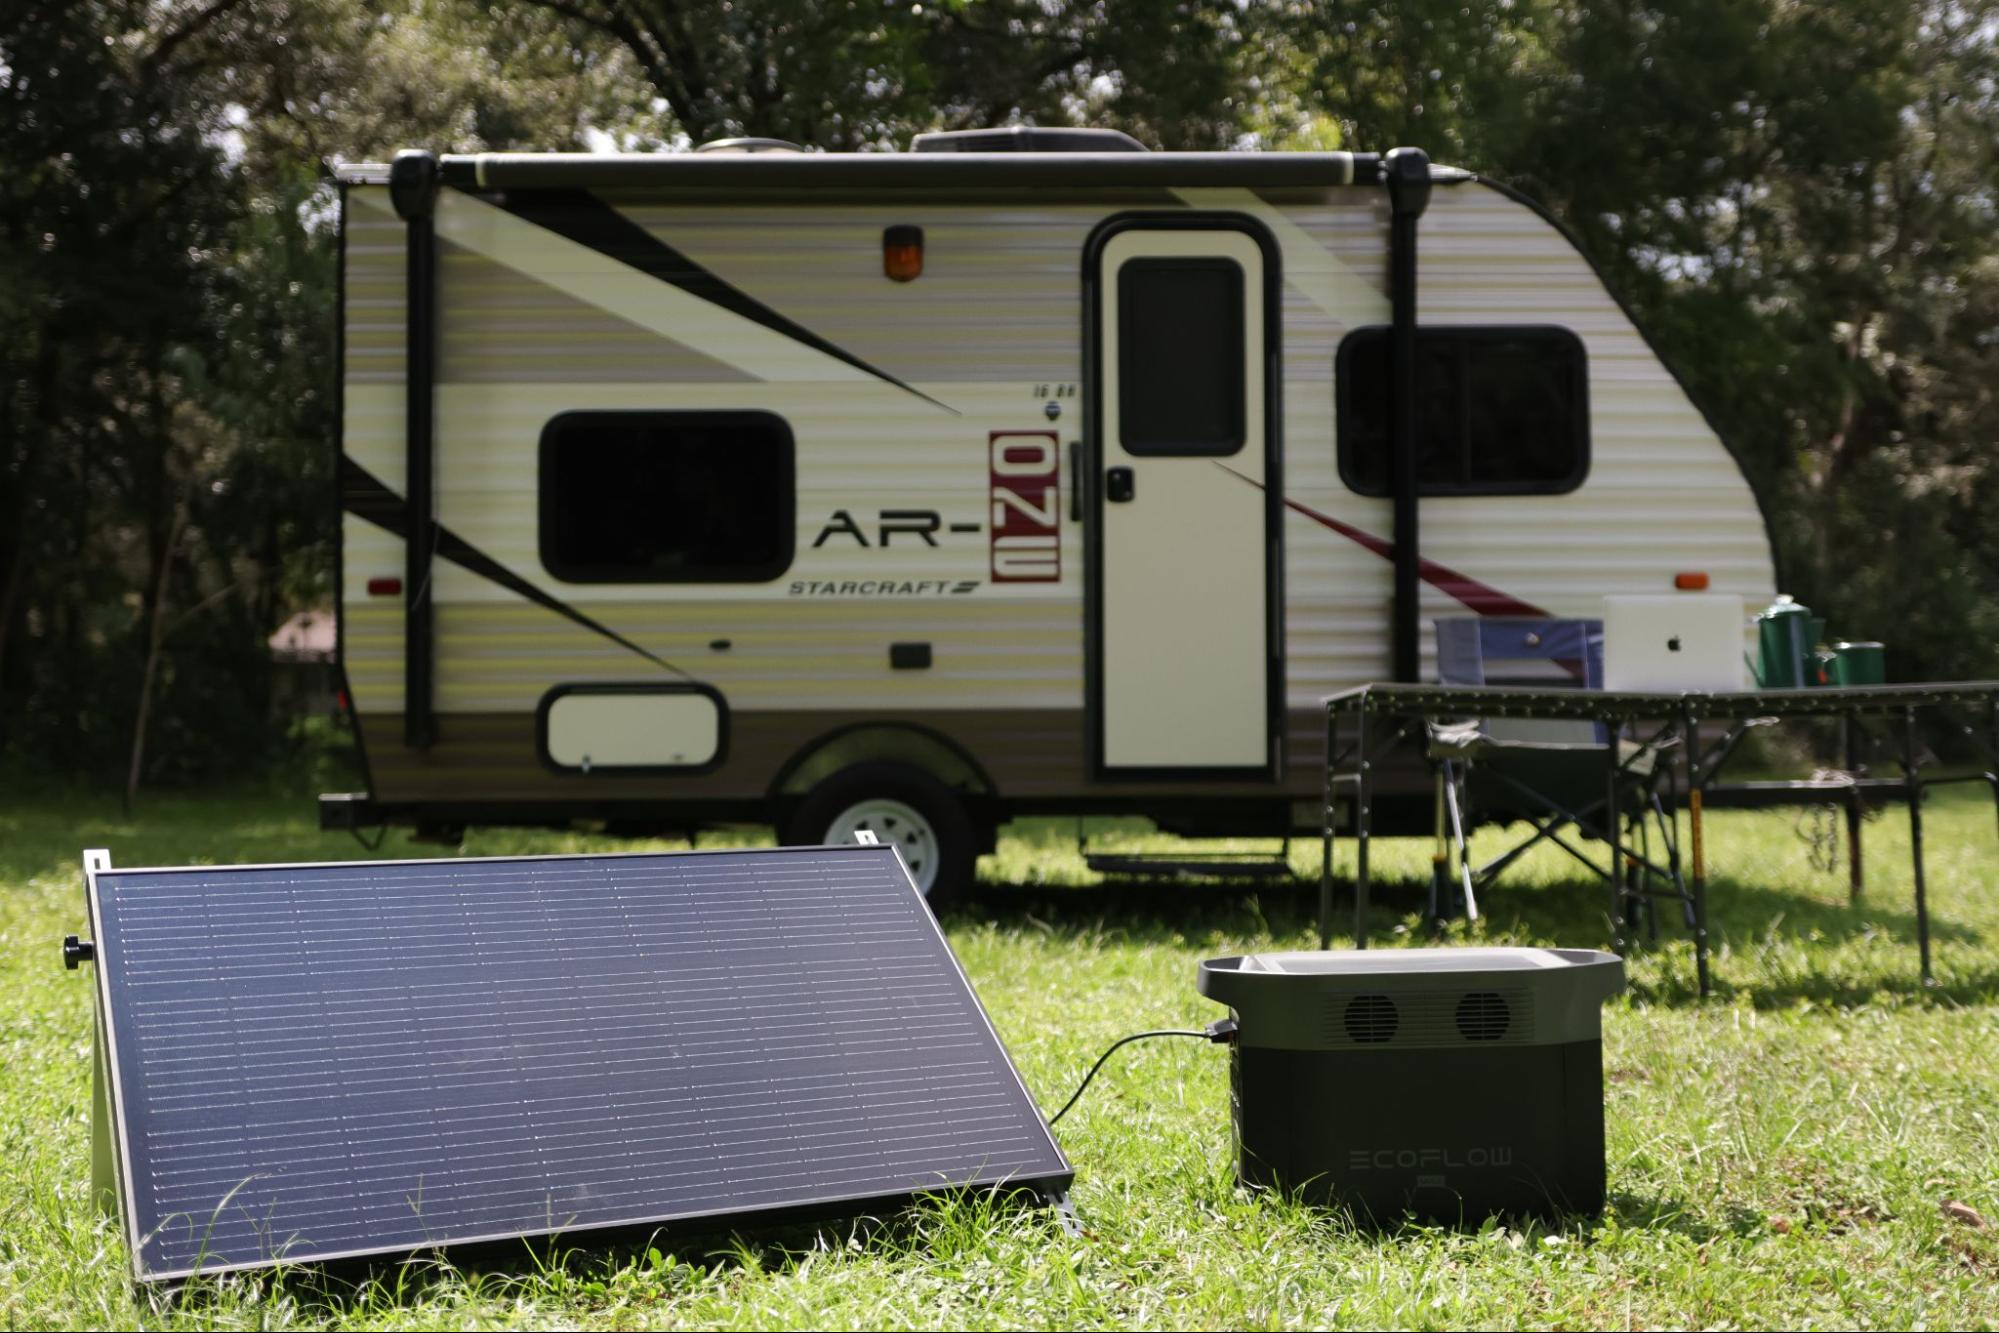
Power Ready for Winter: Battery Care and Portable Power
Harsh winter temperatures are your RV’s worst nightmare, and that’s especially true for your portable battery stations. Whether you’re storing your RV away for the cooler months or you’re taking it out on the road, it’s important to protect your RV’s batteries and portable power stations.
If you’re putting batteries into storage, make sure they’re fully charged and disconnected properly, always starting by disconnecting the negative cable first. Don’t store them on a concrete surface, as this can cause slow-draining, and you’ll end up with a dead battery when you next reach for it. If you have bigger battery systems in your RV, you can leave these installed, and remember to check up on them now and again to check their battery level and recharge if necessary.
If you want a reliable battery backup system for the winter, the EcoFlow DELTA 3 Max Plus can give you that extra flexibility and peace of mind to keep things running smoothly. With a 600W AC output and a 768Wh capacity, it can keep all of your essential devices powered on your next off-grid winter road trip.
Frequently Asked Questions
Should You Leave Faucets Open After Winterizing RV?
This depends on what method you’ve chosen. If you’ve used compressed air to clear the system, leave the faucets open to allow the moisture to escape and prevent a buildup of pressure during temperature changes. If you use anti-freeze, close the faucet to keep the anti-freeze where it needs to be and protect it from freezing over.
Is It Okay To Dump RV Antifreeze on the Ground?
No. Don’t ever dump it on the ground as it can cause harm to plants and contaminate the soil or surface it’s dumped on. Even if the RV-specific anti-freeze you use is non-toxic, you should always dispose of it correctly and avoid littering.
What Happens if I Skip Winterizing My RV?
If you skip winterizing your RV, you run the risk of doing damage to internal and external components of your RV, like bursting pipes or moisture that leads to bacterial growth. A lot of these damages aren’t covered by insurance and could be very costly repairs.
Winterizing an RV Prevents Damage, Protects Systems, and Ensures Cold-Weather Readiness
Living in an RV in winter is very doable if you follow the steps in this guide to prepare your van for the freezing temperatures. By taking these extra measures, you can maintain your RV and not lose sleep about finding a leak or burst pipe. So whether you’re prepping for a winter adventure or you’re putting it into storage for a couple of months, check out the EcoFlow DELTA 3 Max Plus to see how it can help you ride out the freezing temperatures with ease.