Sump Pump Installation: Costs, Steps, and Backup Power Options
If you’ve ever walked downstairs after a heavy rain and found water creeping across your basement floor, you already understand why sump pumps exist. For a lot of Canadian homeowners — especially those dealing with spring snowmelt, high water tables, or the kind of clay-heavy soil that holds moisture like a sponge — a sump pump isn’t really optional. It’s just part of owning a house.
This guide covers what installation actually costs in Canada, how the process works from start to finish, and what your options are when the power goes out during the exact storm you needed the pump to run.
What Is a Sump Pump and How Does It Work?
Before getting into installation, it helps to understand what you’re actually installing and why placement matters as much as it does.
How a Sump Pump Removes Water
The pump sits in a basin dug into the lowest point of your basement or crawl space. Groundwater and drainage from around your foundation collect in that basin. Once the water hits a certain level, a float switch kicks the pump on; it pulls the water in and pushes it out through a discharge pipe, and that water ends up somewhere safe outside, away from your foundation, not just relocated to your neighbour’s yard.
Pedestal vs. Submersible Sump Pumps
There are two main types, and the differences matter more than most people realize before they buy one.
| Feature | Pedestal Pump | Submersible Pump |
|---|---|---|
| Installation | Motor sits above the sump pit | Pump sits inside the sump pit |
| Noise | Easier to hear while running | Usually quieter |
| Maintenance | Motor is easier to reach | Pump must be lifted out for service |
| Space | Works with narrower pits | Needs room for the pump and float |
Pedestal pumps are easier to get at when something goes wrong, and they tend to cost less upfront. Submersible pumps run quieter and handle higher water volumes better — which matters a lot in basements that see serious water entry during a bad spring.
Signs You May Need a Sump Pump
The following signs may indicate that installing sump pump is necessary:
Water pools on the basement floor
Basement walls or floors stay damp even in dry weather
Musty smells, mold, or mildew keep coming back no matter how many times you clean
White mineral deposits show up on your concrete
Your neighbourhood sits on a high seasonal water table
Worth noting: if moisture is coming from cracked foundation walls, blocked eavestroughs, poor grading, or leaking pipes, a sump pump alone won’t fix it. Those problems need to be addressed at the source first.
How Much Does Sump Pump Installation Cost in Canada?
Once you’ve decided you need one, the next question is what it’s going to cost, and it really depends heavily on whether you already have a pit.
Average Installation Costs
Swapping out an old pump in an existing basin is a manageable job. Among the more extensive sump pump renovation ideas, adding a brand new system from scratch involves concrete cutting and proper drainage work.
| Project | Typical Planning Cost |
|---|---|
| Pump replacement in an existing basin | CAD $300–$1,200 |
| New sump pump installation | CAD $1,200–$3,500+ |
| New pit with concrete excavation | Local quote required |
| Battery backup system | CAD $400–$1,500+ |
These are merely estimates, not guarantees. Labour rates vary significantly between cities. A contractor handling sump pump installation in Toronto or the GTA charges differently than one in Moncton or Saskatoon. Basement access, local permit requirements, and how much concrete needs to come out all affect the final number.
Equipment, Labour, and Excavation Costs
The pump itself is usually the least expensive part of the whole job, although its size and sump pump wattage can affect the equipment and electrical requirements. What drives costs up is everything around it.
Installation costs typically include:
Pump, basin, lid, check valve, and high-water alarm
Concrete cutting and hauling away the debris
Discharge piping routed outside
Electrical work for a dedicated outlet
Permits and inspections where required
Replacing a pump in an existing basin generally requires much less labour than completing a new sump and pump installation with a connected drainage system. The scope of excavation, drainage and electrical work will affect both the installation time and total cost.
Permit, Inspection, and Insurance Costs
Permit requirements vary by municipality. Some jurisdictions in Canada require permits for sump pump installations, especially when they involve new plumbing connections or electrical circuits. Where the discharge pipe goes can also be regulated; many municipalities prohibit routing it into the sanitary sewer system. Check with your local building department before starting. Your home insurance policy may also have something to say about this — some require professional installation and separate coverage for sewer backup and overland flooding.
How to Install a Sump Pump Step by Step
With the budget figured out, here’s how the actual installation process works. It generally runs through six stages, from picking the spot to confirming the whole thing works.
Step 1: Choose the Location
The basin goes at the lowest point in the basement where it can intercept water from the foundation drainage system. You need enough clearance for maintenance, a nearby electrical source, and a clear path for the discharge pipe to exit the house.
Step 2: Excavate the Sump Pit
This means cutting through the concrete floor and removing enough soil to seat the basin properly, without disturbing footings or any underground services. A gravel or aggregate base usually goes in first to keep the basin stable. All loose soil and concrete dust need to come out as debris in the pit clogs pumps faster than anything else.
Step 3: Install the Basin and Pump
Set the basin level on the gravel base and fill the space around it as required. Place the pump inside the basin, making sure the float switch can move freely without touching the basin wall, pump, or discharge pipe. Fit the lid securely while leaving access for inspection and maintenance.
Step 4: Connect the Discharge Pipe
Connect the discharge pipe to the pump and install a check valve to prevent water from flowing back into the basin after each cycle. Route the pipe outside and discharge the water a safe distance from the foundation, following local requirements. In colder parts of Canada, the outdoor section should also be designed to reduce the risk of freezing and blockage.
Step 5: Connect the Power
The pump needs a properly grounded outlet on a circuit that meets local electrical code. If you plan to use power stations for backup, check the pump’s running and startup wattage first. If a new circuit or transfer switch is required, that work needs to be done by a licensed electrician.
Step 6: Test the System
Pour water into the basin until the float kicks the pump on. Watch it drain, confirm it shuts off at the right level, check every pipe connection for leaks, and test any alarm or backup system you’ve installed. Don’t skip this step. You want to find problems now, not during a storm at 2 AM.
How Do You Maintain a Sump Pump After Installation?
Getting it installed properly is step one. Keeping it working over the long haul takes a bit of ongoing attention, especially before the seasons that actually stress it.
Test the Pump Seasonally
Before spring melt and before the heavy fall rains, pour water into the basin and make sure the pump fires up, drains steadily, and shuts off when it should. A pump that hums without moving water, or one that cycles on and off every few seconds, is telling you something’s wrong.
Clean the Pump System
Cut the power, pull any sediment out of the basin, and check the intake screen, float, check valve, and discharge pipe for debris or blockage. Outside, clear away snow, leaves, and anything else that might have worked its way near the discharge outlet over the winter.
Check the Backup System
Disconnect the main power and confirm the backup kicks in. If you use a sump pump battery backup, check the charge, look at the cable connections, and make sure the automatic switching actually works. Keep any portable backup equipment above your flood line — storing it on the floor beside the pump defeats the purpose.
Replace the Pump When Needed
Seven to ten years is a reasonable lifespan for most residential sump pumps under normal conditions. Heavy use, sediment, and the kind of hard work a Canadian spring puts a pump through can shorten that. Grinding noises, weak flow, visible corrosion, or electrical problems are signs it’s time to swap it out before it fails during a storm.


What Backup Power Options Can Keep a Sump Pump Running?
This is where a lot of homeowners get caught off guard. The worst storms are almost always the ones that knock out the power — and those are exactly the moments your sump pump needs to run most.
Battery Backup Sump Pump Systems
Unlike portable power stations, a dedicated battery backup system adds a second pump connected to its own battery. When the primary pump loses power or gets overwhelmed, the backup takes over. This setup gives you both electrical redundancy and mechanical redundancy, which matters in a serious flooding situation.
Portable Power for Short-Term Outages
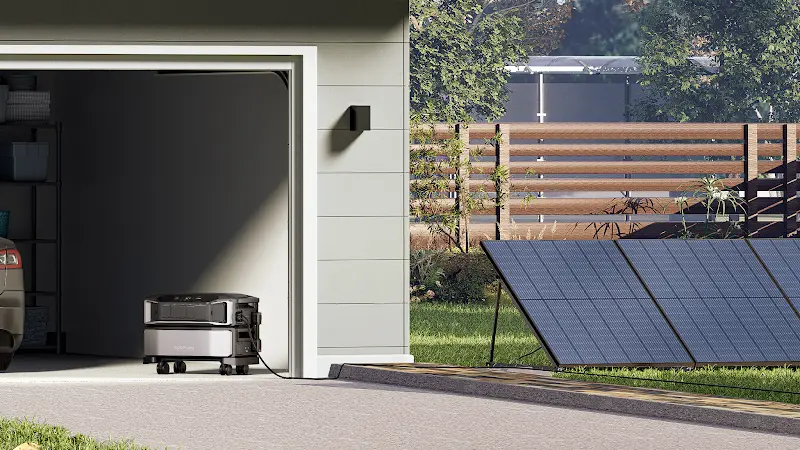
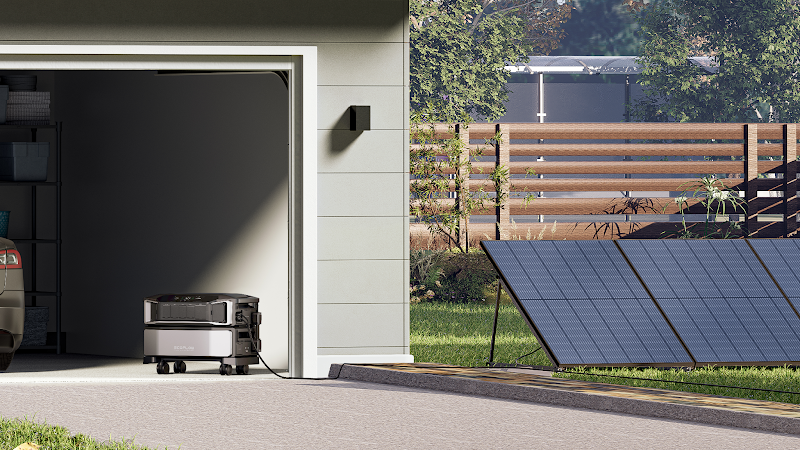
For homeowners who mainly want coverage during shorter outages — the kind that last a few hours rather than a few days — the EcoFlow DELTA 3 Max Plus Portable Power Station (2048Wh) is a practical option. It’s compact enough to fit in a tight basement without taking over the space, and it doesn’t require much setup. If you want better drainage protection without a complicated installation, this kind of portable power station fills that gap.
Large-Capacity Power for Extended Outages
Homes with higher water-entry risk, or properties that sit in areas prone to prolonged outages during major weather events, need more capacity. The EcoFlow DELTA Pro Ultra Whole-Home Backup Power offers expandable battery storage that can run a pump through a multi-day outage and still have capacity left over for a high-water alarm, basement lighting, or a refrigerator upstairs.
How to Calculate Backup Runtime
If you want a rough estimate of how long your backup will last, here’s the math:
Duty cycle = Pump Running Time / Total Cycle Time
Estimated Runtime (hours) = (Battery Capacity (Wh) × Usable Efficiency) / (Pump Running Power (W) × Duty Cycle)
Say your pump runs for 30 seconds out of every 5-minute cycle:
Duty cycle = 30 / 300 = 0.10
With a 2,048 Wh battery, 85% usable efficiency, an 800W pump, and that 10% duty cycle:
Estimated Runtime (hours) = (2,048 × 0.85) / (800 × 0.10) = 21.76 hours
Keep in mind this is theoretical. How often your pump actually runs during a storm, inverter losses, battery condition, cold temperatures (which reduce battery performance meaningfully in a Canadian winter), and anything else drawing power from the same unit will all affect real-world runtime.
Conclusion
A sump pump that actually works when you need it — during a spring flood, a heavy overnight rain, or a power outage that hits at the worst possible time — comes down to proper installation, seasonal upkeep, and having a backup plan that isn’t just hoping the power stays on. A dedicated battery backup pump adds mechanical redundancy. Portable power handles shorter outages without much fuss. An expandable system makes more sense for homes with serious water exposure or extended outage risk. Figure out which category your home falls into before you’re standing in two inches of water making that decision in a hurry.
FAQ
What Are Common Sump Pump Installation Mistakes?
The most frequent errors involve the float switch, the check valve, and the discharge pipe. A float that cannot move freely will not activate the pump reliably. A missing or improperly installed check valve allows water to fall back into the basin after each cycle, causing the pump to work harder and cycle more often. A discharge line that is too narrow restricts flow, and one that discharges too close to the foundation simply returns water to where it started. Oversizing the pump is another common issue. A pump that is more powerful than the pit calls for will short-cycle and wear out faster than a correctly matched unit.
How Long Does Sump Pump Installation Take?
Replacing an existing pump in an existing basin generally takes two to four hours. A new installation involving concrete cutting, excavation, drainage connections, electrical work, and any required inspections may take a full day or longer, depending on the complexity of the basement and the extent of the work.
Should a Plumber Install a Sump Pump?
For anything beyond swapping out an existing pump, yes. A plumber or waterproofing contractor should handle new pit installations and discharge connections. If the job requires a dedicated electrical circuit, a transfer switch, or any changes to your panel, a licensed electrician needs to be involved. In many Canadian municipalities, this isn’t optional; it’s what the permit requires.
How Deep Should a Sump Pump Be Placed?
It depends on your foundation drainage design and local building code. Some Canadian applications call for a minimum pit depth of 750 mm, but that varies by municipality. The basin needs to be deep enough for the float switch to operate properly. Confirm the local requirement before any excavation starts.
How Many Years Does a Sump Pump Usually Last?
Most residential pumps last seven to ten years. Frequent cycling, sediment buildup, poor installation, and skipped maintenance all shorten that window. Grinding noises, reduced discharge flow, visible corrosion, and recurring electrical issues are signals that a replacement should be planned before the pump fails outright, ideally before the next demanding season.