Golden Hour Photography: A Complete Guide
Golden hour photography works because low-angle sunlight creates soft contrast, warm color, long shadows, and dimensional faces. The best results come from planning the exact light window, choosing a subject that benefits from warm direction, and controlling exposure before the sky changes.
What Is Golden Hour Photography?
Golden hour photography is outdoor photography made shortly after sunrise or shortly before sunset, when the sun sits low and travels through more atmosphere. That path softens direct light, lowers harsh overhead shadows, and shifts color toward amber, peach, and gold.
The phrase is practical, not exact. The useful window may last 20 minutes in some locations and more than an hour in others. Latitude, elevation, season, cloud cover, wildfire smoke, nearby buildings, and mountain horizons all change the timing.
Some searchers call it golden hours photography, but photographers usually use the singular phrase because the effect is tied to one changing light window. The important point is the quality of light, not a fixed number of minutes.
Golden light flatters skin, adds texture to landscapes, and separates subjects from backgrounds. It also moves quickly, so decisions must happen before the best color arrives.
When Is Golden Hour Best?
Golden hour is best when the subject needs shape, warmth, or mood rather than clinical detail. Portraits, weddings, travel scenes, cars, food outdoors, architecture, pets, and landscapes all benefit from side light and warm backlight.
Sunrise Gives Cleaner Scenes
Sunrise often provides calmer wind, fewer people, cleaner streets, and cooler colors before the sun warms the scene. It is strong for city views, lakes, mountain overlooks, and quiet portraits. The tradeoff is preparation. Batteries, routes, clothing, and camera settings must be ready before dawn.
Sunset Gives Stronger Color
Sunset often produces richer color because daytime particles, humidity, and clouds can scatter light dramatically. It is easier for families, couples, and commercial shoots because people are awake and styled. The tradeoff is crowds and less control over popular viewpoints.
Weather Can Improve Results
Thin clouds can soften the sun into a giant diffuser. Broken clouds can catch color after the sun drops. Heavy cloud can erase the effect completely. Check cloud height and horizon visibility, not just the chance of rain.
Golden hour photography is most reliable when you treat timing as a location-specific calculation. Arrive early, watch how shadows move, and build the shot before peak color.
How Do You Control Exposure?
Expose for the subject first, then decide how much sky detail matters. During golden hour, cameras often underexpose faces when a bright sky sits behind the subject, or overexpose the sky when the subject fills the frame.
Situation | Best Setting Choice | Why It Works |
Backlit portrait | Spot meter face or add exposure compensation | Prevents the face from becoming a silhouette |
Landscape with bright sky | Bracket exposures | Protects sky detail and foreground texture |
Fast moving subject | Use shutter priority or manual shutter | Prevents motion blur as light drops |
Warm skin tone | Set white balance manually | Keeps color consistent across the series |
Strong flare | Use lens hood or shift angle | Preserves contrast and focus |
Shoot RAW when possible because golden light changes quickly and can confuse automatic white balance. RAW files allow better recovery of highlights, shadows, and color temperature during editing.
Use histogram checks instead of judging only by the rear screen. A beautiful warm preview can hide clipped highlights, especially around the sun, water, pale clothing, and reflective buildings.
Exposure control turns pretty light into usable files. Without it, the best sky of the day can still produce flat faces or unrecoverable highlights.
Which Composition Choices Work?
The strongest golden hour compositions use light direction as part of the subject. Do not just place a subject in warm light. Decide whether the sun should reveal texture, create rim light, cast shadows, or sit outside the frame.
Use side light for texture on landscapes, stone, wood, fabric, and faces.
Use backlight for hair glow, translucent leaves, steam, dust, or water spray.
Put the sun behind a tree, building, hat, or shoulder to reduce flare.
Let long shadows lead the eye toward the subject.
Include foreground shapes to add depth.
Keep backgrounds simple because warm light can make every object compete.
For portraits, keep the face turned slightly toward the brightest open sky, not always toward the sun. This creates softer catchlights and avoids squinting. For landscapes, wait until side light touches the subject rather than photographing the whole view at once.
Golden hour photography rewards patience. A five-degree change in angle can move the image from ordinary warm color to layered light.
What Should You Pack?
Pack for speed, stability, and changing conditions. The light will not wait while you search for a cable, clean a lens, or change a dead battery.
Camera body with clean sensor and formatted cards
Lens cloth and blower
Fast prime or stabilized zoom lens
Tripod for landscapes and low light scenes
Reflector for portraits
Small LED only for emergency fill
Weather layer and comfortable shoes
Power bank or portable station for longer field sessions
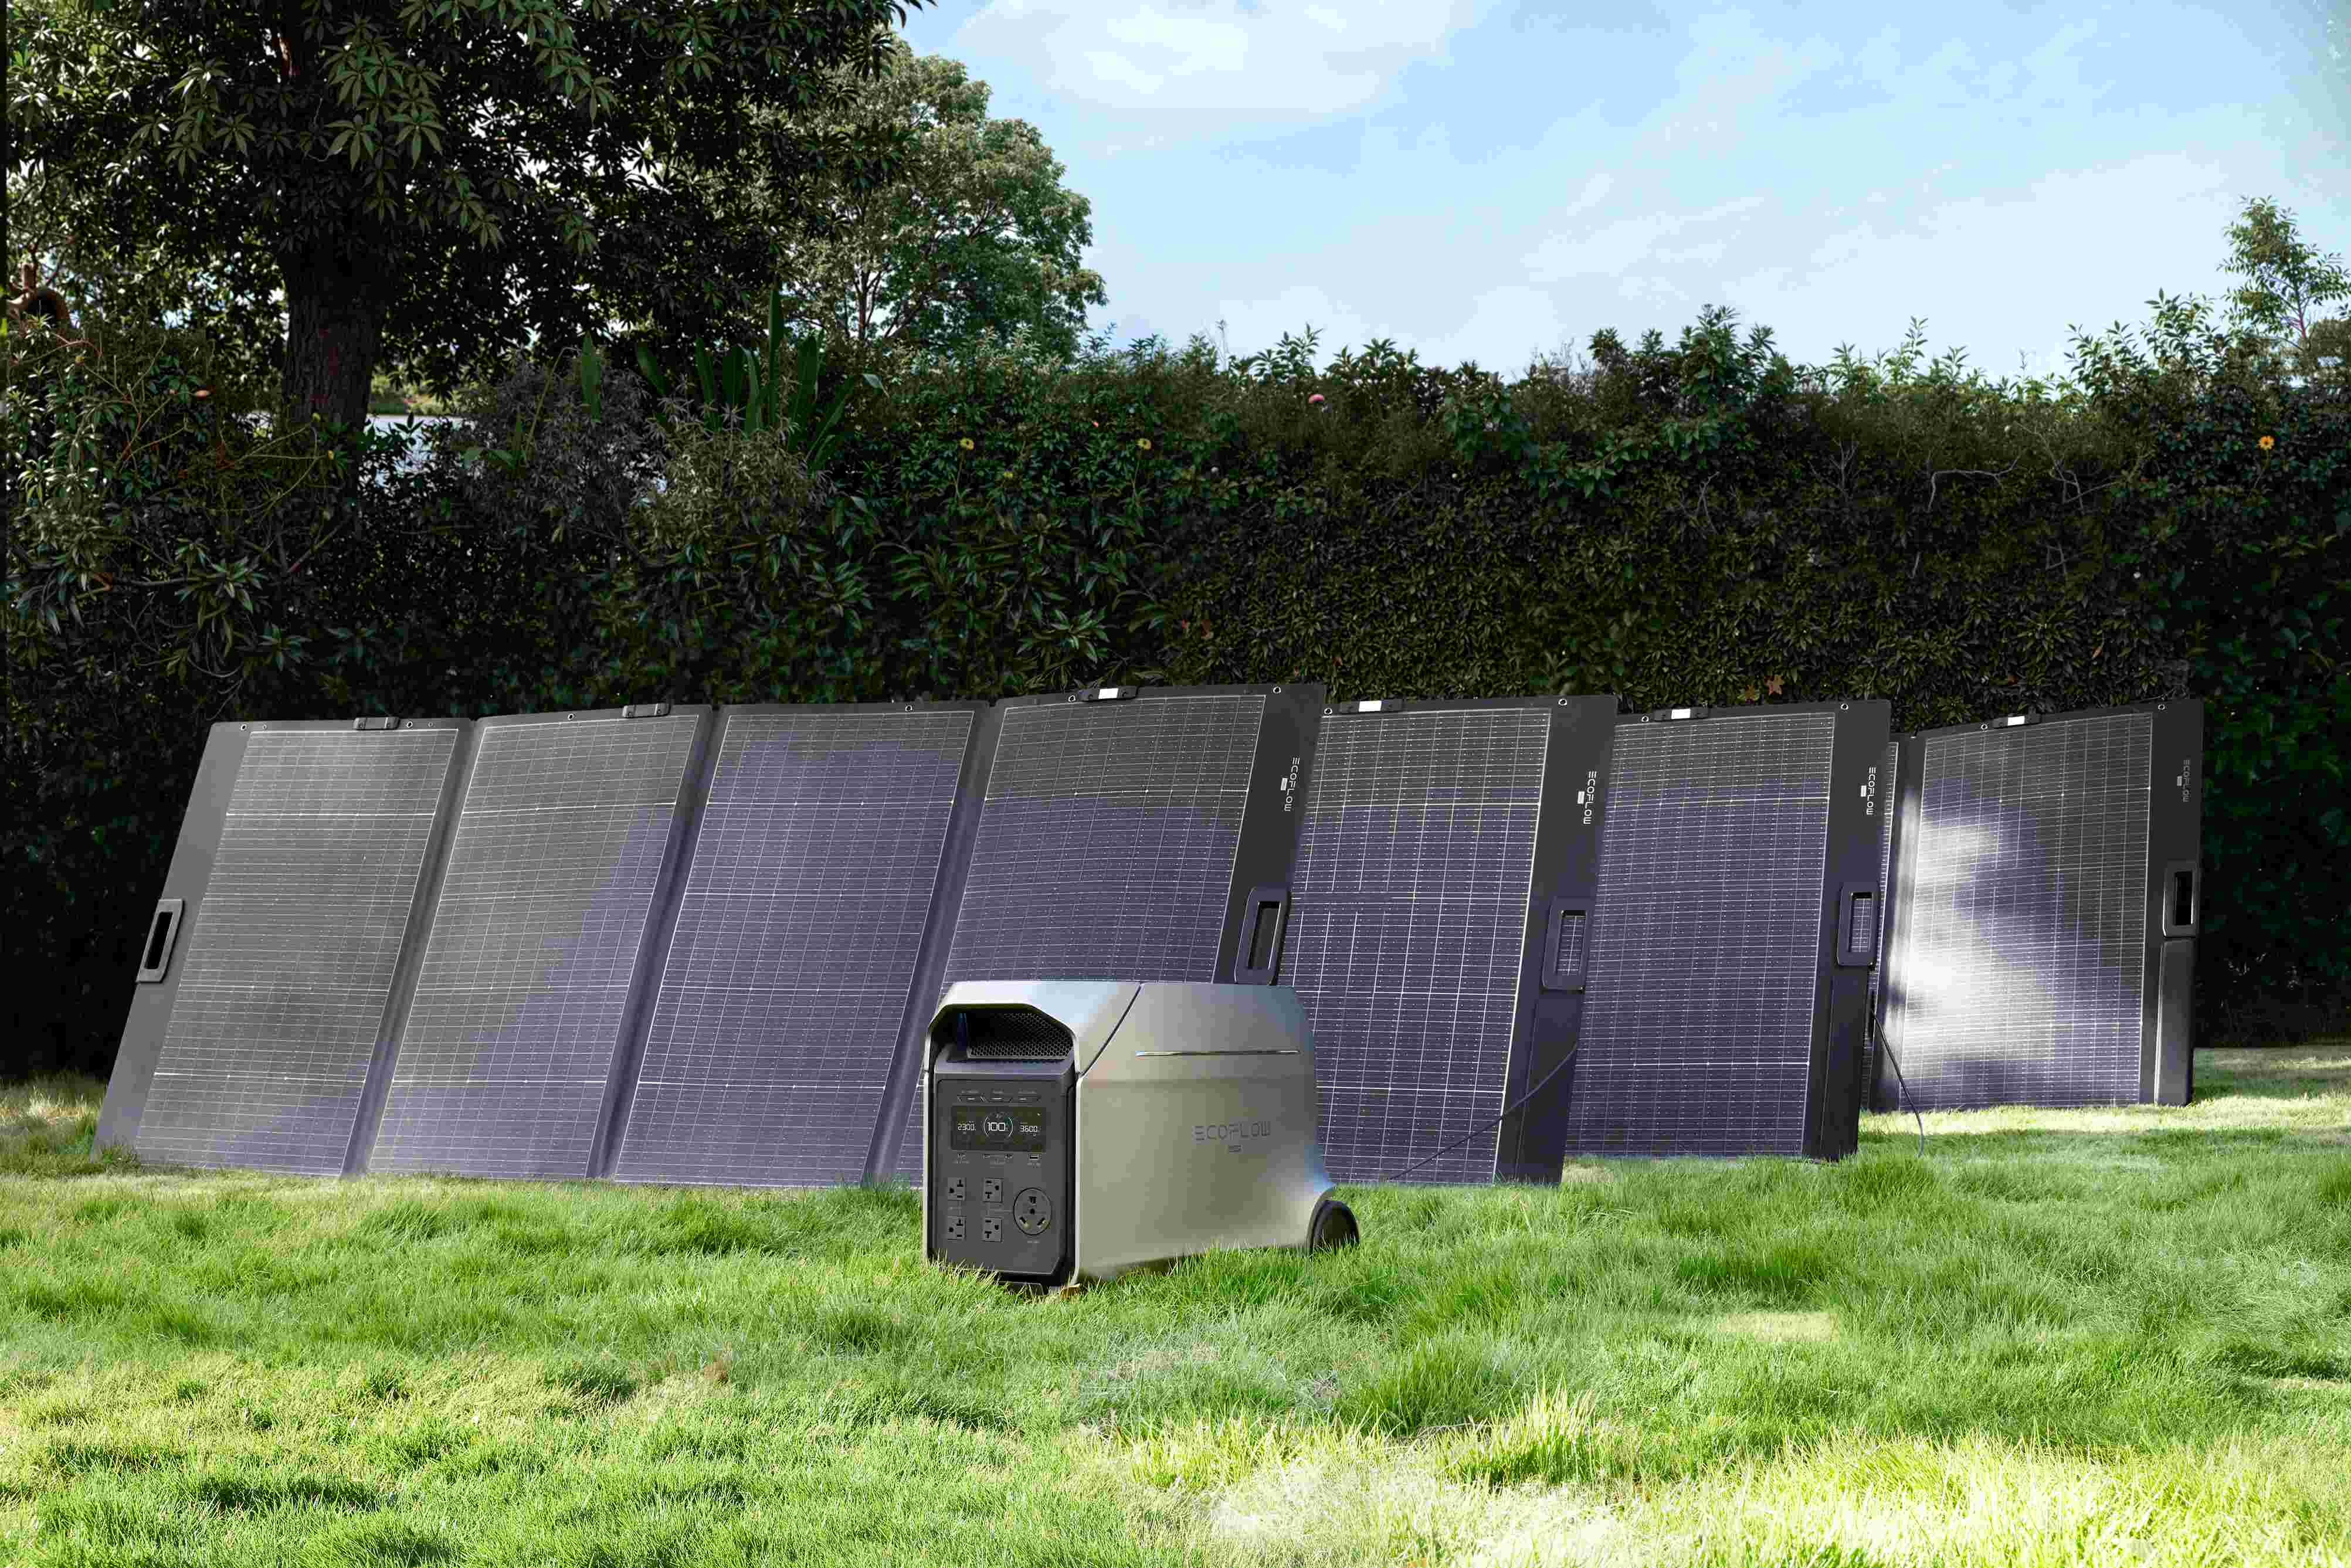
For long outdoor shoots in Canada, the EcoFlow DELTA 3 Ultra Plus with a 400W Solar Panel suits crews that need quiet field power. It boasts 3072 Wh capacity, 3600W rated output, 7200W surge, 3 to 11 kWh scalability, six charging methods, 48-minute fast charging under optimal conditions, LFP cells, BMS protection, and quiet 25 dB operation.
Gear should support the shoot rather than slow it down. The best kit is the one you can carry, set up, and operate before the light peaks.
Take Better Golden Hour Photos
Golden hour photography is a timing and exposure discipline. Plan the location, arrive early, choose the light direction, protect highlights, and keep gear simple. Warm color is only the starting point. Shape, shadow, subject placement, and fast decisions create the final image.
FAQs
Q1. What Is Golden Hour Photography?
Golden hour photography is photography made near sunrise or sunset when sunlight is low, warm, and softer than midday light. The effect improves portraits, landscapes, and travel images because it creates gentle contrast, longer shadows, and richer color. The exact timing depends on location, season, terrain, weather, and camera choices.
Q2. Is Morning or Evening Better for Golden Hour Photography?
Morning is better for quiet locations, clean air, calm water, and fewer people. Evening is better for warmer colors, easier scheduling, and more dramatic clouds. Neither is always superior. Choose morning when control matters, and choose evening when atmosphere, social timing, or sunset color matters more for most outdoor subjects.
Q3. How Long Does Golden Hour Last in Canada?
In Canada, golden hour length changes a lot by latitude and season. Northern locations can have long, low-light periods during parts of the year, while southern cities may have a shorter usable window. Use a sun tracking app, then arrive 30 to 45 minutes early to test framing and exposure.
Q4. What Camera Settings Work Best for Golden Hour?
Use RAW format, a low ISO when possible, and aperture based on the subject. Portraits often work well with wider apertures, while landscapes need smaller apertures and a tripod. Watch the histogram, expose for important highlights, and adjust white balance manually if color consistency matters as light changes quickly outdoors.
Q5. Why Do My Golden Hour Photos Look Too Orange?
Photos look too orange when white balance is too warm, the scene contains reflective warm surfaces, or editing pushes saturation too far. Set a fixed Kelvin value, reduce orange saturation slightly, and protect skin tones. Keep some natural warmth, but do not let color overpower texture and subject detail overall.
Q6. Can Phone Cameras Capture Golden Hour Well?
Yes, modern phones can capture golden hour well if you control exposure. Tap and hold on the subject, reduce exposure slightly when the sky is bright, clean the lens, and avoid heavy digital zoom. Use portrait mode carefully because backlit hair and complex edges can confuse depth processing whenever possible.
Disclaimer
Outdoor photography conditions can change quickly. Check local weather, daylight, smoke, and UV conditions through Canadian UV Index before planning long shoots.
This article is general creative guidance, not health or safety advice. Protect skin and eyes during long outdoor sessions, and review Health Canada Sun Safety for current public health guidance.