RV Battery Charging on the Go: A Practical Guide for Road Trips
Reliable power is key to enjoying your RV trips, whether for running essentials or venturing off-grid. This guide helps simplify RV power management, covering key aspects of camper battery charge techniques and system understanding for your road trips. We'll go over your RV's electrical basics, different ways to charge your batteries (both while driving and when parked), and share tips to help your batteries last longer. The idea is to give you practical know-how so you can manage your power easily and concentrate on your adventures.
RV Electrical Basics: Batteries and Systems
There two major battery systems in your RV. Like in a car, the engine starts from the chassis, sometimes known as the engine battery. We will be concentrating on the house (or coach) batteries, which run everything in your living space including lights, water pump, refrigerator, and other appliances.
2 Types of House Batteries
There are a few common types of house batteries you'll encounter:
1. Lead-Acid Batteries:
Lead-acid batteries are a common, traditional option that usually cost less upfront. They come in a few varieties: flooded (or wet cell) batteries require regular maintenance like adding distilled water. Sealed lead-acid types, such as AGM (Absorbent Glass Mat) which are good at handling road vibrations, and Gel batteries, which perform well in temperature extremes but tend to charge more slowly, are maintenance-free. The main advantages of lead-acid are their lower initial cost, but they are heavier, have a shorter lifespan, offer less usable energy (it's generally recommended not to discharge them below 50% of their capacity), and the flooded versions need consistent upkeep.
2. Lithium-Ion (LiFePO4) Batteries:
Lithium-ion batteries, specifically LiFePO4 (Lithium Iron Phosphate), represent a newer technology. While their initial cost is higher, they provide considerable advantages: they are much lighter, last significantly longer with more charge cycles, allow for deeper discharging (80-100% of their capacity is usable), charge faster, and often come with a built-in Battery Management System (BMS) for protection against issues like over or undercharging.
5 Key Battery Terms to Know
Voltage (V): Most RV house battery systems are 12-volt (12V).
Capacity (Amp-hours - Ah): This tells you how much energy the battery can store. A higher Ah rating means more storage.
Depth of Discharge (DoD): The percentage of battery capacity that has been used. For example, discharging a 100Ah battery by 50Ah means a 50% DoD.
State of Charge (SoC): How full the battery is, usually expressed as a percentage.
Charging Stages: Most smart chargers use multiple stages (like Bulk, Absorption, and Float) to charge batteries efficiently and safely, which helps them last longer.
Built-in RV Charging Components
Your RV likely has a couple of important electrical components:
- Converter/Charger: When you plug your RV into shore power (like at a campground) or run a generator, this device converts that AC power to DC power to run your 12V appliances and charge your house batteries.
- Inverter (if equipped): This does the opposite of a converter. It takes 12V DC power from your house batteries and changes it into 120V AC power, so you can use household appliances that need a standard wall outlet.
Camper Battery Charge While Driving
One of the most convenient ways to maintain a good camper battery charge is while your RV's engine is running. The same alternator that charges your chassis battery can also send power to your house batteries.
How it Usually Works:
A device called a battery isolator or separator is often used. Its job is to connect the house batteries to the alternator once the engine is running and the chassis battery is sufficiently charged. It also prevents your house appliances from draining the chassis battery when the engine is off, so you can always start your RV.
A Better Option: DC-to-DC Chargers:
For more efficient and healthier charging, especially if you have lithium house batteries or a newer vehicle with a "smart" alternator (which varies its output), a DC-to-DC charger is highly recommended. These devices take the power from the alternator and optimize it for your specific house battery type, providing a proper multi-stage charge. They also overcome voltage drop if the wires from your alternator to your house batteries are long, ensuring the batteries get the correct charging voltage.
Charging from your alternator is great because the power is "free" while you're driving. However, with just a basic isolator, the charging can be slow and might not fully top off your batteries, especially if they are deeply discharged. And, of course, this method only works when the engine is running.
Camper Battery Charge When Parked (Off-Grid)
When you're boondocking or camped without hookups, you'll need other reliable methods for camper battery charge.
Solar Power Systems
Solar panels convert sunlight into DC electricity to charge your batteries.
2 Key Parts:
Solar Panels: Can be monocrystalline (often more efficient) or polycrystalline. They can be mounted on your RV roof or be portable (suitcase-style).
Solar Charge Controller: This manages the power from the panels to the batteries, preventing overcharging. MPPT controllers are generally more efficient than PWM types, especially in cooler weather or when battery voltage is low.
Pros: Quiet, no fuel costs (after initial setup), environmentally friendly, low maintenance.
Cons: Depends on sunshine, initial cost can be high, roof space can be a limitation for panel size, and portable units need to be secured.
Generator Power
Generators burn fuel (gasoline, propane, or diesel) to create AC power. Your RV's converter/charger then uses this AC power to charge your house batteries.
2 Types:
Onboard (Built-in): Integrated into the RV.
Portable: A separate unit you carry. Inverter generators are best because they produce "cleaner" power suitable for sensitive electronics and are usually quieter.
Pros: Reliable power in any weather, can run high-power AC appliances directly, and charge batteries relatively quickly.
Cons: Can be noisy, require fuel, produce exhaust fumes, need regular maintenance, and their use might be restricted in some campgrounds or at certain times.
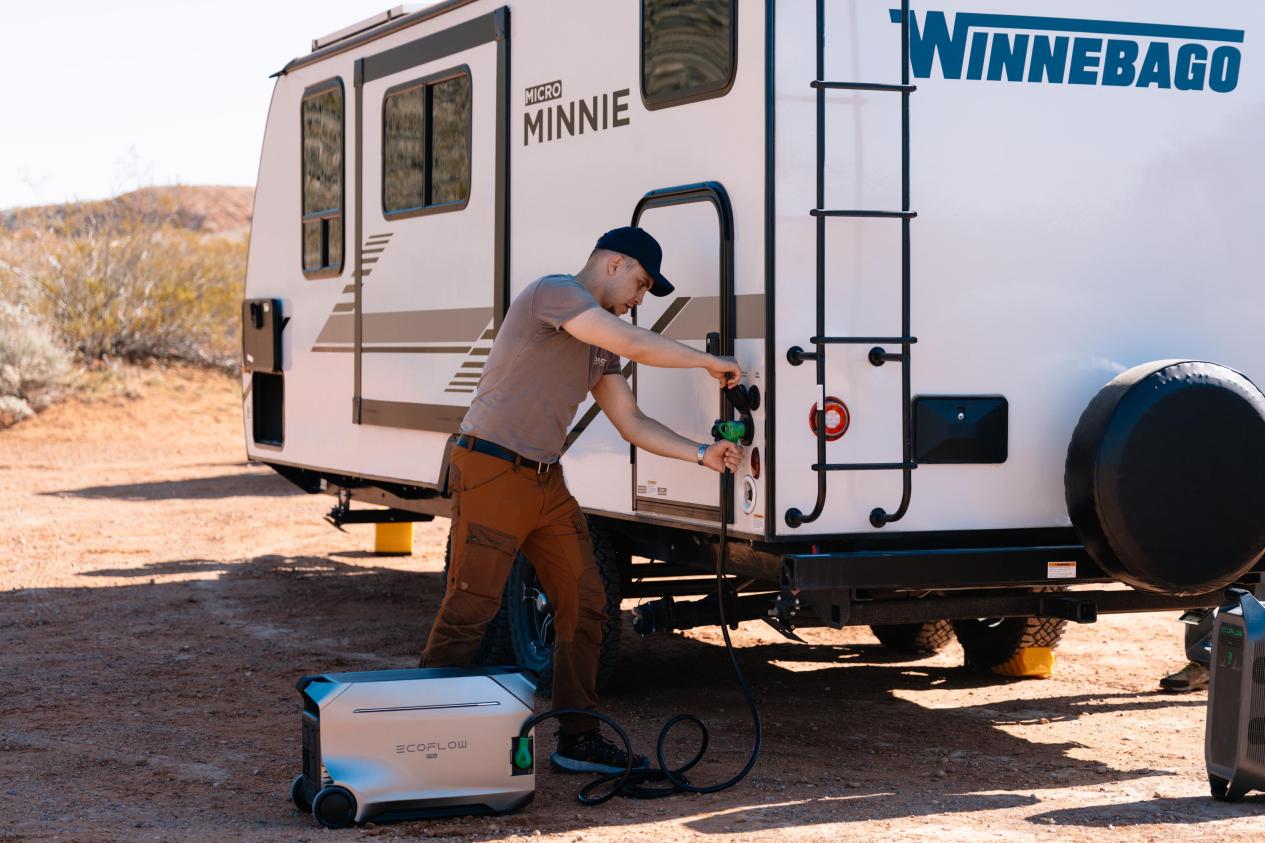
Shore Power (When You Can Find It)
If you're at a campground with hookups or can plug into an outlet at a friend's house (using the correct adapters, like a 30-amp to 15-amp "dogbone"), this is the simplest way to fully charge your batteries. Your RV's converter/charger will do the work. This is often the best way to get a deep, complete charge.
For added flexibility when off-grid, beyond your main house battery system, many RVers also use a portable power station. These can run smaller devices, are easily transportable, and can often be recharged with their own solar panels or from your RV's 12V outlets.
How to Optimize Charging and Extending Battery Life
Making your batteries last longer isn't just about how you charge them; it's also about how you use them and monitor them.
Monitor Your System Accurately
Knowing your battery's state of charge (SoC) is crucial. A shunt-based monitor offers the most precise SoC percentage by tracking actual energy flow, like a fuel gauge. Basic voltmeters provide only a rough estimate, as voltage readings fluctuate with load and temperature, making them less reliable, especially for lithium batteries.
Conserve Power Effectively
Use less power to significantly extend battery life between charges. Key practices include switching to LED lighting, choosing energy-efficient appliances, unplugging devices that draw "phantom loads" when off (like TVs or microwave clocks), and using 12V DC appliances directly whenever possible to avoid energy loss from an inverter.
Adopt Proper Charging Habits
Recharge lead-acid batteries promptly after use to prevent sulfation, which reduces capacity and lifespan. Avoid consistent overcharging by using a quality, multi-stage charger. Critically, always match charger settings to your specific battery type (e.g., AGM, Gel, Flooded, or Lithium), as incorrect profiles can cause damage. For flooded lead-acid types, an occasional equalization charge, if supported by the battery manufacturer, can help balance cells and reduce sulfation.
Perform Essential Battery Maintenance
For flooded lead-acid batteries, regularly check electrolyte levels and add distilled water as needed. For all battery types, keep terminals clean, tight, and free of corrosion, and ensure batteries are securely mounted to prevent vibration damage. Protect batteries from temperature extremes; if storing your RV in freezing conditions, consider removing batteries to a warmer location or ensuring they remain adequately charged.
How to Tailor Your Charging System for Road Trip Success
RV road trips that are fun and free from concern depend on selecting appropriate charging gear. The ideal system for you will be one that is precisely fit for your particular travel style, length of time you usually spend off-grid, and daily power requirements on the road.
Assess Your Power Needs for Travel
First figure your average daily power use to create the ideal arrangement for your road excursions. List all your 12V and AC appliances, their power draw (in watts or amps), and typical daily use to find your daily Amp-hour (Ah) consumption. Most importantly for your trip planning, also take into account how many consecutive days you hope to camp off-grid between dependable power sources.
Match Setups to Your Road Trip Style
Different road trip styles call for different charging solutions to keep you powered during your travels:
Weekend Adventurers: For those primarily taking short trips with frequent driving, relying on your vehicle's alternator (ideally enhanced with a DC-to-DC charger) often suffices. A small, portable solar panel can be a useful addition for topping off batteries during stops, and for simpler needs or using electronics outside the RV, a portable power station is often an excellent, lightweight solution.
Extended Off-Grid Explorers (Boondockers): If your road trips involve spending many consecutive days off-grid in remote locations, a more robust system is needed. This typically includes a substantial solar panel setup (e.g., 200-600+ watts on the roof), an efficient DC-to-DC charger for effective charging while driving, and possibly a generator as a reliable backup for cloudy days or high power demands. Lithium batteries are highly beneficial here due to their deep discharge capability and longer lifespan on the road.
Full-Time Nomads: Living and traveling in an RV full-time usually demands the most comprehensive and resilient charging system. This often means a large solar array, a significant lithium battery bank for ample storage, a powerful DC-to-DC charger, and sometimes a generator to ensure complete energy independence during continuous travel.

Budget for Your Road Trip Power System
Purchasing an appropriate charging system for your RV road travels calls for cautious financial planning. Sort components according to your usual travel schedule and expected absence from hook-ups. For example, if your road vacations mostly involve stays at campgrounds with power connections, a large and expensive solar system might not be a required initial outlay.
Plan Your Power for Better Road Trips!
Effectively managing your RV's power comes down to knowing your system, understanding your usage, and choosing the right charging methods. These elements work together, much like how understanding your battery types (as we discussed earlier) helps you select the appropriate charging profiles. By making informed choices about your electrical setup and practicing good energy habits, you can ensure more comfortable, convenient, and worry-free adventures on the road.
For press requests or interview opportunities, reach out to our media team
media.na@ecoflow.com