How to Make a Time Lapse Video
Time-lapse movies show the world's hidden rhythms by breaking down hours into seconds. Clouds race across skies, flowers bloom in moments, and cityscapes pulse with life. It's easier than you think to make these interesting videos.
What Is Time Lapse Video
A time lapse video compresses time by capturing frames at intervals rather than continuously. Instead of recording every moment, your device takes photos or video frames at set intervals—perhaps one frame every few seconds—then plays them back at normal speed. This creates the illusion of accelerated time.
The magic happens in the math. When you capture one frame per second and play it back at 30 frames per second, time appears 30 times faster. A sunset that takes an hour becomes a two-minute spectacle. A construction project spanning months condenses into minutes.
Time lapse video differs fundamentally from slow motion, which does the opposite by capturing more frames than usual and playing them back slowly. Time lapse reveals patterns invisible to the naked eye: traffic flowing like rivers, shadows creeping across landscapes, or stars wheeling overhead.
Essential Equipment for Time Lapse Videos
Starting with time lapse photography requires less equipment than most people assume. You likely already own the most important tool.
Your Camera Device
Any modern smartphone can produce excellent time lapse videos. Most phones include dedicated time lapse modes in their native camera applications. For more control over settings, digital cameras offer manual adjustments and higher resolution options. Mirrorless and DSLR cameras provide the greatest flexibility, allowing you to shoot in RAW format and adjust every parameter.
Stability Is Everything
A sturdy tripod ranks as your second most critical investment. Even microscopic movements become jarring when hours compress into seconds. Choose a tripod with enough weight to resist wind if shooting outdoors. For indoor projects, a simple tabletop tripod might suffice.
Storage Capacity
Time lapse projects generate enormous file collections. A single hour-long shoot can produce thousands of images. Ensure your memory card has ample space and fast write speeds. Running out of storage mid-shoot wastes all previous effort.
How to Make a Time Lapse Video with Your Phone
Smartphones offer the easiest entry point into time lapse creation. Modern phones handle the technical calculations automatically.
Begin by securing your phone completely. Mount it on a tripod or prop it against an immovable object. Any shifting during recording ruins the final result. Open your camera app and locate the time lapse mode—usually found by swiping through shooting modes.
Frame your shot carefully before starting. The phone will record from this exact position for the duration. Tap your screen to lock focus and exposure on your subject. This prevents the camera from refocusing or adjusting brightness mid-shoot, which causes distracting flicker.
Consider your timing. Quick events like traffic or clouds moving need shorter total recording times—perhaps 15 to 30 minutes. Slower subjects like sunsets or shadows shifting require longer sessions of one to several hours.
Power becomes critical for extended shoots. Phones drain batteries quickly when recording continuously. Connect your device to a power source whenever possible. For outdoor locations without electrical access, a high-capacity power bank ensures your phone survives the entire session. Choose one with sufficient output to charge while recording. The RAPID Pro Power Bank (27,650mAh, 300W, 140W Built-in Cable) offers excellent capacity for all-day shoots, with its built-in cable eliminating the need to carry separate charging cables.
Press record and resist all temptation to touch the phone. Walk away. Check on it periodically if the shoot lasts hours, but never move or adjust it. When your subject has completed its transformation, stop recording. Your phone automatically processes the footage into a playback-ready time lapse video.
Creating Time Lapse Videos with a Camera
Professional cameras demand more setup but reward you with superior quality and creative control. The photo sequence method produces the sharpest results.
Switch your camera to manual mode. Set your aperture, shutter speed, ISO, and white balance, then lock them. Automatic adjustments cause flickering as lighting changes throughout your shoot. For smooth motion blur, use a shutter speed approximately half your interval time. If capturing one frame every four seconds, aim for a two-second exposure.
Calculate your intervals based on your subject. Fast-moving subjects like traffic or drifting clouds work well with one to three-second intervals. Slower changes like plant growth or construction progress need 30 to 60-second intervals. Stars moving across the night sky might require intervals of several minutes.
Most modern cameras include built-in intervalometers that trigger the shutter automatically at your specified intervals. If yours lacks this feature, external intervalometers connect via cable and provide the same functionality.
Determine how many frames you need by multiplying your desired video length by your playback frame rate. A ten-second video at 30 frames per second requires 300 photos. Divide your total shoot duration by this number to find your interval. Shooting a 30-minute event into a ten-second clip means 1,800 seconds divided by 300 frames, resulting in six-second intervals.
After capturing your sequence, import the images into video editing software as an image sequence. Most professional editing applications can assemble numbered photos into smooth video. Apply color corrections uniformly across all frames to prevent flickering, then export at your target resolution.
Power Solutions for Extended Shoots
The hardest thing about time lapse shooting is the battery life. Recording sessions often last longer than the battery can hold.
The easiest option is to do the shoots inside, close to electrical outlets. Either plug your camera or phone into the wall or use an adapter that gives you constant power. A lot of cameras can use fake batteries that connect to AC power, which lets you record for as long as you want.
Outdoor shooting requires portable power solutions. Carry multiple fully charged batteries as your first line of defense. Swap batteries during brief pauses if your subject allows interruptions.
Power banks provide reliable backup for smartphones and some cameras. Select models with high capacity measured in milliampere-hours (mAh). A 20,000 mAh power bank can charge most phones multiple times. Ensure the power bank can supply enough output wattage to charge while your device operates. For professional time lapse work requiring extended shooting sessions, consider models like the RAPID Pro Power Bank (27,650mAh, 300W, 140W Built-in Cable), which offers 99.54Wh of capacity—the maximum allowed on most flights—and can power multiple devices simultaneously with its 300W total output.
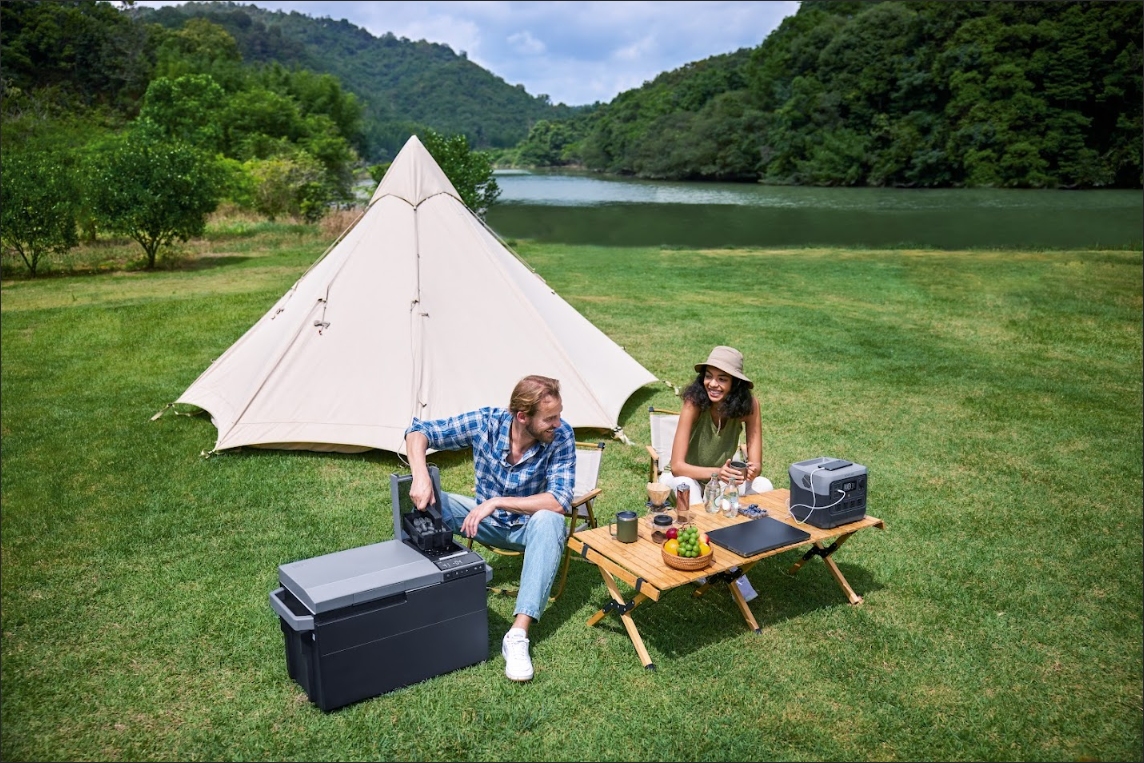
For serious extended shoots requiring significant power, portable power stations offer substantial capacity. These larger units can power cameras, laptops, lights, and phones simultaneously through multiple outlet types. They prove invaluable for overnight shoots, remote locations, or multi-day projects where regular power access is impossible. Look for models with sufficient wattage output to handle all your devices at once.
The EcoFlow RIVER 2 portable power station provides 256Wh capacity with 300W output, making it ideal for powering DSLR cameras, charging multiple devices, and running small LED lights during extended outdoor time lapse sessions. Weighing just 7.7 pounds, it's portable enough for hiking to remote locations while offering enough power for all-day shoots. Its fast charging capability means you can fully recharge it in just one hour between shooting sessions.
Calculate your power needs before heading out. Check your device's battery life under continuous recording, multiply by your planned shoot duration, and pack accordingly. Adding 50% extra capacity prevents anxiety as your shoot progresses.
Pro Tips for Better Time Lapse Videos
Small improvements in technique dramatically enhance your final results.
Choose Dynamic Subjects
Select scenes with obvious movement or change. Stationary subjects produce boring time lapses. Look for clouds, traffic, crowds, shadows, light changes, or natural processes like blooming flowers.
Consider Composition
Apply standard photography principles. Position key elements using the rule of thirds. Include foreground interest to add depth. Leading lines draw viewers' eyes through the frame.
Control Your Lighting
When the light level changes, automatic exposure makes flickering happen. This can't happen with manual exposure. Neutral density filters let less light into your lens during the day, so you can take longer shots without overexposing. With this extra blur, action looks less jerky and more smooth.
Take more footage than you planned to use. Adding more frames gives you more options when changing. It's easier to cut out extra footage than to stretch out too little.
Test Before Committing
Do a quick test shoot before putting in hours of work on a full session. Check your settings, look for things you don't want in the frame, and make sure your power solutions work as they should. Five minutes of testing can save hours of work that isn't needed. Before you start an overnight or multi-day shoot, make sure that all of your power sources work properly. This includes extra batteries, a portable power station like the EcoFlow RIVER 2 for places that aren't connected to the grid, and AC power that stays on all the time.
The weather and other external factors can change at any time. Your stand might shake in the wind. People who are interested might walk through your frame. The amount of light could change a lot. Be open and ready to change how you do things during the shoot.
Start Creating Your Time Lapse Masterpieces
A combination of technical know-how, creative vision, and perseverance is required to learn how to create a time lapse video. Use your phone's built-in mode to start with simple topics. As you get better, move on to longer and more difficult shoots. Every job teaches us something useful about timing, composition, and making plans. Time is full of interesting stories that are just ready to be told through captivating time-lapse videos.
For press requests or interview opportunities, reach out to our media team
media.na@ecoflow.com