How to Charge a Battery with a Solar Panel Effectively?
- What Are the Core Components for Solar Battery Charging
- Solar Panel Captures Sunlight for PV Battery Charging
- Charge Controller Is Your Battery's Guardian
- The Battery Can Store Solar Energy for Later Use
- Step-by-Step Guide to Effective Solar Battery Charging Setup
- How to Optimize Your Solar Battery Charging for Maximum Efficiency
- Power Your Life with Solar Battery Charging Sustainably
- FAQs About Solar Panel Charging
Want to keep the lights on in your cabin, power your RV on the road, or keep essentials running during an outage? Using solar panels to charge batteries is a smart way to harness free energy from the sun. But it's not quite as simple as just plugging a panel straight into a battery. To do it correctly – safely and without damaging your expensive batteries – you need the right setup. This guide will break down exactly what you need and how to charge your batteries effectively using solar power.
What Are the Core Components for Solar Battery Charging
To get the most out of your solar recharging setup, understanding how the main players work together to capture sunlight and safely store it in your battery is necessary.
Solar Panel Captures Sunlight for PV Battery Charging
These are the workhorses, converting sunlight directly into DC (Direct Current) electricity. You'll mainly see two types: Monocrystalline (often black, slightly more efficient, especially in lower light) and Polycrystalline (often blue, slightly less expensive). The panel's wattage rating tells you how much power it can produce under ideal conditions. Choosing the right size panel is crucial for effective PV battery charging.
Charge Controller Is Your Battery's Guardian
If there's one piece of gear you absolutely need for charging batteries with solar, it's the charge controller. Its main jobs are pretty straightforward:
Regulating power. It manages the electricity coming from the panel to help match what the battery needs safely.
Preventing overcharging. Stops charging once the battery is full, preventing damage, overheating, and reduced lifespan.
Stops over-draining. Many controllers also stop power from flowing out if the battery gets too low, which prevents deep damage. (Sometimes called Low Voltage Disconnect or LVD).
Blocks backflow. At night, it makes sure power doesn't leak back from the battery into the solar panel.
You'll generally see two main types:
PWM (Pulse Width Modulation). These are the simpler, less expensive controllers. They work fine if your solar panel's voltage is pretty close to your battery's voltage. They aren't the most efficient, especially in chilly weather.
MPPT (Maximum Power Point Tracking). These are smarter and cost more, but they squeeze way more power out of your panels (often 15-30% more). They cleverly convert extra voltage from the panel into more charging current for the battery. If you want the most efficient charging, especially with larger panels or lithium batteries (like LiFePO4), MPPT is usually worth the extra cash.
Choosing the right controller means matching it to your panel's power output, your system's voltage (like 12V or 24V), and the type of battery you're using. Knowing the difference between PWM and MPPT is a big part of getting effective solar charging.
The Battery Can Store Solar Energy for Later Use
Your solar panels collect the energy, but batteries hold onto it for you. This stored power is ready for when you need it – at night, on rainy days, whenever. For solar charging, you're usually choosing between two main battery families:
Feature | Lead-Acid Batteries | Lithium (LiFePO4) Batteries |
Technology | Traditional, well-known | Newer, increasingly popular |
Common Subtypes | Flooded (needs water), AGM, GEL (sealed) | LiFePO4 (Lithium Iron Phosphate) |
Upfront Cost | Generally Lower | Generally Higher |
Weight | Heavy | Much Lighter |
Lifespan (Cycles) | Shorter | Much Longer (many more charges) |
Efficiency | Good | Excellent (charges/discharges better) |
Usable Capacity | Lower (don't drain too deep) | Higher (can safely use more power) |
Maintenance | Required (esp. Flooded) | None |
Best For... | Budget-focused setups, established tech | Long-term value, weight savings, efficiency, ease of use |
Key Consideration | Needs careful charging & maintenance | Higher initial investment |
In short:
Lead-Acid: Cheaper to buy, heavier, needs more care, shorter life.
Lithium (LiFePO4): Costs more upfront, but is lighter, lasts longer, more efficient, and is maintenance-free- often the better choice long-term.
Step-by-Step Guide to Effective Solar Battery Charging Setup
Once you understand the main components, here's how to get your solar panel, charge controller, and battery working together safely and effectively.
Step 1: Planning Your Solar Panel Battery Charging System
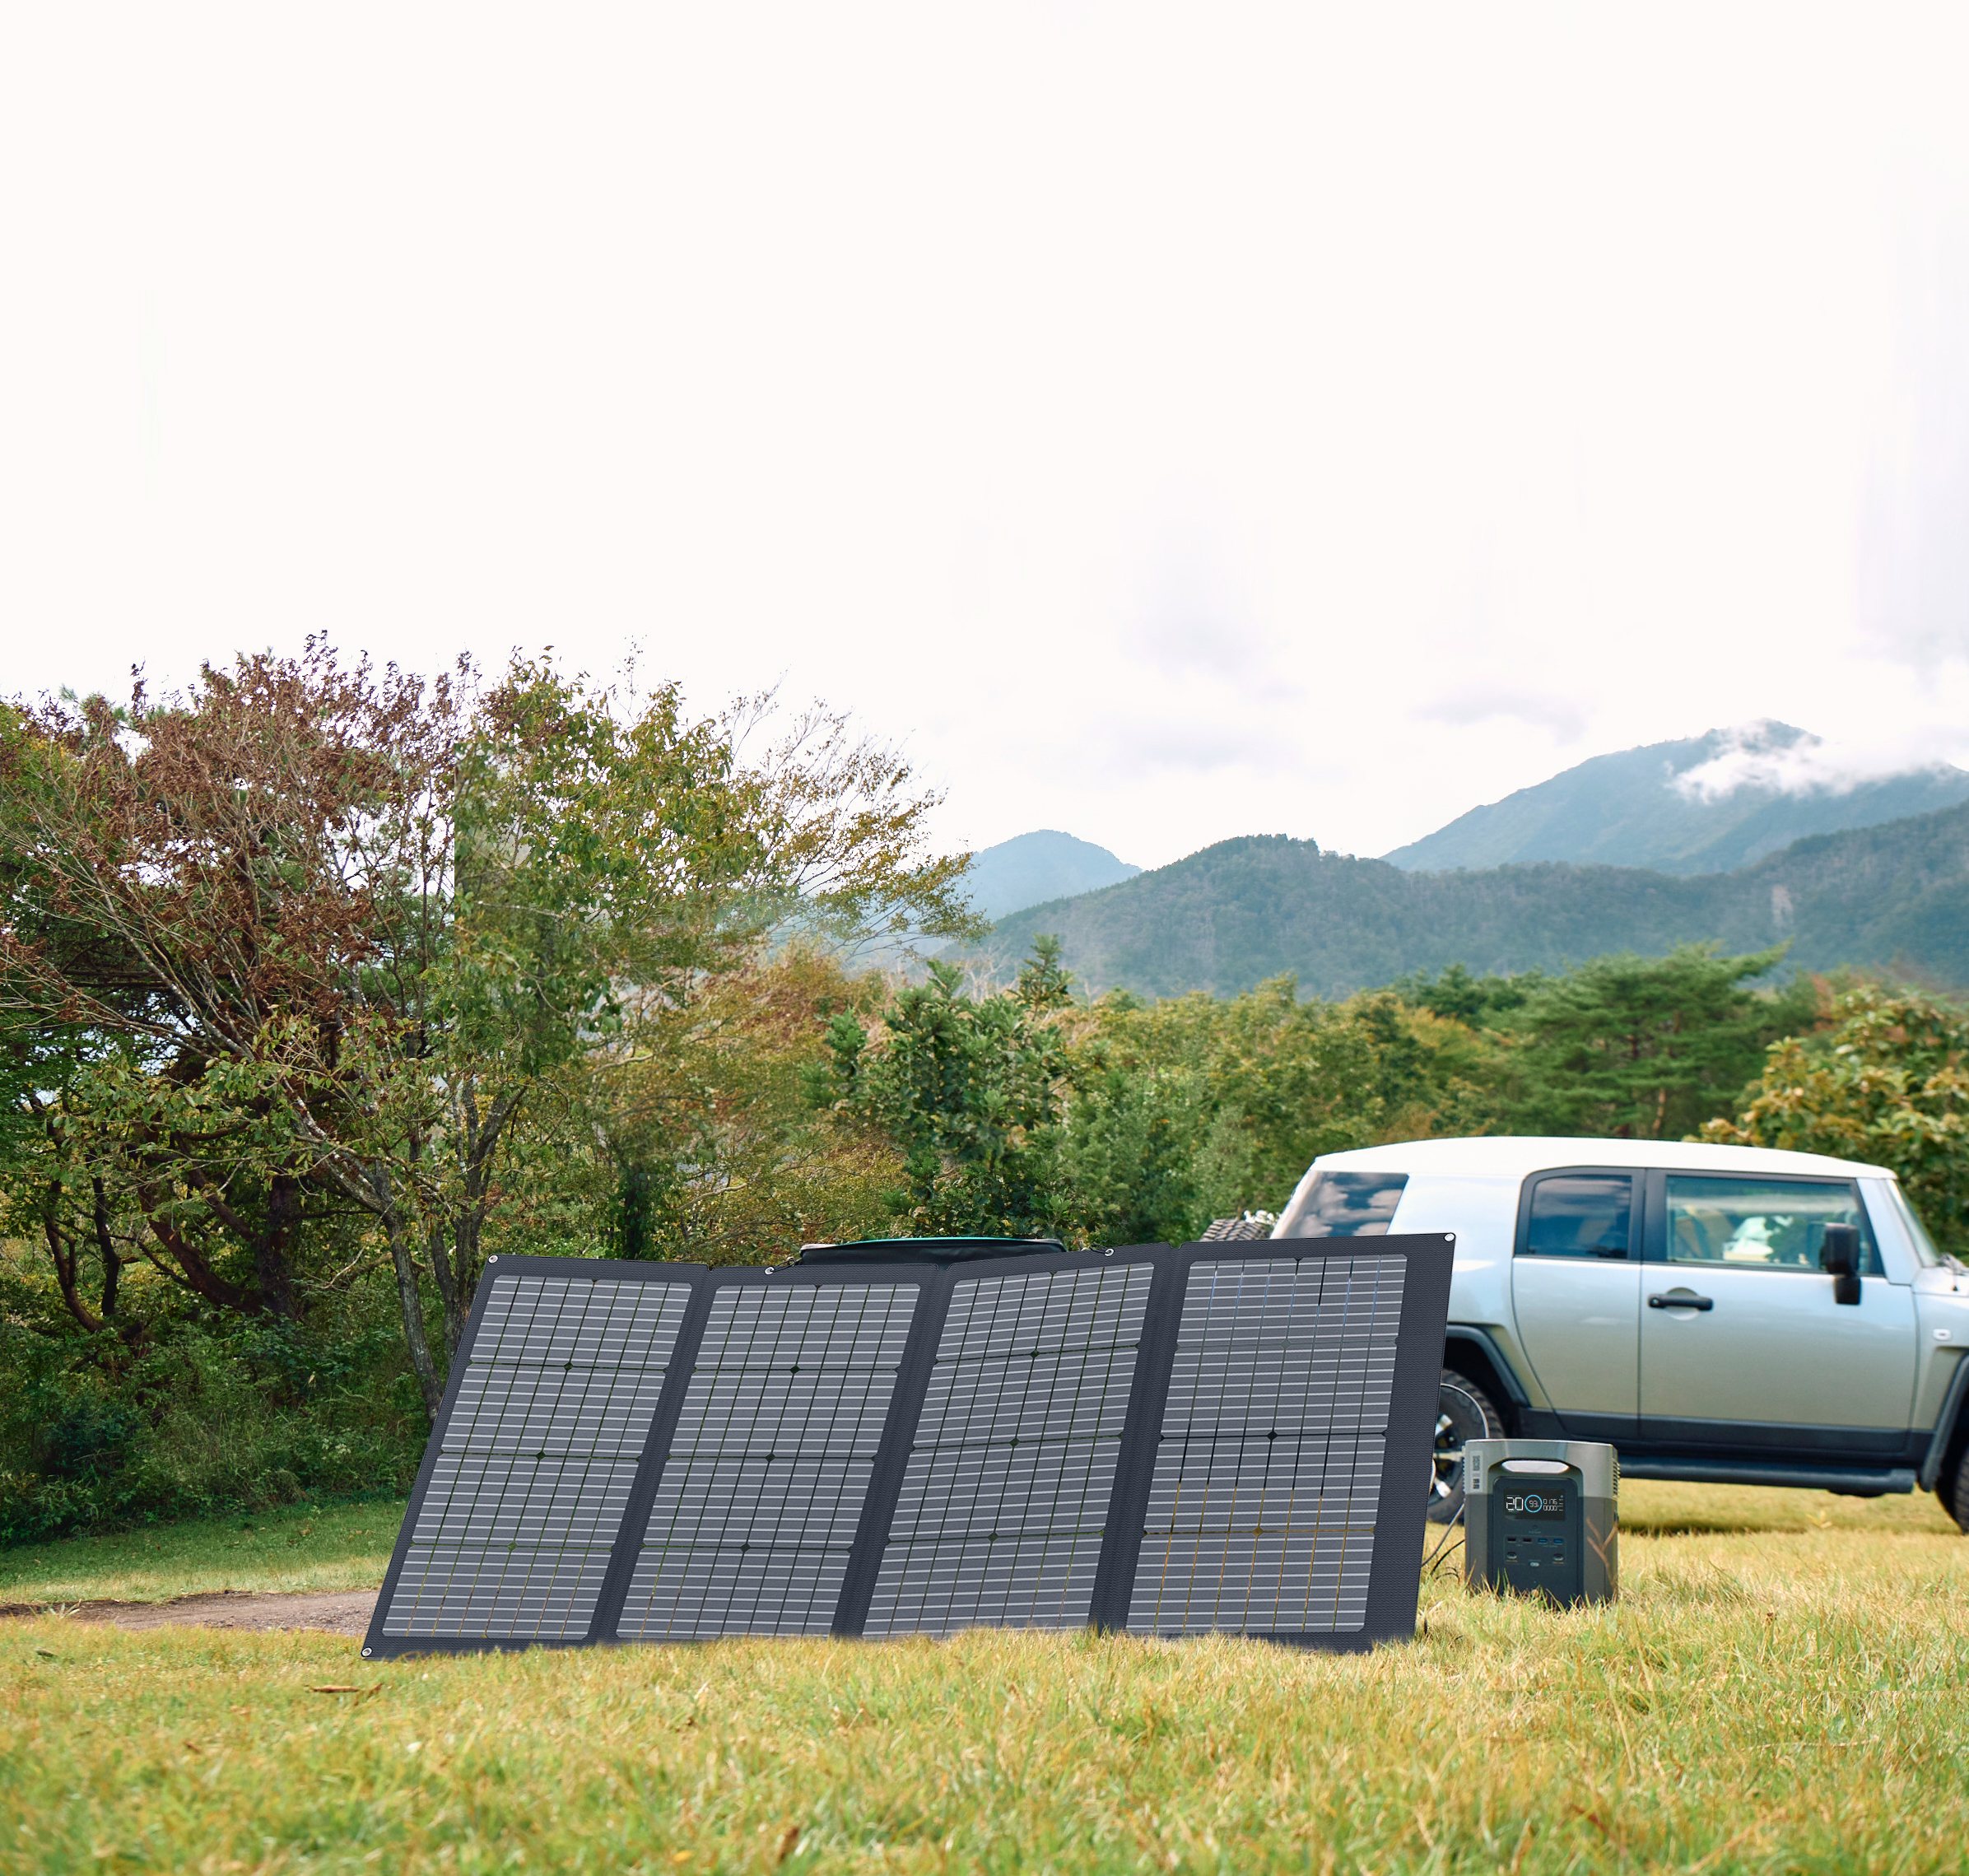
Good planning makes a big difference. Figure out how much power you actually use daily. Look at your battery's size (its Amp-hour or Ah rating) and how much sun you typically get where you live. This helps you pick the right size solar panel for your battery (like deciding if a durable and efficient 100-watt panel, such as the EcoFlow 100W Rigid model with its robust aluminum frame and high conversion rate, is enough for a 12V 100Ah battery based on your usage and sun exposure). Also, think about how fast you need the battery to recharge and be realistic about daily sunshine hours. Planning first helps get the most power from your setup.
Step 2: Wiring a Solar Panel to a Battery with a Charge Controller
Getting the wiring correct is super important for safety and making sure things work right. Always follow this order:
1.Mount your solar panel. Put the solar panel where it gets the most direct sun possible all day long. Angle it for the best charging based on your latitude and the season. Make sure it's fastened down securely so it won't blow away or shift.
2.Connect panel to controller. Run wires from the solar panel to the charge controller.
Connect the positive (+) wire from the panel to the positive (+) "Solar" or "PV" input on the controller.
Connect the negative (-) wire from the panel to the negative (-) "Solar" or "PV" input on the controller.
Use the right size wire for the distance and power. Make sure the connections are snug.
3.Connect controller to battery. This is usually the last electrical connection you make. Run wires from the charge controller to your battery.
Connect the positive (+) "Battery" output on the controller to the positive (+) terminal on your battery.
Connect the negative (-) "Battery" output on the controller to the negative (-) terminal on your battery.
Double-check you've got positive to positive and negative to negative! Getting this wrong can damage things. Use the correct wire size here too.
Check your work. Make sure all wire connections are tight and secure. Protect them from rain and weather if needed (using junction boxes, etc.).
Getting the connections right is key for a system that works safely. Always read the manuals that came with your specific panel, controller, and battery – they have the exact details for your gear.


Step 3: Power Up and First Check
With everything wired up, it's time for the first power-up. If your charge controller has an ON/OFF switch, turn it on. Check the display or indicator lights. It should show that it sees the solar panel (if it's sunny) and that it's connected to the battery. You should see signs that it's starting to charge. Keep an eye on the voltage and amps (current) readings for a bit. Make sure they look normal for your type of battery and the amount of sunlight hitting the panel
Step 4: Monitoring and Maintaining Your Solar Battery Charging System
Checking things regularly keeps it running well and helps your battery last longer. Glance at the charge controller's display now and then. Make sure it seems to be charging normally when the sun is out. If you have flooded lead-acid batteries (the kind with removable caps), check the water levels every month or so and top off only with distilled water if needed. Don't overfill. Keep the battery terminals clean - use a wire brush to remove any fuzzy blue or white stuff (corrosion). Tighten the connections if they feel loose. Keep the solar panel relatively clean. Wipe off heavy dust, dirt, bird droppings, or snow so it can catch the most sun.
How to Optimize Your Solar Battery Charging for Maximum Efficiency
Want your solar setup to work its best and charge your batteries efficiently? Here are some practical tips:
Point your panel right. As mentioned earlier, where you put your panel and how you angle it makes a huge difference. Aim it directly at the sun as much as possible throughout the day. Tilting it properly for the season (higher angle in winter, lower in summer) helps catch the most rays. Make sure nothing shades the panel, even partially – shade kills power output fast.
Consider an MPPT controller. For squeezing out the maximum power, especially if you want faster charging, an MPPT charge controller is usually the way to go. They cost more than the basic PWM type, but they can often pull 15-30% more energy from your panel, which means more power going into your battery.
Use proper wire sizing. The wires connecting your panel, controller, and battery need to be the right size (gauge). If the wires are too thin for the amount of power and the distance, you'll actually lose energy as heat in the wire itself.
Keep wires short. Along with using thick wires, keep the distance between your components as short as you reasonably can. Shorter wire runs mean less power lost along the way.
Look after your battery. Try not to run your battery totally dead frequently, as this can shorten its lifespan (this is especially true for lead-acid types). Charge it according to the manufacturer's recommendations. If the system isn't going to be used for a long time, a small "trickle charger" solar panel can be great for keeping the battery topped up and healthy.
Think about bypassing and blocking diodes (for bigger setups). If you have several solar panels hooked together, things called bypass diodes (often built into newer panels) can help stop a shaded panel from dragging down the power of the whole string. Blocking diodes stop power from flowing backward at night, but most modern charge controllers already do this job.
Power Your Life with Solar Battery Charging Sustainably
Solar battery charging is a rugged and environmentally safe way to power your life when you're moving, off grid, or merely looking for an alternative clean source of energy. With knowledge of the key parts, following the proper step-by-step solar battery charging process, and implementing tips in solar battery charging efficiency, you can have an efficient and steady system. So go ahead, tap the energy of the sun, and bask in the benefits of efficient solar charging!

FAQs About Solar Panel Charging
Q: Can I connect a solar panel directly to a battery without a charge controller?
No, this is strongly discouraged. It risks severely overcharging the battery, causing damage, reducing its lifespan drastically, and potentially creating safety hazards (like leaking acid or thermal runaway in lithium). Only tiny "trickle charger" panels (usually under 5W) might be considered marginally safe for large batteries, but a proper solar charge controller for battery charging is always the recommended approach.
Q: What size solar panel do I need for my battery? (e.g., 12V 100Ah)
This depends heavily on:
How much energy you use daily (your load).
Your battery capacity (e.g., 100Ah).
Your location's average daily peak sun hours (look this up online).
Desired recharge time.
For example, a very rough starting point for a 12V 100Ah battery might be 150W-300W of solar panels, but you need to calculate based on your specific needs and location for accurate sizing. Online solar calculators can help.
Q: How long will it take to charge my battery with solar?
This is highly variable. Factors include panel wattage, actual sunlight intensity (time of day, weather, season), battery's starting state of charge, battery capacity, and system efficiency.
A rough estimate: Charging Hours ≈ (Amp-hours to Replace * Battery Voltage) / (Panel Wattage * Average Efficiency Factor). The fastest way to charge the battery with a solar panel involves having appropriately sized panels for the battery, excellent sun exposure, and an efficient MPPT controller. Don't forget to calculate solar panel charging time for the battery realistically based on your average conditions.
Q: Will my panels charge the battery on cloudy days?
Yes, but the charging current will be significantly reduced. Output might drop to 10-30% of the panel's rated power. This is where an MPPT controller really shines, as it can extract more power in low-light conditions compared to a PWM controller.
Q: Do I need specific settings for LiFePO4 batteries?
Absolutely YES. Charging LiFePO4 battery with solar panel effectively requires specific voltage settings for Bulk, Absorption, and Float stages (though float is often not needed or set very low for LiFePO4). These settings are different from lead-acid. Use a charge controller with a dedicated LiFePO4 mode or one that is fully programmable, and always use the battery manufacturer's recommended settings.
Q: My system isn't charging well. What's wrong? (Troubleshooting Solar Battery Charging Issues)
Check Connections: Loose wires? Incorrect polarity (+/- reversed)? Corrosion?
Check Panels: Are they clean? Are they shaded? Is the sun actually out?
Check Controller: Status lights? Error codes? Correct settings for your battery type?
Check Fuses/Breakers: Are they blown or tripped?
Check Battery: Is the battery old or damaged? Check voltage with a multimeter.
System Size: Is your panel array too small for your energy usage or battery bank? Why is my solar panel charging slow? Often relates to insufficient panel wattage, poor sun, or incorrect settings. Understanding solar charging voltage and amperage explained by your controller's manual can help diagnose issues.
Q: What about specific applications like RVs or cars?
Application | Key Features | Considerations |
RV | - Popular for battery charging- Sizing based on appliance usage (fridge, lights, etc.)- Commonly use MPPT controllers | - Ensure proper sizing for energy needs |
Car | - Smaller panels (10-50W) used as trickle chargers- Maintains battery during storage | - Use suitable controllers for automotive batteries |
Off-Grid | - Scaled-up systems for larger energy needs- Accurate load calculation and proper sizing are critical | - Reliable components are essential for efficiency |
Portable/Marine | - Foldable panels with integrated controllers- Designed for harsh, wet environments | - Components must be rated for marine conditions |
For press requests or interview opportunities, reach out to our media team
media.na@ecoflow.com