How Are Solar Panels Installed? Step-by-Step Guide
- Step-by-step solar panel installation process
- Step 2: Designing the solar panel system
- Step 8: Connecting the system to the grid
- Best backup power solutions to pair with your solar system
- What happens after solar panels are installed?
- How long does it take to install solar panels?
- How much does solar panel installation cost?
- Common mistakes to avoid during solar installation
- Conclusion
- FAQs
Installing solar panels might seem complex, but it's actually a well-structured process when broken down into simple steps. From checking your roof's condition to connecting the system to your home's power supply, each stage plays an important role. Many modern systems also include solar batteries that store excess energy generated during the day for use at night or during power outages. A proper installation—especially when panels and solar batteries are correctly integrated—ensures maximum energy output and long-term savings on electricity bills. Understanding how solar panels are installed also helps you make smarter decisions when planning your system, including whether battery storage is right for your needs. This step-by-step guide will walk you through the entire process of how solar panels are installed on a roof in a clear and practical way.
Step-by-step solar panel installation process
Installing a solar panel system involves a structured process that ensures the system is safe, efficient, and capable of producing reliable energy for many years. Each stage focuses on careful planning, secure installation, and proper electrical configuration, so the system can perform at its best. If you want to know how solar panels are installed on a roof, follow the steps below.
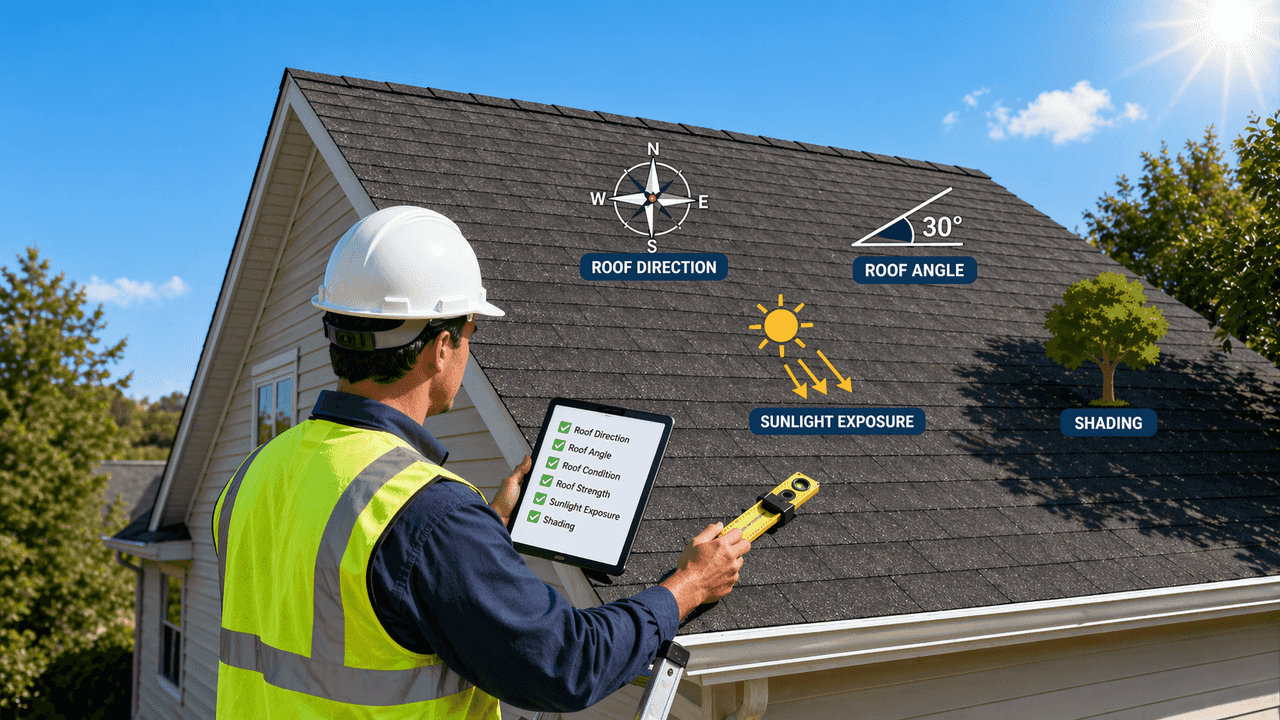
Step 1: Assessing whether your roof is suitable
Professionals inspect the roof's direction, angle, condition, and strength to ensure it can support panels. They also check sunlight exposure and shading. This helps estimate the number of panels based on space and energy needs.
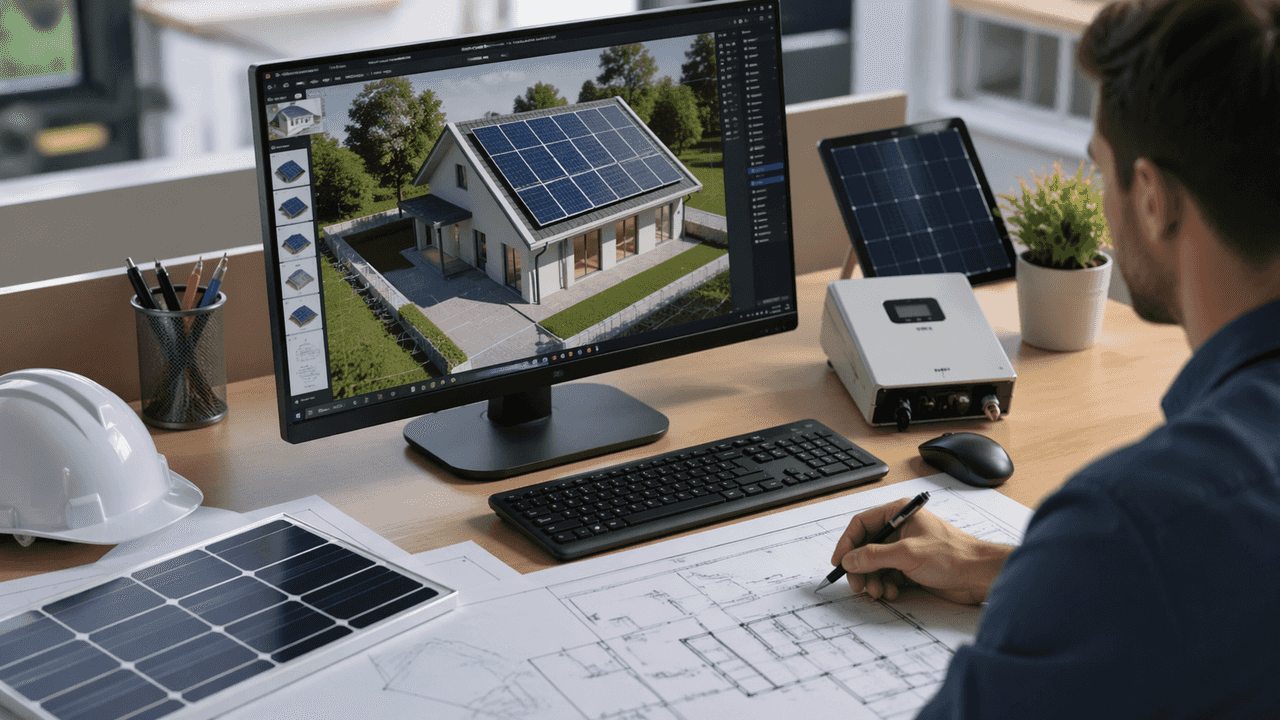
Step 2: Designing the solar panel system
Installers create a custom layout based on your electricity usage and roof size. They decide panel placement, quantity, and choose the right inverter. A good design improves overall efficiency and performance.
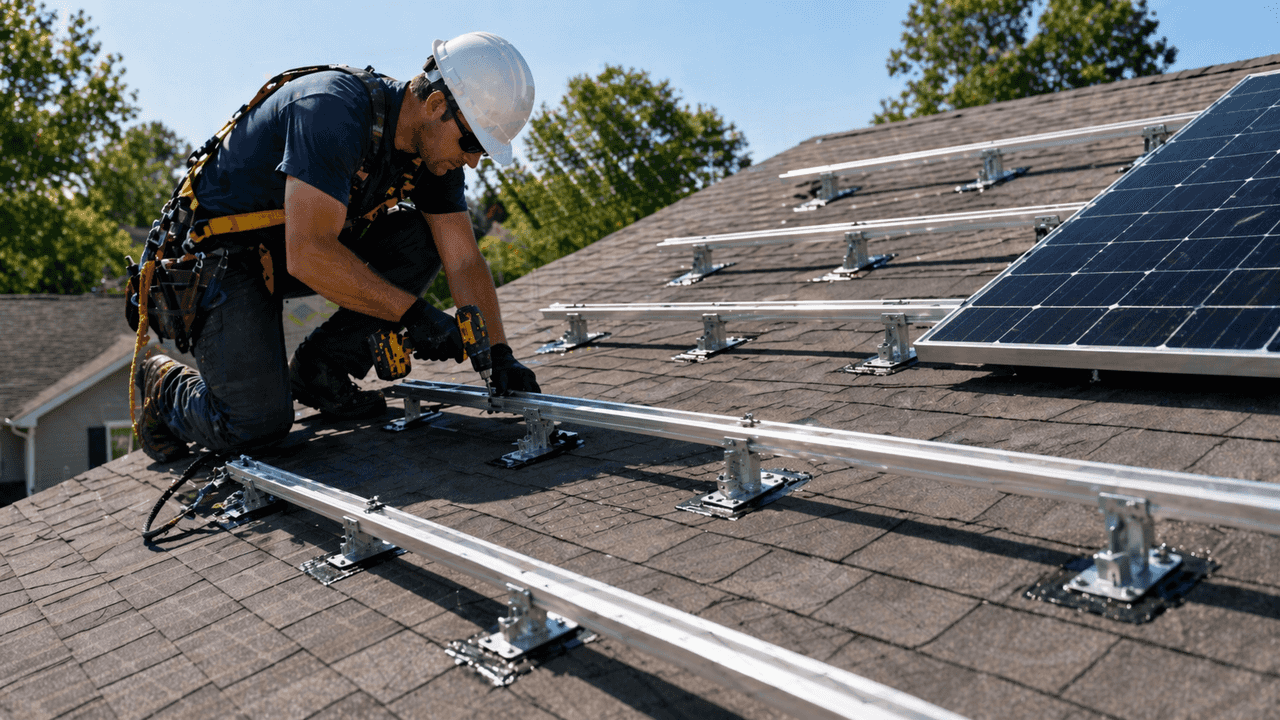
Step 3: Installing mounting brackets and rails
Strong brackets are fixed to the roof and sealed for protection. Aluminum rails are then attached to create a stable base. This structure holds and aligns the panels securely.
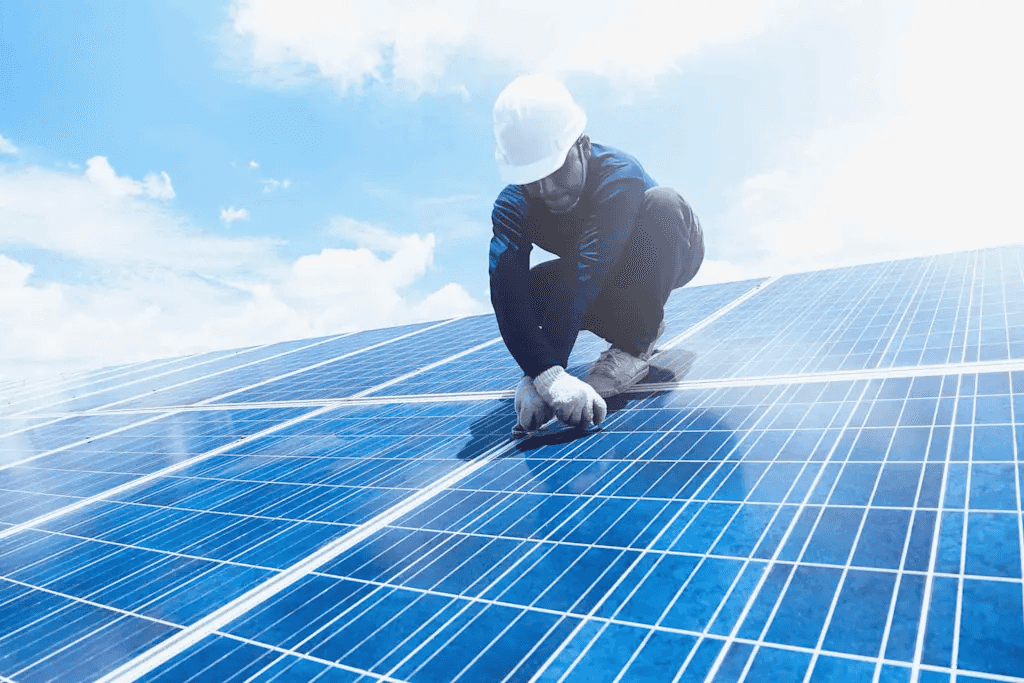
Step 4: Installing the solar panels
Panels are placed and secured onto the rails in the correct direction. Proper spacing and alignment ensure better sunlight capture and airflow. This supports long-term efficiency and durability.
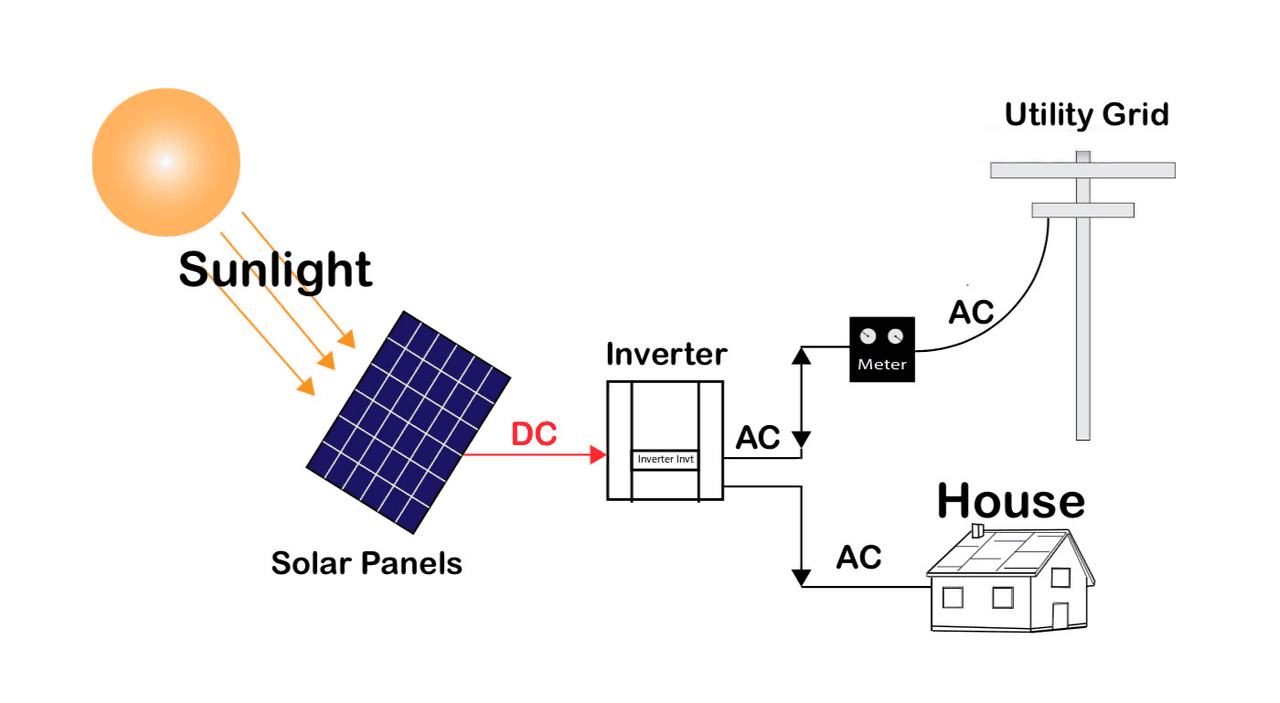
Step 5: Wiring the system and installing the inverter
Panels are connected using DC cables, safely routed through conduits. The inverter is installed to convert DC into usable AC power. Safety components and grounding are also added.
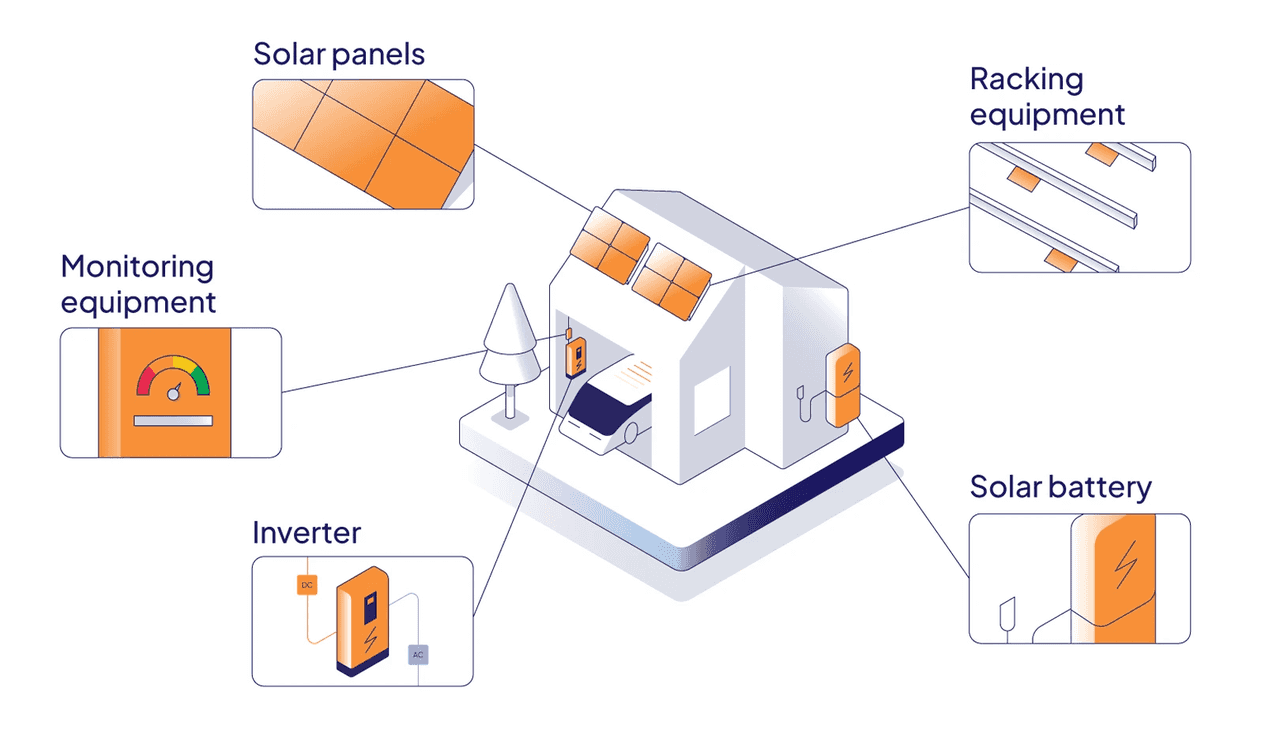
Step 6: Installing optional components
Extra features like batteries store excess energy for later use. Monitoring systems help track performance and usage. These additions improve energy control.
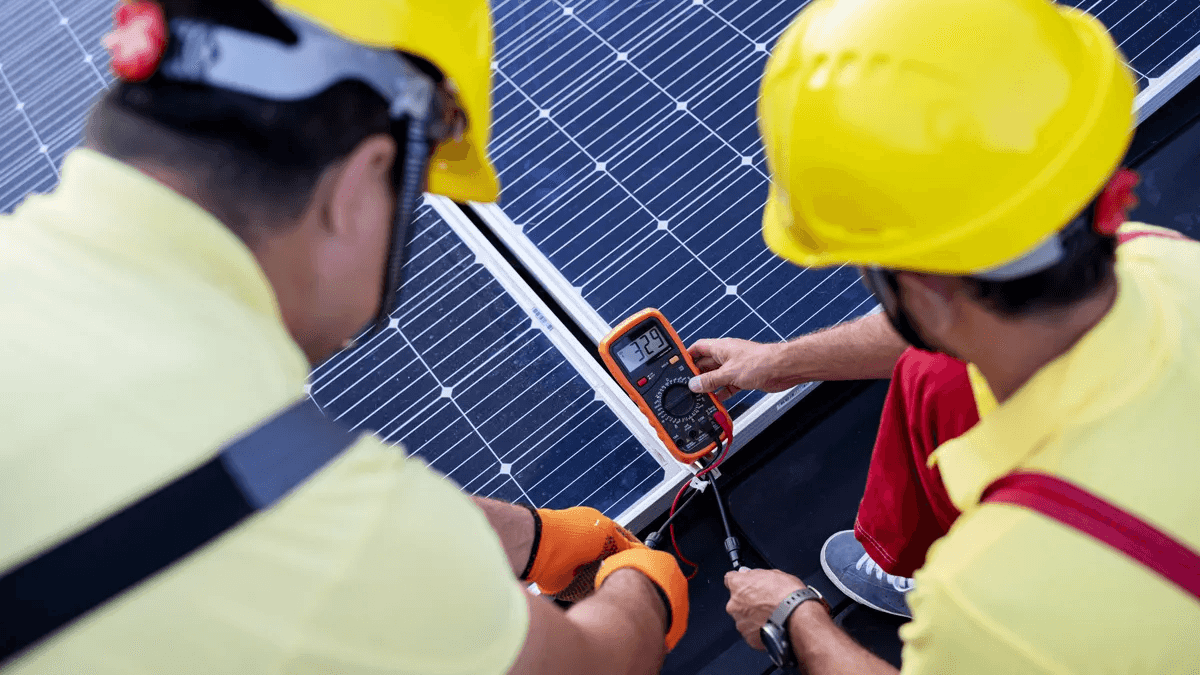
Step 7: Testing and activating the system
Technicians test all connections, settings, and safety measures. This ensures the system works properly and meets standards. Any issues are fixed before activation.
Step 8: Connecting the system to the grid
The system is linked to the local power grid. This allows you to use grid power when needed and send excess energy back. After approval, the system starts generating electricity.
Best backup power solutions to pair with your solar system
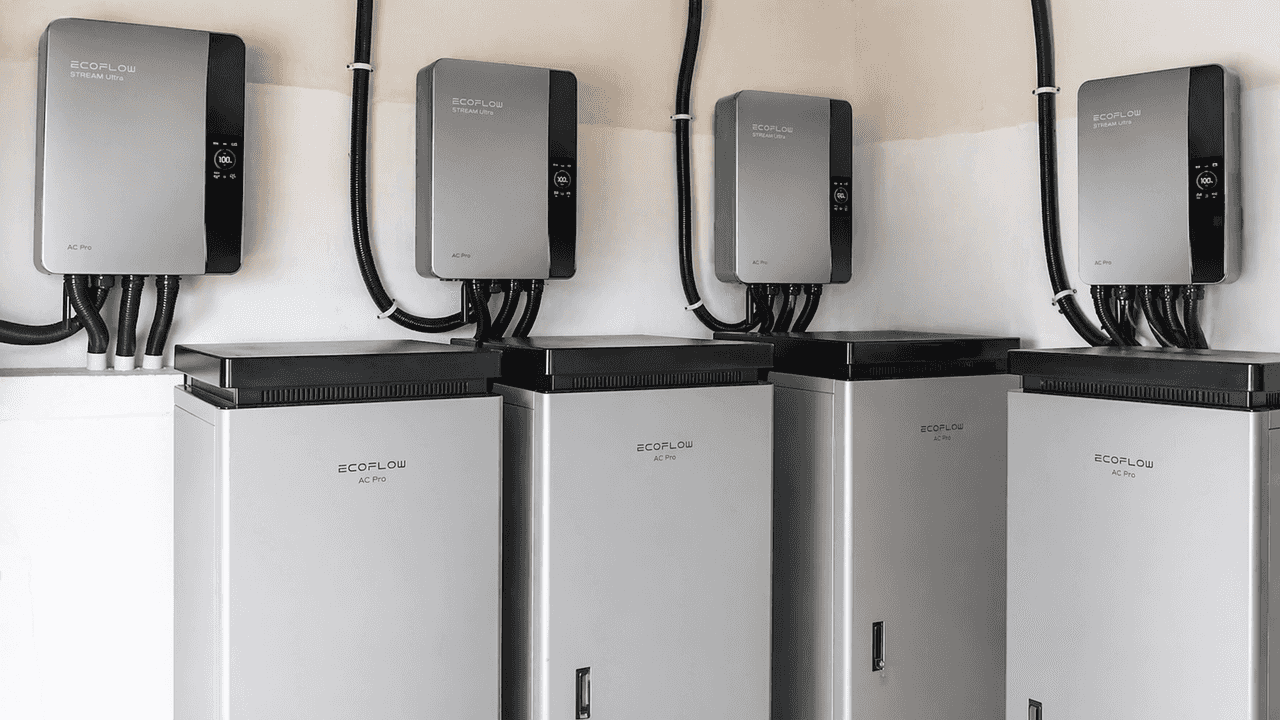
If you are planning to install a solar system, it is also important to consider how much solar panels cost to install when adding a backup power solution. Including a dependable backup option helps keep your home powered during outages or periods when solar production is limited. Leading energy storage brands such as EcoFlow offer modular battery systems designed to integrate smoothly with residential solar setups. The best backup power solutions to pair with your solar system are listed below.
STREAM Ultra X
The EcoFlow STREAM Ultra X is a robust whole-home solar backup system designed for reliable performance during outages. It provides a 3.84kWh battery capacity with an extended 6000-cycle lifespan (to 70%), to ensure long-term energy storage. With 1200W AC output, it can power essential appliances and select high-demand equipment.
Its advanced solar setup includes 4 MPPT trackers and up to 2000W PV input (500W × 4), which maximizes solar efficiency for faster and smarter charging.
It can also connect to smart home ecosystems using Tibber, Matter, and Shelly protocols, allowing smooth coordination with smart plugs, automation platforms, and other connected devices.
Designed for durability and consistent performance, the system supports an expected lifespan of around 15 years, with built-in safety protections and minimal upkeep needs—making it a dependable, forward-looking choice for efficient home energy storage.
STREAM Ultra + AC Pro
For those exploring the best backup power solutions to pair with your solar system, the EcoFlow STREAM Ultra + AC Pro offers a flexible, expandable setup designed for higher energy demands. When connected, the two units can provide up to 2300W of total output, making them suitable for running multiple devices, home offices, or essential appliances at the same time.
The STREAM Ultra functions as the main battery unit with 3.84kWh capacity, solar charging support, and expandable storage. Adding the STREAM AC Pro contributes another 3.84kWh and increases the overall output, giving the system more power and longer backup duration. Because the modules can be installed separately rather than stacked, they allow more adaptable placement based on available space.
Together with solar panels, this modular system helps store excess energy and manage power use efficiently, reducing grid reliance while maintaining a steady backup supply when it's needed most.
What happens after solar panels are installed?
After understanding how solar panels are installed, it's important to know that the system doesn't operate at full efficiency right away. It goes through a final stage of checks, approvals, and setup adjustments. Here are some steps the installer took to confirm the system continues to run smoothly.
System testing and certification
After erection, technicians run a series of operations and safety checks to ensure the system runs correctly. They inspect wiring connections, test the inverter, and confirm that the panels are producing electricity as expected. The system must also meet electrical and safety regulations set by local authorities. Once these requirements are satisfied, the installation receives official certification for safe operation.
Monitoring your solar output
Modern solar systems include monitoring tools such as the EcoFlow app, which allows homeowners to track energy production and usage. These setups provide real-time data through mobile apps or online dashboards. By reviewing this information, you can see how much electricity your panels generate during different times of the day. Monitoring also helps detect any drop in performance, so maintenance can be addressed rapidly.
Registering your solar system
Registering your solar system with the local utility provider is an important administrative process. This process confirms that the installation is connected properly and complies with grid regulations. It also enables features such as exporting excess electricity back to the grid if your system produces more energy than you use. Proper registration ensures your system operates legally and can benefit from available energy programs.
How long does it take to install solar panels?
To understand how much solar panels and installation are, it helps to look at the main stages involved in the process. Each phase contributes to the total time, planning, and cost required to set up a solar system.
Initial consultation timeline
During this stage, the installer reviews your electricity bills and discusses energy needs, roof suitability, and budget. Homeowners usually receive a preliminary system proposal and estimated cost.
Survey and planning duration
Technicians visit the site to measure roof space, check structural stability, and inspect the electrical panel. This information is used to create engineering plans and prepare permit applications.
Installation timeframe
The team installs the mounting structure, attaches the solar panels, and connects the inverter and wiring. The system is then linked to the home's electrical panel for testing.
Approval and connection time
After installation, the system must be approved by the local utility or authority. Once inspections and paperwork are completed, the system is officially connected and ready to generate electricity.
How much does solar panel installation cost?
In the UK, solar panel installation typically costs between £5,000 and £12,000, depending on the system size and setup. For an average home, a 3–5kW system usually costs around £6,500 to £9,000 fully installed. The final cost depends on factors like roof type, installation complexity, and equipment quality. Adding a battery increases the cost but improves energy savings. With 0% VAT and long-term bill reductions, solar panels are a cost-effective investment over time.
Common mistakes to avoid during solar installation
During system setup, avoiding common mistakes helps reduce the risk of system damage and ensures better long-term performance.
Choosing inexperienced installers
Inexperienced installers can cause poor panel placement, wiring issues, and reduced system efficiency. Hiring certified professionals ensures safe installation.
Ignoring the roof condition
Installing panels on a weak or damaged roof can lead to costly repairs or reinstallation later. Checking and fixing the roof beforehand prevents future problems.
Miscalculating energy needs
An incorrectly sized system may not meet electricity demand or may increase unnecessary costs. Proper energy assessment helps design a system that matches your usage.
Overlooking shading issues
Shadows from trees, buildings, or chimneys can reduce solar panel performance. Proper panel placement and shading evaluation help maintain steady energy output.
Conclusion
In short, solar panel installation follows a structured process involving careful planning, technical setup, and regulatory approvals to ensure safe and efficient energy generation. Understanding how expensive solar panels are to install helps homeowners plan their budget more effectively, along with the expected timeline and common mistakes to avoid. A well-designed system can significantly reduce electricity bills while supporting long-term energy independence. Pairing your setup with backup solutions such as EcoFlow STREAM Ultra X or EcoFlow STREAM Ultra + AC Pro can further improve energy stability and support consistent power usage at home.
FAQs
How are solar panels wired to a house?
Solar panels are grouped into strings and connected using either series (to increase voltage) or parallel (to increase current) wiring. The generated DC supply is sent to an inverter, which converts it into AC power for household use. This power then enters the main electrical panel to supply your appliances. In grid-tied systems, excess energy can be exported back to the grid, while hybrid or off-grid setups store extra power in batteries for later use, improving energy availability during outages.
What appliances cannot be used with solar power?
Technically, most appliances can run on solar power, but the challenge lies in energy demand. High-wattage appliances such as central air conditioners, electric ovens, water heaters, and large pumps require significant power and may exceed the system's capacity if it is not properly sized. Running multiple heavy-load devices at once can also drain batteries rapidly. A well-designed solar system with sufficient inverter capacity and battery storage is essential to handle these loads effectively.
Can a fridge run on solar power?
Yes, refrigerators are well-suited for solar systems because they run on moderate and consistent power. Energy-efficient models typically consume less electricity, which makes them easier to support with solar panels. When combined with battery storage, a fridge can operate continuously, including at night or during cloudy periods.
What roofs are not suitable for solar panels?
Roofs that lack direct sunlight due to heavy shading from trees or nearby buildings are not ideal, as they reduce energy production. Structurally weak or aging roofs may not support the solar panels and mounting systems. Certain materials, such as asbestos or fragile tiles, can complicate installation. Additionally, roofs with very steep angles, irregular shapes, or limited surface area may not provide enough space for efficient panel placement.