Which Solar Panel Mounting System Is Right for You and How to Set It Up?
Thinking about going solar? Choosing the right solar panel mounting system is just as important as picking the panels themselves. The way your panels are mounted affects everything from efficiency and durability to installation costs.
From pitched roof mounts and flat roof ballasts to ground-mounted systems, this guide walks you through the different mounting options available, what to consider for your property, a step-by-step overview of installation, costs involved, and more.
Exploring Different Solar Panel Mounting Options
When it comes to installing solar panels, the mounting system you choose isn’t just a technical detail—it affects how much power you generate, how your roof or structure handles the extra load, and more.
Here’s a breakdown of the most common PV panel mounting options in the UK:
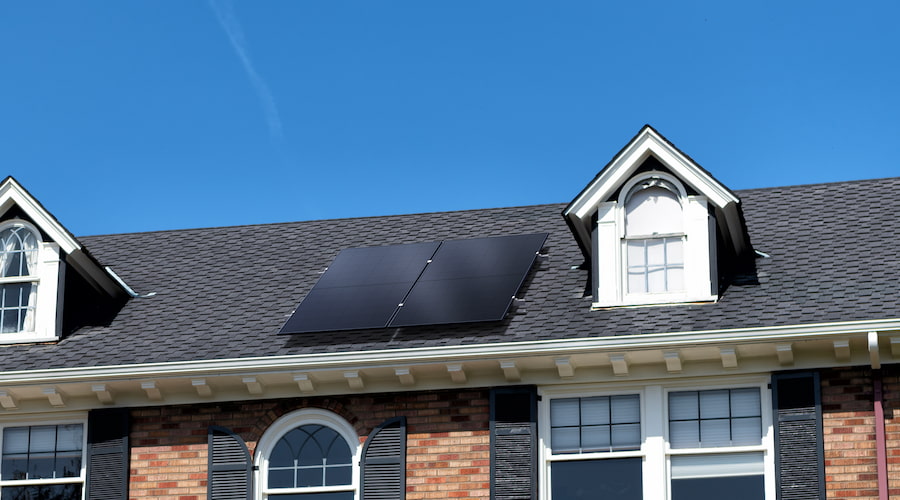
1. Pitched Roof (Above-Roof) Mounts
For homes with tiled or slated roofs, this is the most common option. Installers lift a tile or slate, screw stainless-steel hooks into the rafters, lay aluminium rails, and clamp the panels into place.
Each module adds roughly 5–10 kg per square metre, which usually falls within the 15% load allowance under Building Regulations Part A, as long as your roof structure is in good condition.
Why choose it? It’s the most cost-effective system, doesn’t take up outdoor space, and keeps panels out of sight from ground level.
Considerations: You’re limited by the roof’s pitch and orientation—if it faces east or west, expect slightly reduced efficiency.
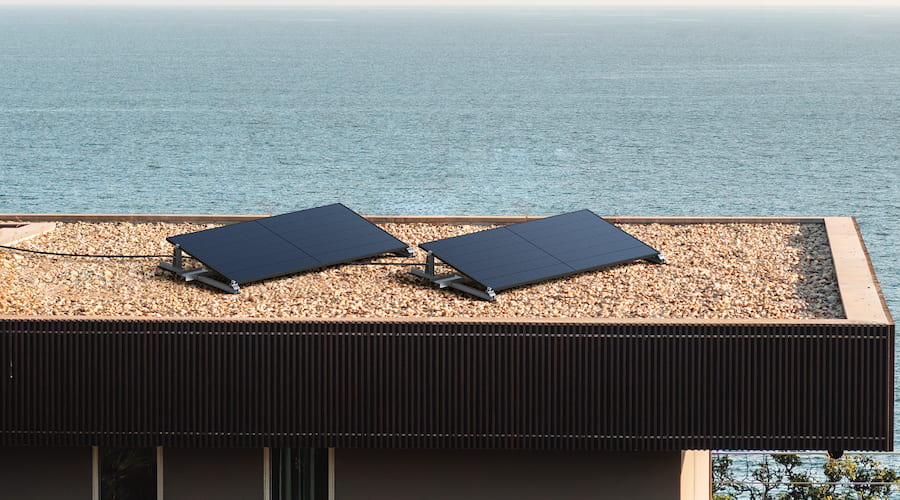
2. Flat Roof Frames (Ballasted or Fixed)
If you have a flat roof, panels need to be tilted for optimal performance. Aluminium A-frames or low-profile east–west trays are commonly used. To avoid penetrating the roof membrane, most systems use concrete blocks for ballast. But this can quickly add weight, often 80–120 kg per square metre, so a structural survey is essential.
Why choose it? Allows you to angle panels perfectly towards the sun and avoid drilling into the roof.
Considerations: Ballast-heavy systems might not be suitable for older flat roofs, and panels must stay within 0.6 metres above the roofline to avoid triggering planning permission.
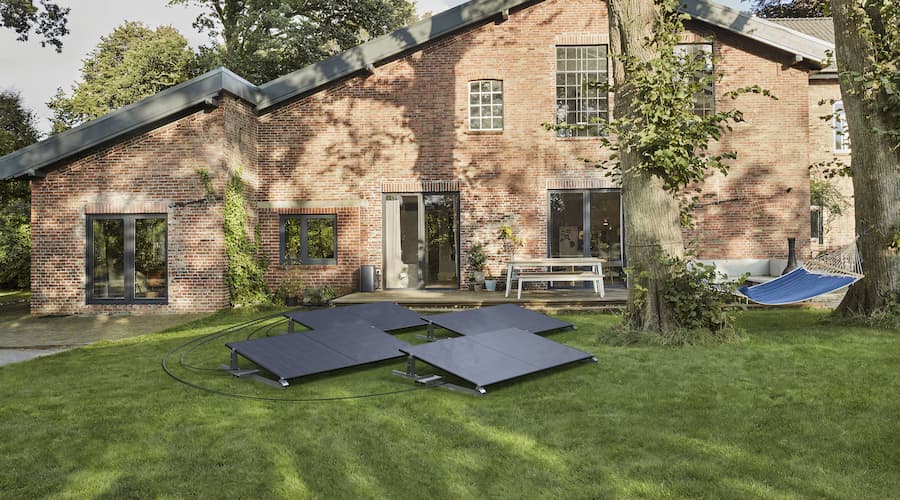
3. Ground-Mounted Racks
If you have space in your garden or on nearby land, ground-mounted systems can deliver excellent performance. Panels are fitted onto steel A-frames or pile-driven posts and set at the ideal tilt (30–40°) and orientation (south-facing).
Why choose it? Freedom to optimise the system for maximum output, and easier access for cleaning and maintenance.
Considerations: Planning permission is usually required if the array is larger than 9 m², taller than 4 metres, or closer than 5 metres to your boundary. You’ll also need to account for trenching and extra cabling costs.
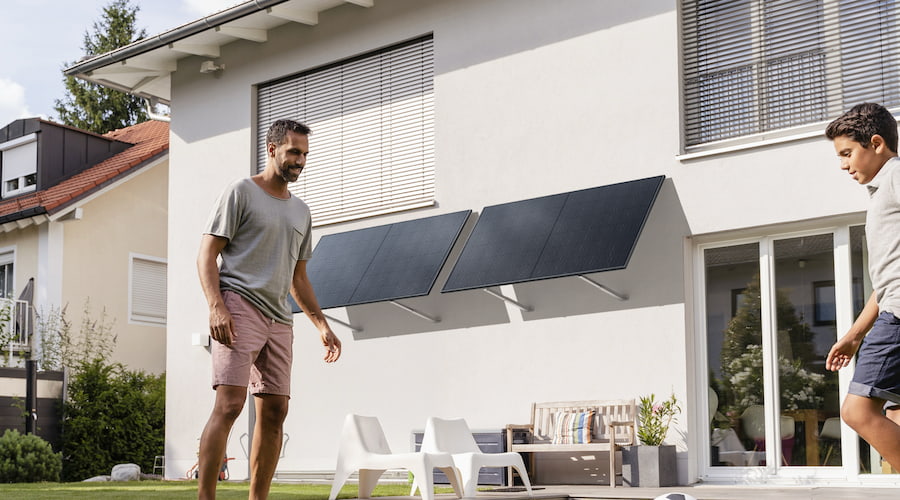
4. Wall or Façade Mounts
This option fixes panels directly to a south-facing wall using rails and brackets. The panels can sit flush or tilt outwards up to 60° to catch more light.
Why choose it? Ideal for properties with shaded roofs or where the roof isn’t structurally sound. Panels are easier to clean and inspect at ground level.
Considerations: These systems tend to produce less energy than roof arrays and must project no more than 0.2 metres from the wall to remain under permitted development rules.
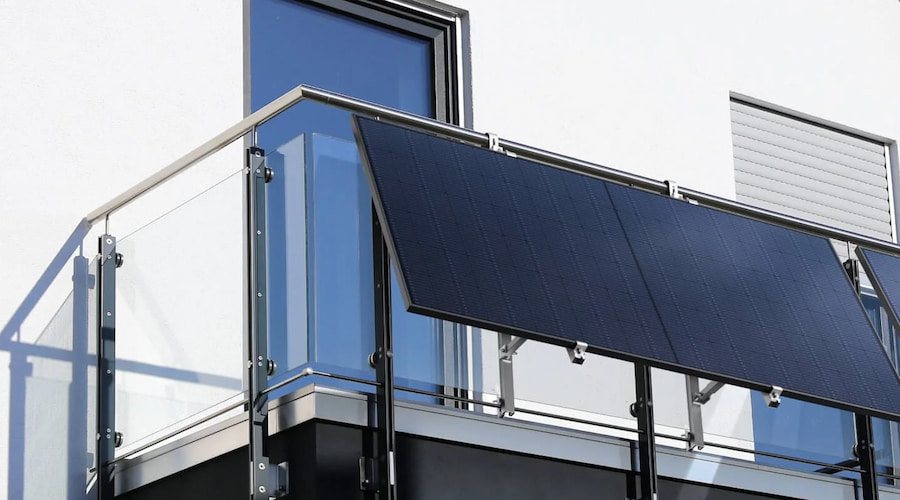
5. Balcony Solar Kits
For flats or rented properties, lightweight balcony systems provide a way to generate some of your own power. Panels either hook over the balcony railing or sit on small tilt stands. Plug-in micro-inverters are becoming more common, making setups easier.
Why choose it? No need for roof access, low upfront cost, and often no need for landlord approval.
Considerations: Limited output (usually between 300W and 800W) and railing strength must be checked.
How to Choose the Right Mounting System for Your Property
Finding the best mounting of solar panels is about matching the system to your property’s structure, location, and long-term goals. Here’s how to make the right choice:
Think About Orientation, Tilt, & Available Area
A south/southwest-facing, shade-free roof makes a pitched-roof mount a no-brainer. However, if there’s heavy shading or the roof pitches north, you might want to consider ground, wall, or balcony mounts instead.
For flat roofs, you can choose east–west trays to pack in more panels with less self-shading, even if each panel is slightly less efficient.
Check Your Structure
Confirm your roof, wall, or ground area can handle the weight and wind uplift. Even a modest 4 kW pitched-roof system adds around 200 kg. Flat roofs need extra scrutiny because ballast can load the surface with 80–120 kg per square metre. A structural engineer’s report is highly recommended for older homes or unconventional builds.
Check Planning Constraints
Pitched Roofs: Panels should sit parallel and project no more than 0.2 metres from the roof surface. Most pitched-roof installs fall under permitted development.
Flat Roofs: Systems must stay under 0.6 metres above the roofline.
Ground-Mounts: Arrays over 9 m² or taller than 4 metres need permission and must be at least 5 metres from property boundaries.
Listed buildings or homes in conservation areas almost always require full planning consent.
If you don’t have a suitable pitched roof, live in a flat, or simply want a fast and easy way to start generating solar power, the EcoFlow STREAM Solar System is designed to make it simple.
You can choose to pair the EcoFlow STREAM Microinverter with different sizes of rigid-panel sets, including 2 x 400W, 2 x 450W, 2 x 520W, or 4 x 250W. Then, simply select the brackets that best suit your space, whether it’s for a balcony, garden, flat roof, or façade.
The microinverter wakes up with as little as 3W of sunlight, meaning even overcast mornings still contribute to your energy savings. Built-in Wi-Fi links it to the EcoFlow app, so you can track live energy production and schedule when to send power into the grid. Plus, the entire system is backed by a 10-year warranty, giving you long-term confidence.

When you’re ready to store excess energy for use during evening hours or cloudy days, the EcoFlow STREAM Ultra makes upgrading effortless. This all-in-one unit houses a 1.92 kWh LiFePO₄ battery rated for 6,000 cycles, a 4-MPPT solar charge controller that accepts up to 2kW of PV, and a pure sine wave 1.2kW AC inverter for running devices directly. It can still export a capped 800W to the grid while topping up the battery.
The aluminium chassis is IP65-sealed and self-heats to work at –20 °C. Capacity scales to 11.52 kWh by stacking extra batteries, leaving plenty of headroom for future heat-pump or EV loads. This system also seamlessly integrates with over 99% of solar panels on the market, ensuring compatibility and flexibility for various solar setups.
How to Mount Solar Panels: Step-by-Step Guide
Mounting solar panels is a carefully planned process that ensures they perform efficiently, comply with regulations, and stay secure in all weather. Here’s how the installation typically unfolds:
Survey and system design: The first step is a detailed site survey. Your installer (or structural engineer for DIY) will assess the roof pitch, rafter spacing, shading, and local wind and snow loads (based on BS EN 1991). This information determines the right mounting system and fixings for your property.
Structural and electrical approvals: If the additional weight increases the roof’s dead load by more than 15%, Building Regulations Part A requires structural calculations and sign-off. Any electrical work must meet Part P standards to ensure the system is safe and compliant.
Planning permission and grid paperwork: Most roof-mounted systems fall under permitted development, but you’ll need planning permission if your flat-roof system extends more than 0.6 metres above the roofline, if you’re in a conservation area, or for ground arrays larger than 9 m². For grid connection, small systems (up to 3.68kW per phase) can be notified to your Distribution Network Operator (DNO) after installation (G98), while larger systems require prior approval (G99).
Safe access and scaffolding: Working at height brings risks, so proper scaffolding is a must. This includes a fully boarded platform, double guardrails, and toe boards. Panels should be lifted using hoists or lifting equipment—never carried by hand up ladders.
Fitting anchors and mounting rails: On pitched roofs, installers lift a tile, bolt stainless-steel hooks to the rafters, and weatherproof the penetration before laying aluminium rails across the roof. For flat roofs, frames or trays are secured in place—either ballasted with concrete blocks or mechanically fixed—based on manufacturer guidelines and wind tunnel testing.
Securing the panels: Panels are clamped to the rails using torque-controlled mid and end clamps. If optimisers or microinverters are part of the system, they’re installed at this stage.
Running cables and connecting the inverter: Cables are laid in UV-resistant conduit, keeping them off the roof surface. The inverter is typically installed near your consumer unit inside the property. AC cabling must be protected by RCDs and comply with electrical safety standards.
Testing and commissioning: Before switching the system on, installers carry out safety checks, including insulation resistance and polarity testing. Grid compliance tests (G98/G99) are performed, and once approved, you’ll receive an MCS certificate to qualify for export tariffs.
Costs Associated with Solar Panel Mounting
The cost of a solar panel mount varies depending on your roof type, property layout, and installation method. Here’s what you can expect:
Mounting hardware: On pitched roofs, rail-and-hook kits typically cost £150–£250 per kW. For flat roofs, frames and ballast trays are more complex and range from £250–£350 per kW. Ground-mounted systems are even more involved, with posts, racks, and foundations costing around £400–£600 per kW.
Scaffolding: A two-storey house will usually require scaffolding at a cost of £600–£1,200. Complex roofs or additional features like chimney bridges can increase this.
Labour: Professional installers charge approximately £300 per person per day. A typical 4 kW system requires two installers over 1–2 days, bringing labour costs to £600–£1,200.
Professional services: Structural surveys range from £250–£400, and DNO applications for larger systems (G99) can add £150–£250.
Planning fees: If planning permission is required, expect to pay £258 in England, with slightly different fees in Scotland and Wales.
Structural upgrades: Older roofs may need reinforcement to support the weight of the system. This adds to both cost and installation time.
In total, a standard 4kW pitched-roof system typically costs between £5,500–£7,000, while flat-roof and ground-mounted systems are usually 10–35% higher due to the extra complexity.
DIY Installation & Professional Installation: Which Is Right for You?
You might be tempted to install your solar system yourself to save on labour costs, but is it the best choice for your property? Here’s how DIY compares to hiring professionals:
The Case for DIY
If you’re handy with tools and have some basic electrical knowledge, installing your solar system yourself could save you about 25–35% on labour costs. There are plenty of DIY kits available online that simplify the process, particularly for smaller setups like the EcoFlow STREAM Solar System.
Taking a hands-on approach also gives you valuable experience and a deeper understanding of your system. This can be incredibly useful if you need to troubleshoot or make adjustments in the future.
The Risks of DIY
Building regulations: Electrical work must still meet Part P standards, and notifiable work still requires sign-off by building control or a qualified electrician.
Loss of incentives: If you go with the DIY route, you lose the MCS certification. This means you won’t qualify for Smart Export Guarantee (SEG) tariffs, which pay you for exported energy.
Safety concerns: Roof work is one of the highest-risk home improvement tasks. The Health and Safety Executive (HSE) requires proper scaffolding and edge protection, even for self-installs.
Warranties: Many equipment warranties are voided if the system isn’t installed by an accredited professional.
Why Hire Professionals?
All-in-one service: Accredited installers handle scaffolding, labour, electrical work, and grid connection paperwork.
MCS certification: This ensures access to SEG payments and keeps your warranties valid.
Faster installation: Most teams complete a 4kW roof system in a single day, reducing disruption.
Peace of mind: Professional installations come with workmanship guarantees and liability insurance.
Conclusion
A well-planned solar panel mounting system is just as important as the panels themselves. It affects everything from how much energy you generate to how long do solar panels last and the costs involved.
Whether you’re leaning towards a pitched roof or a ground-mounted array, take the time to assess your property, your budget, and your long-term energy goals. If you’re unsure, speaking to a professional installer can save you costly mistakes and give you peace of mind.
FAQs
What is the best way to mount your solar panel?
In the UK, the best way to mount solar panels depends on your roof type. For pitched roofs, panels are typically secured at an angle of 30° to 40° using rails and brackets to maximize sunlight exposure. Flat roofs may need ballasted or fixed tilt systems. For limited roof space, ground, balcony, or wall-mounted systems are alternatives. Ensure the mounting structure is strong and compliant with local regulations, and consult a certified installer for the best solution.
What is the 120 rule for solar panels?
The 120% rule in the UK limits the combined output of your solar system and main electrical panel to 120% of the panel’s busbar rating. For example, if your panel is rated at 100 amps, the combined output should not exceed 120 amps. This ensures the electrical infrastructure can handle the load without overheating or fire risks. You may need to adjust your solar inverter size to comply.
What is the distance between the solar panels mounted?
In the UK, installers typically leave 10–20 mm horizontally and 20 mm vertically between adjacent panels to allow for expansion, rain runoff, and airflow. Gaps smaller than 10 mm can trap debris, while larger gaps reduce array capacity. Panels on pitched roofs should sit 40–100 mm above tiles to maintain ventilation and improve efficiency, and at least 200 mm from roof edges to prevent wind damage and ensure water flows into gutters.
What is the maximum distance between solar panels and inverters?
While there’s no absolute maximum distance, UK guidelines suggest keeping the DC voltage drop below 2% between the array and inverter. For most domestic systems, the inverter should be placed within 10–20 meters using 4 mm² or 6 mm² cables. For longer distances, thicker cables or higher-voltage strings (600–1,000V DC) can reduce losses. In larger commercial installations, the distance can extend over 100 meters without significant efficiency losses.